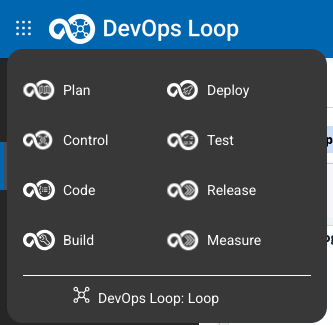
Switch to Loop Home page Step Details Additional Information Switch to the main view of your Teamspace by clicking on DevOps Loop: LoopCentral App Menu
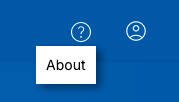
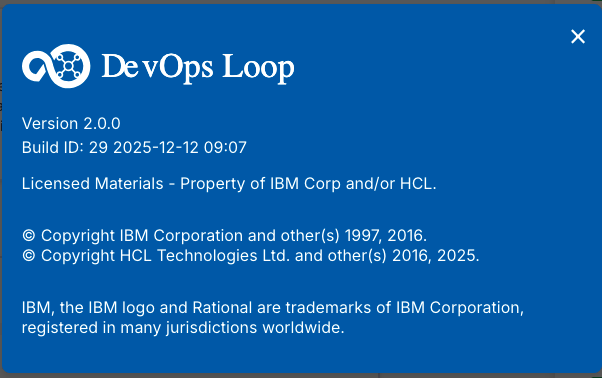
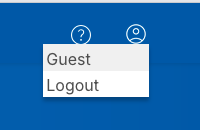
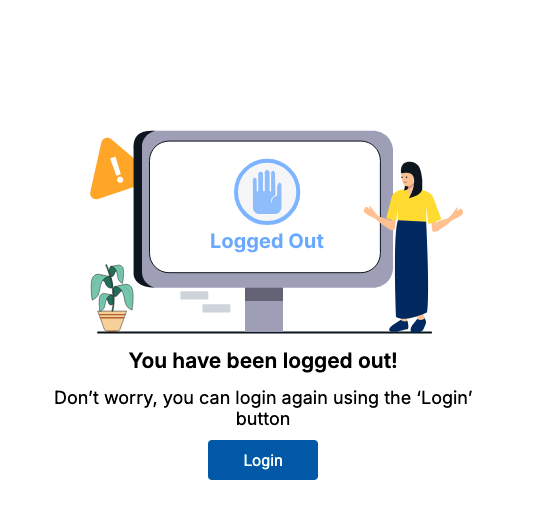
About Box and Logging out Step Details Additional Information About Loop On the above right side of your page you have the buttons for viewing the About box By pressing the About button the Information about the platform version and copyright will be presented Please close by clicking on the "x" symbol on popup Logging out You can always log out of the platform by pressing the user symbol After a secure log out you will be presented with a new page which provides a login again
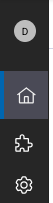
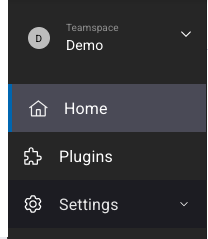
Step Details Additional Information On the left side of the page you will have the side bar which will provide context related menu You can expand the side bar with the expand button on the bottom left side of the page Which will provide the sidebar items with text details
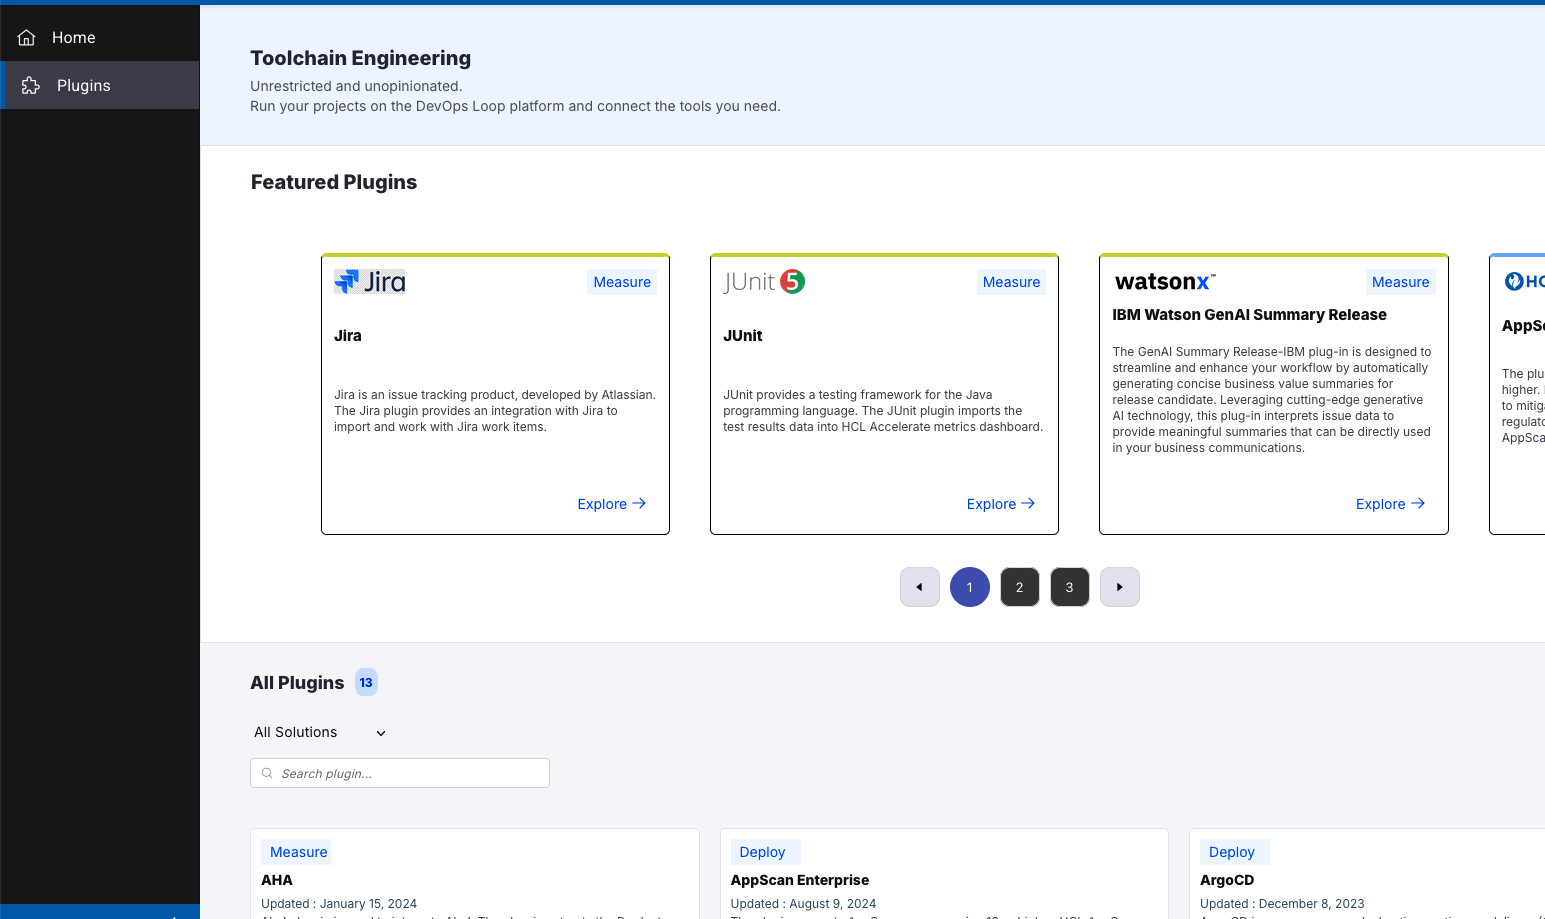
Plug-Ins NOTE: This page will provide you some information about available Plug-Ins, installing and configuring them needs to be done in the appropiate capabilities.
Step Details Additional Information On the sidebar a view of slected plug-ins is available. By pressing on the Plug-Ins symbol the Featured Plugins page will be presented
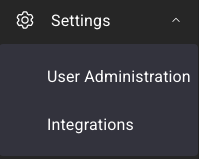
Settings Step Details Additional Information The Settings Menu provides a view User Administration and managing the AI integration
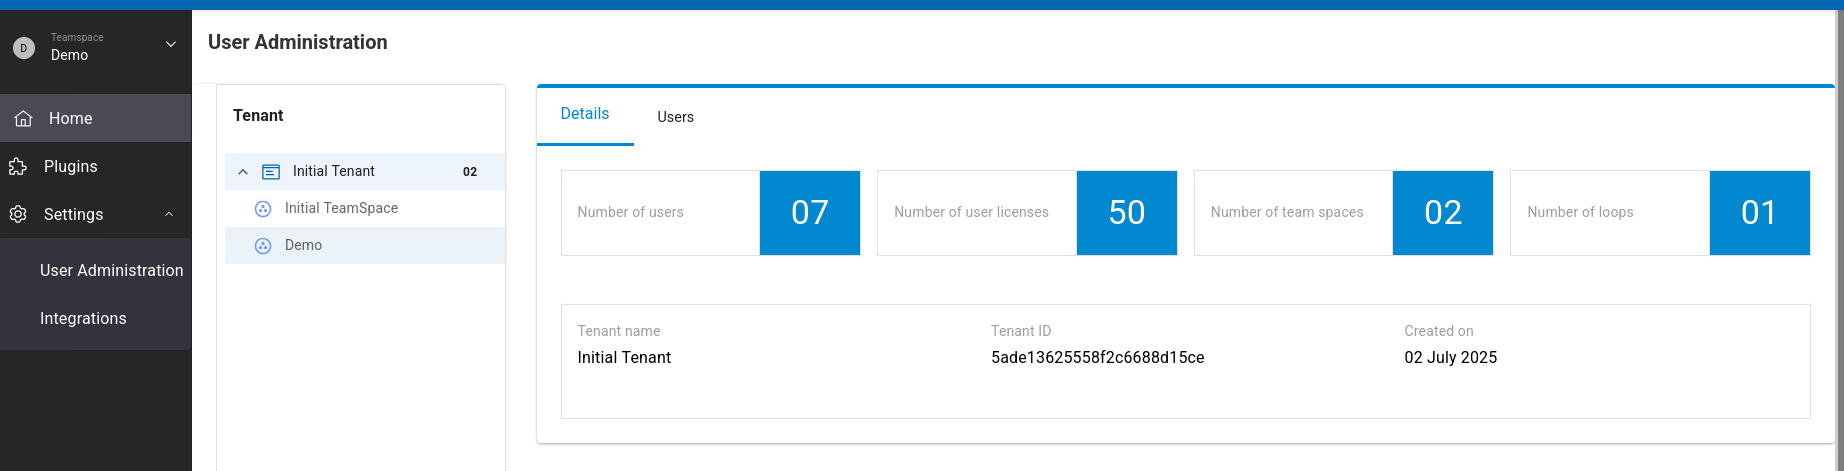
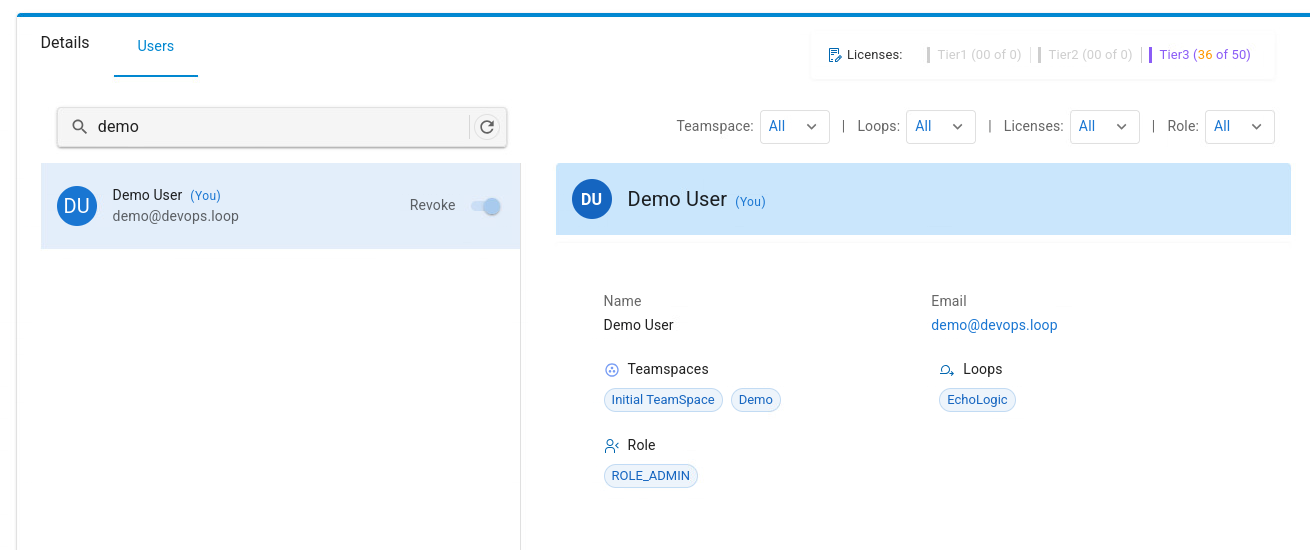
User Administration Step Details Additional Information This view will provide information about the Tenant and the users in this tenant Detailed information about a user, which Teamspaces and Loops it has access to and gobal Role
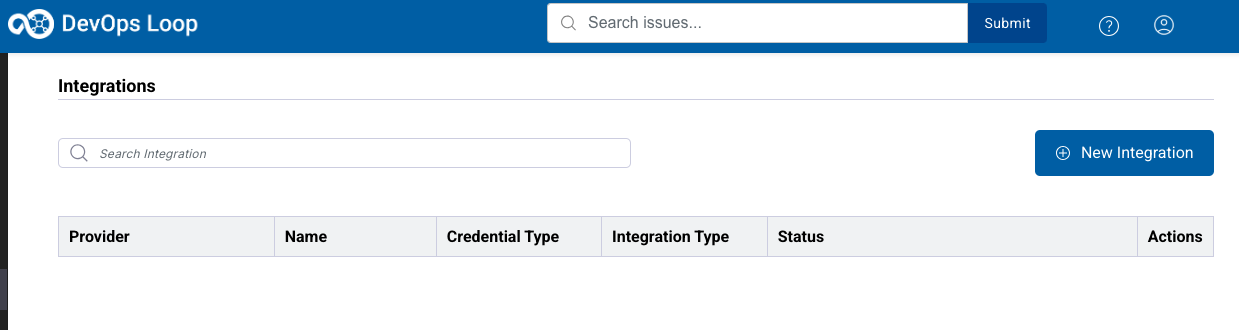
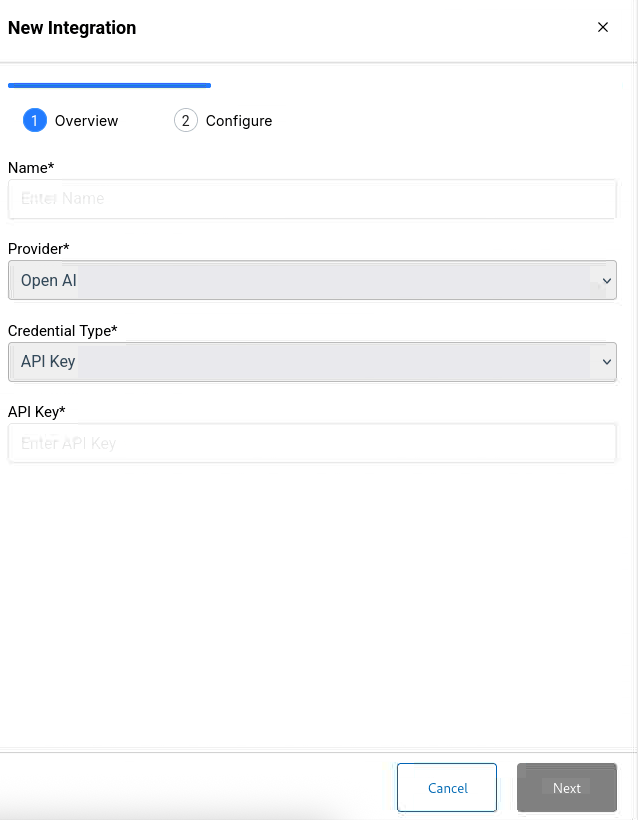
Integrations View or Create an Integration to an AI Provider.
Please have a look at the documentation for more details.
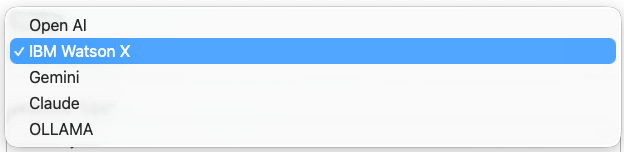
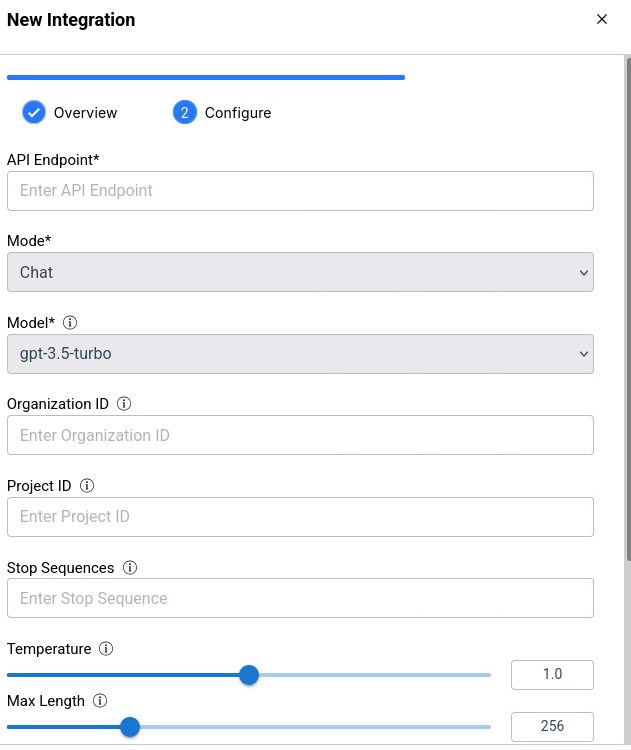
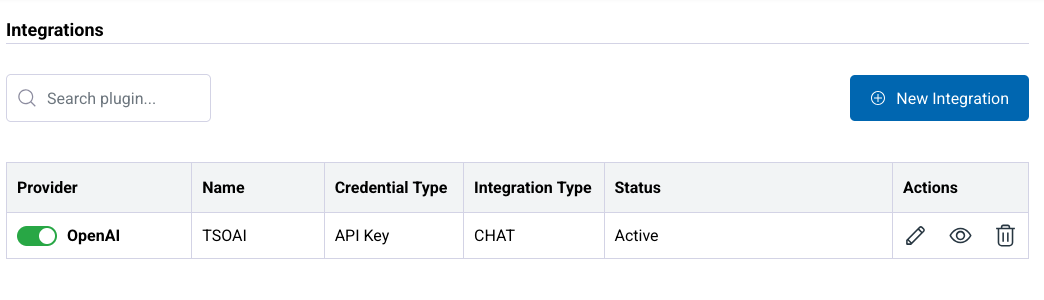
Step Details Additional Information 1 Click on Integrations in the Settings menue to get the list of all integrations or create new one 2 A list of integrations is shown if available. 3 To create a new integration click the Button New Integration 4 A Dialog for the integration appears 4.1 Enter a meaningful Name 4.2 Select the AI Provider (for example OpenAI) 4.3 Enter your API Key and press Next 5 Next page of dialog is shown 5.1 Enter the API endpoint (for example for OpenAI) https://api.openai.com/v1 5.2 Select your prefered model and further configurations (for example from OpenAI models) 5.3 click on Save 6 The newly created AI integration is shown