Introduction
A very short introduction to DevOps Loop.
Start Here
To use the platform you have to be onboarded onto it. This is normally done by your administrators. URLs and User names are examples, please check with your admin about the information.
How to log in
| Step | Details | Additional Information |
|---|---|---|
| 1 | Open DevOps Loop in Browser | example URL= 'https://devops.automation.techzone.ibm.com/automation' |
| 2 | Enter Your Credentials in the Login Screen Example: User: 'demo@devops.loop' Password: 'Passw0rd' | 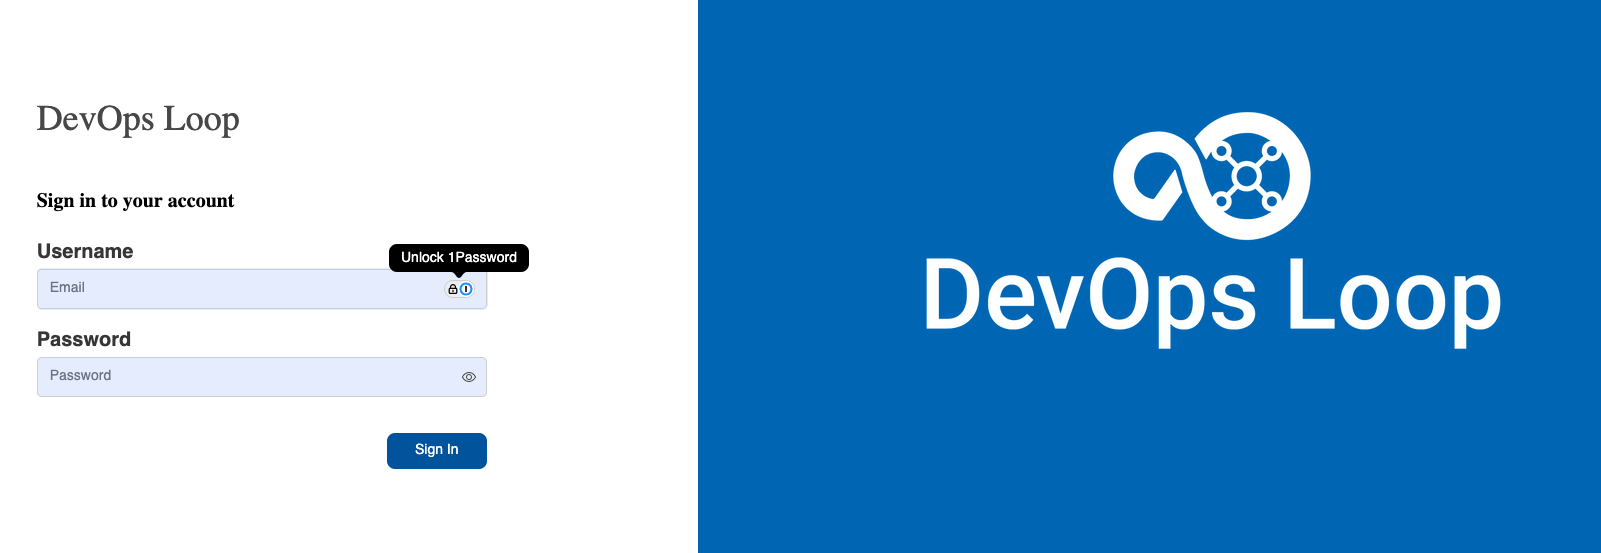 |
| 3 | Click on the Sign In Button |  |
The Home Page
| Step | Details | Additional Information |
|---|---|---|
| 1 | After you have been logged in you will be directed to your homepage | |
| 2 | If no Teamspace or Loop has been created follow: Creation of a Teamspace and Loops instructions | 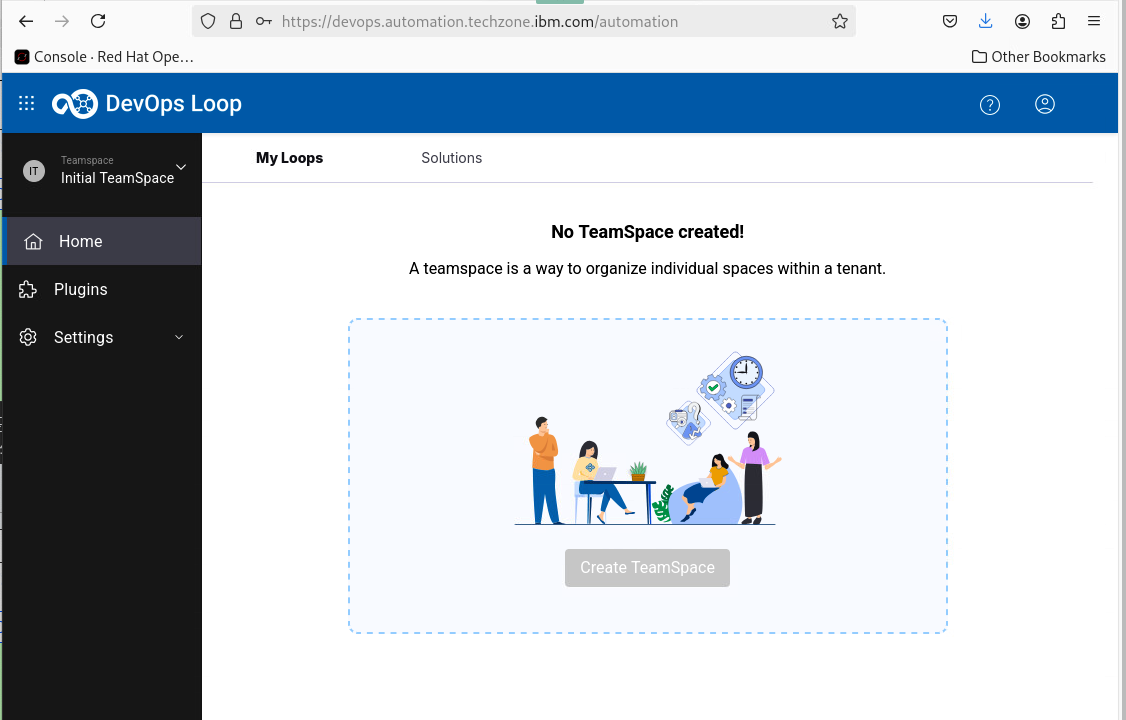 |
| 3 | if a Teamspace and Loop exists it will provide you an overview about metrics from your Loops | 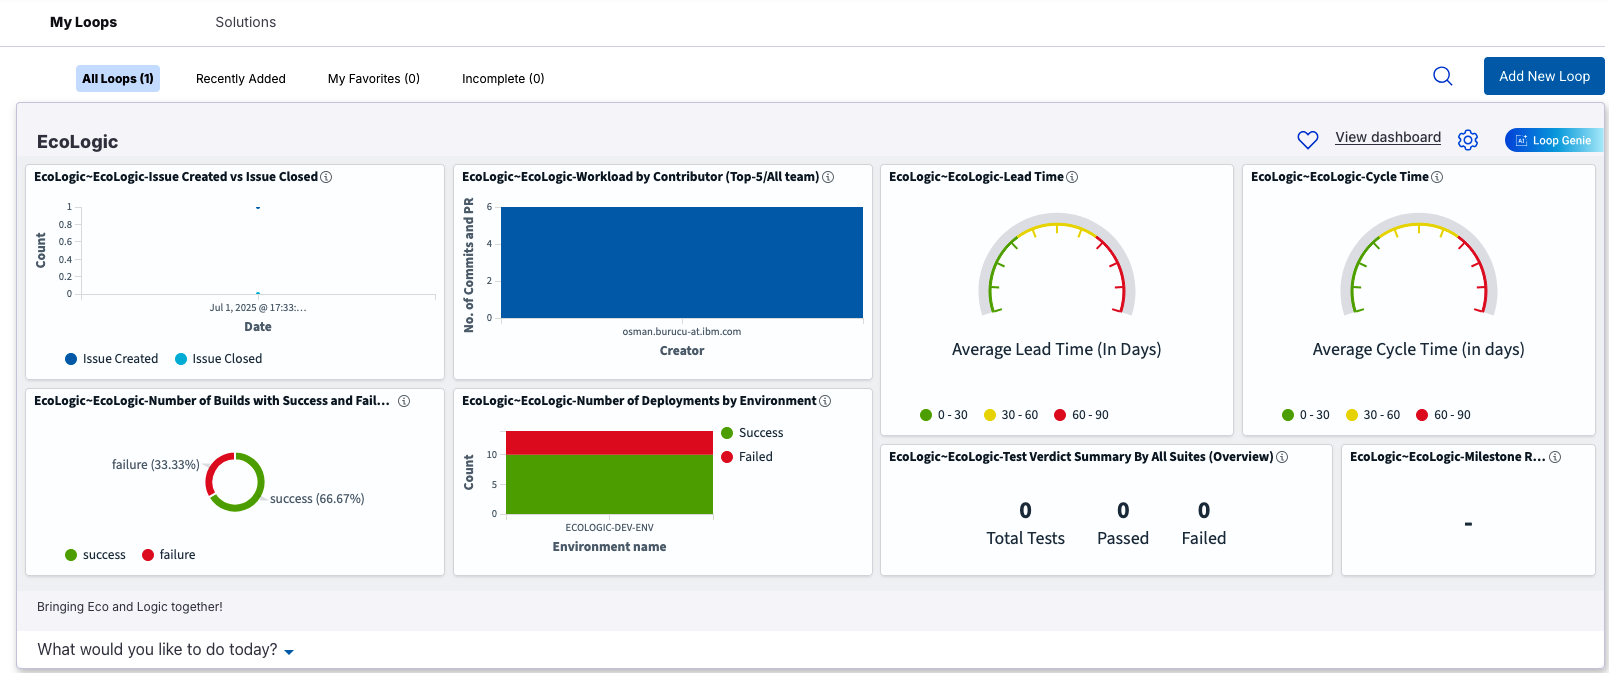 |
| 4 | To switch between Teamspaces follow this guide: Switching between Teamspaces |
Switch between Teamspaces and back to Home
| Step | Details | Additional Information |
|---|---|---|
| If you are in a different teamspace, click on teamspace Icon and switch to Demo | 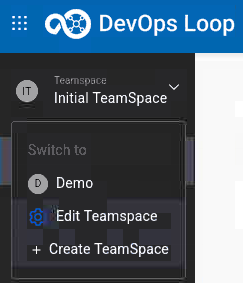 | |
| If you are not on the Home Page page, click on Home Button in the side bar to switch to the Home Page |  |
Dashboard and Metrics
| Step | Details | Additional Information |
|---|---|---|
| 1 | The Home Page provides metrics and dashboards over all of accessible Loops | |
| 2 | Showing data from Plan - Ratio of Issues created versus closed |  |
| 3 | Number of Build Jobs failed and successeful finished | 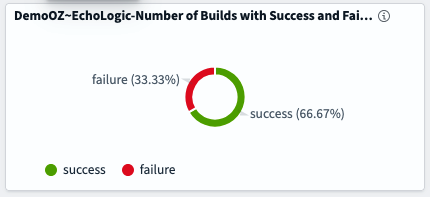 |
| 4 | Count of Deployments and how many of them were successfull or failed | 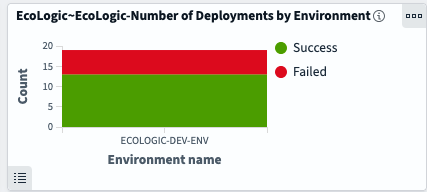 |
| 5 | Top contributors in Control | 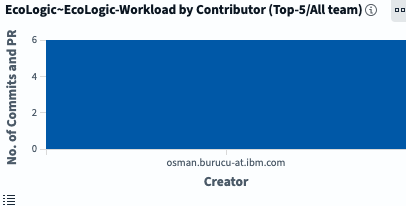 |
| 6 | Two DORA (DevOps Research and Assessment) metrics for | |
| 6.1 | Lead Time: In general, lead-time reflects the time from the start of a project until its final disposition | 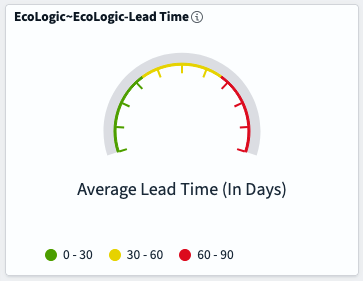 |
| 6.2 | Cycle Time: In general, cycle-time reflects the time project elements take to resolve or complete | 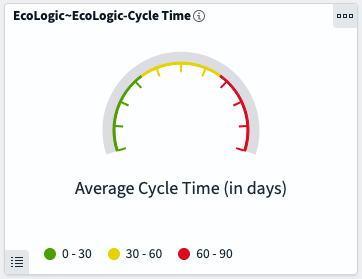 |
| 6.3 | Find out more about DORA Metrics here |
Switching to Capabilities
| Details | Additional Information | |
|---|---|---|
| There are several ways to switch to the capabilites (Plan, Model, Control, Code, Build, Deploy, Test, Measure, Release) | ||
| 1 | by using the central app switcher on the top left Central Solution/App Switcher | 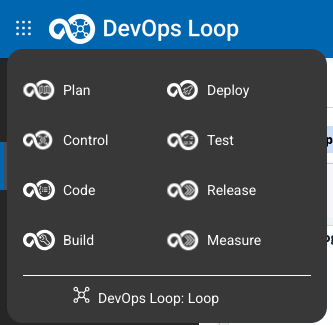 |
| 2 | by using the "What would you like to do today?" Menu on the bottom of the Dashboard | 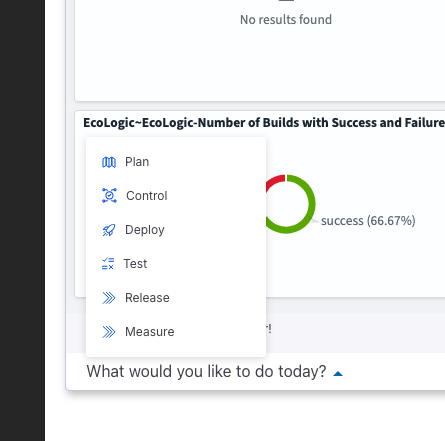 |
| 2.1 | Only the capabilities fully integrated into Teamspaces and Loops are shown |
How to use Loop Genie
| Step | Details | Additional Information |
|---|---|---|
| 1 | Click on the ![Loop Genie Icon on Home Page][GenieButton] on the Loop Homepage to open the Genie Dialog | |
| 2 | The Genie Dialog appears and you can start working with Loop Genie | ![Loop Genie Dialog][GenieDialog] |
| 3 | you can use the Focus selection box to select the focus area | ![Loop Genie Focus Selection][GenieFocusSelection] |
Setup a Teamspace and Loop
In the case of an empty environment you need to create a new Teamspace and at least one Loop.
Create a teamspace
Please follow the Instructions for creating Teamspace(s) for more details.
| Step | Details | Additional Information |
|---|---|---|
| 0 | If Loop environment has been freshly set up just click on the Create Teamspace Button to proceed |  |
| then proceed to step 2, else with next step | ||
| 1 | Click on the Teamspace icon ![TeamSpace Icon][TSIcon] to view your Teamspaces or create a new one | ![Teamspace menu][TSMenue] |
| Click on Create teamspace | ![teamspace menu - Create teamspace Link][TSCreateTSentry] | |
| 2 | Enter the name and a Description and press Next ![Next Button][NextButton] | ![Teamspace - Create New][TSCreateNewDialog] |
| 3 | You can search and add Teammembers to a Teamspace | ![Teamspace - Create New - search Member][TSAddTeammember] |
| Teammember is added to a list. Proceed to add more members if needed. | ![Teamspace - Create New - Member added][TSTeamMemberAdded] | |
| 4 | Press Create to proceed | ![Create teamspace Button][TSCreateButton] |
| 5 | Teamspace creation will take a few moments, as soon as it finishes a success dialog will be shown | ![Teamspace - Create New - creation process started][TSCreationStarted] |
| 6 | Teamspace created. Click on Go to Teamspace for next steps | ![Teamspace - Create New - creation successfull][TSCreateionFinished] |
When the creation of a teamspace is finished you will be forwarded to your empty loops home page for your new teamspace.
Create a Loop
You need to create at least one Loop in your teamspace, please follow the Instructions for creation of a new Loop for more details.
| Step | Details | Additional Information |
|---|---|---|
| 1 | Press the Create Loop Button | ![Create New Loop Button][CreateNewLoopButton] |
| 2 | In the Loop creation Dialog enter a name and a description | ![Loops - Create New - Dialog][CreateNewDialog] |
| Please check the Learning Loop switch to import learning data into your new Loop | ![Learning Data][WithLearningData] | |
| 3 | press the Next Button to proceed | ![Next Button][NextButton] |
| 4 | You can search and add a Teammember to the Loop | ![Loops - Create New - search Member][SearchAddMember] |
| a new Member is added | ![Loops - Create New - member added][AddedMember] | |
| 5 | Press the Create Button to start Loop creation | ![Create Button][CreateButton] |
| Loop creation can take a few moments, as soon as it finishes a Success screen will be shown | ![Loops - Create New - create process started][LoopCreation] | |
| Creation is successfull | ![Loops - Create New - creation successfull][LoopCreatedSuccess] | |
| 6 | Press now Go to my Loops Button to proceed | ![Go to my Loop Button][GoToMyLoops] |