Control Lab Introduction DevOps Control is part of DevOps Loop, a platform for software development. DevOps Control provides Git hosting, code review, and team collaboration. It is similar to GitHub, Bitbucket and GitLab. DevOps Control is based on the open-source Gitea project.
To learn more about DevOps Control please have a look at the documentation .
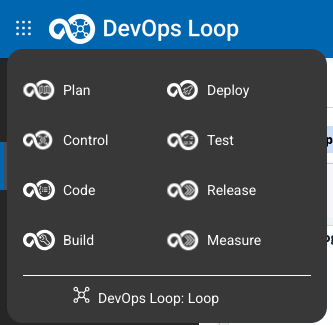
How to switch to Control from Home Page Step Details Additional Information You can always switch using the central app switcher on the top left of your screen Or You can switch directly to Control by using the button/link from What would you like to do today section
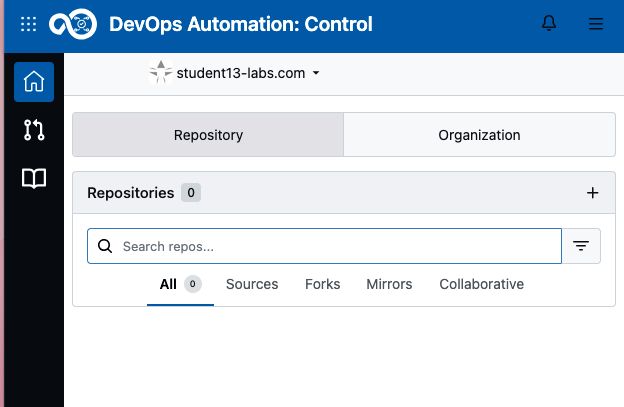
Managing Repositories and Organizations The home page for Control is the Repositories and Organizations view. In this view you will get a list of all your repositories and organizations.
Step Details Additional Information The first time you use Control with no "Learning data " used, an empty list is shown If you have checked the "Learning Data " during Loop creation then the repo will be shown By clicking on the Home Button click on the Pull request Icon Click on the List all Repositories Icon
Create a new Repository Create New Repository Step Details Additional Information To create a fresh new repository or migrate an existing repository to Control, use the NEW button to proceed
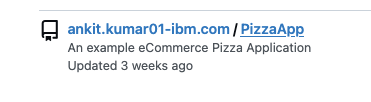
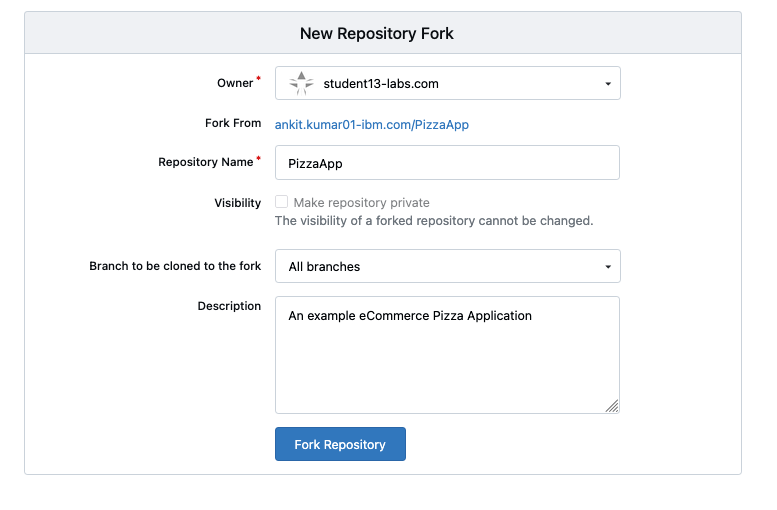
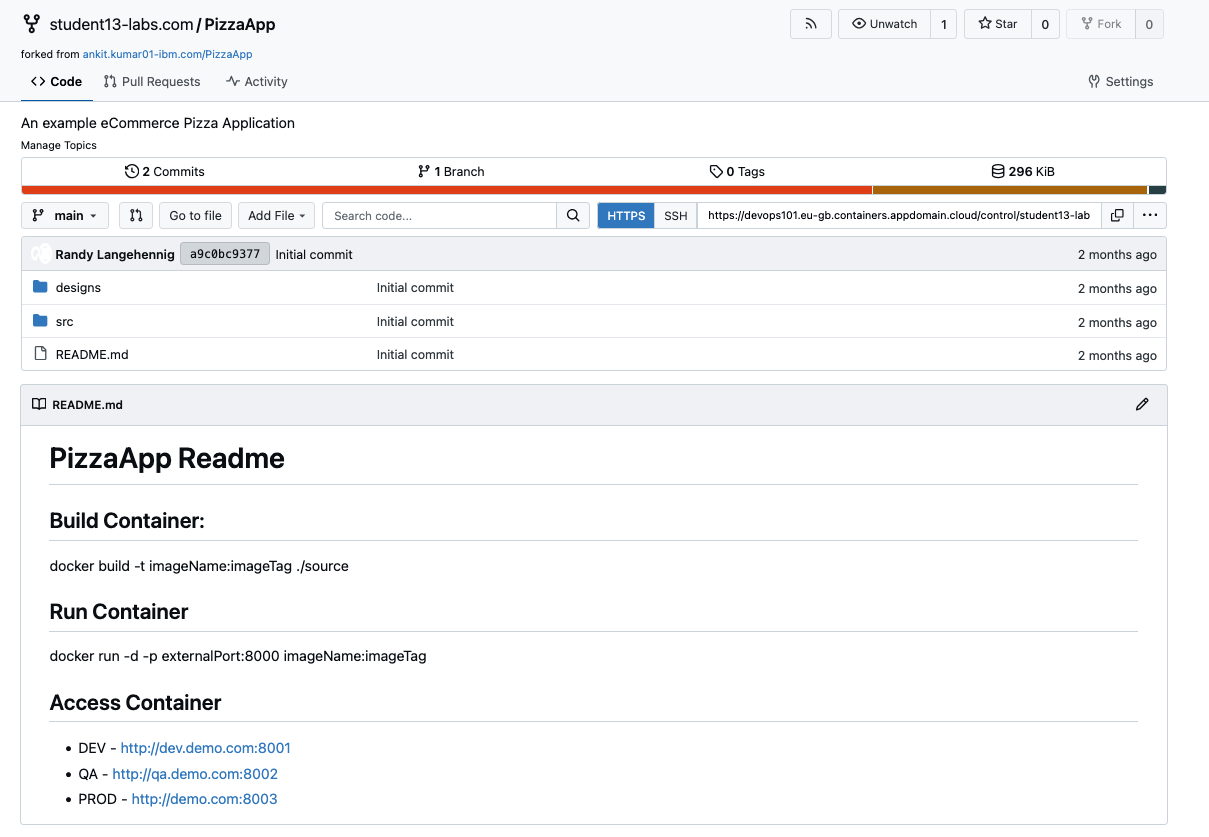
Fork a repository Step Details Additional Information Select the source repository in Control, in this example we will fork this repository In the repository click the Fork button on the top right left Use the preprovided information and proceed by clicking "Fork ..." Forked repository is shown
Migrate a repository Step Details Additional Information
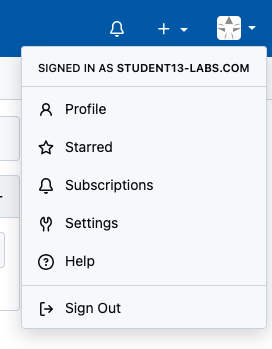
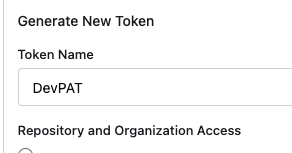
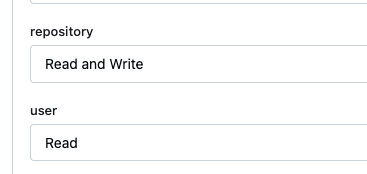
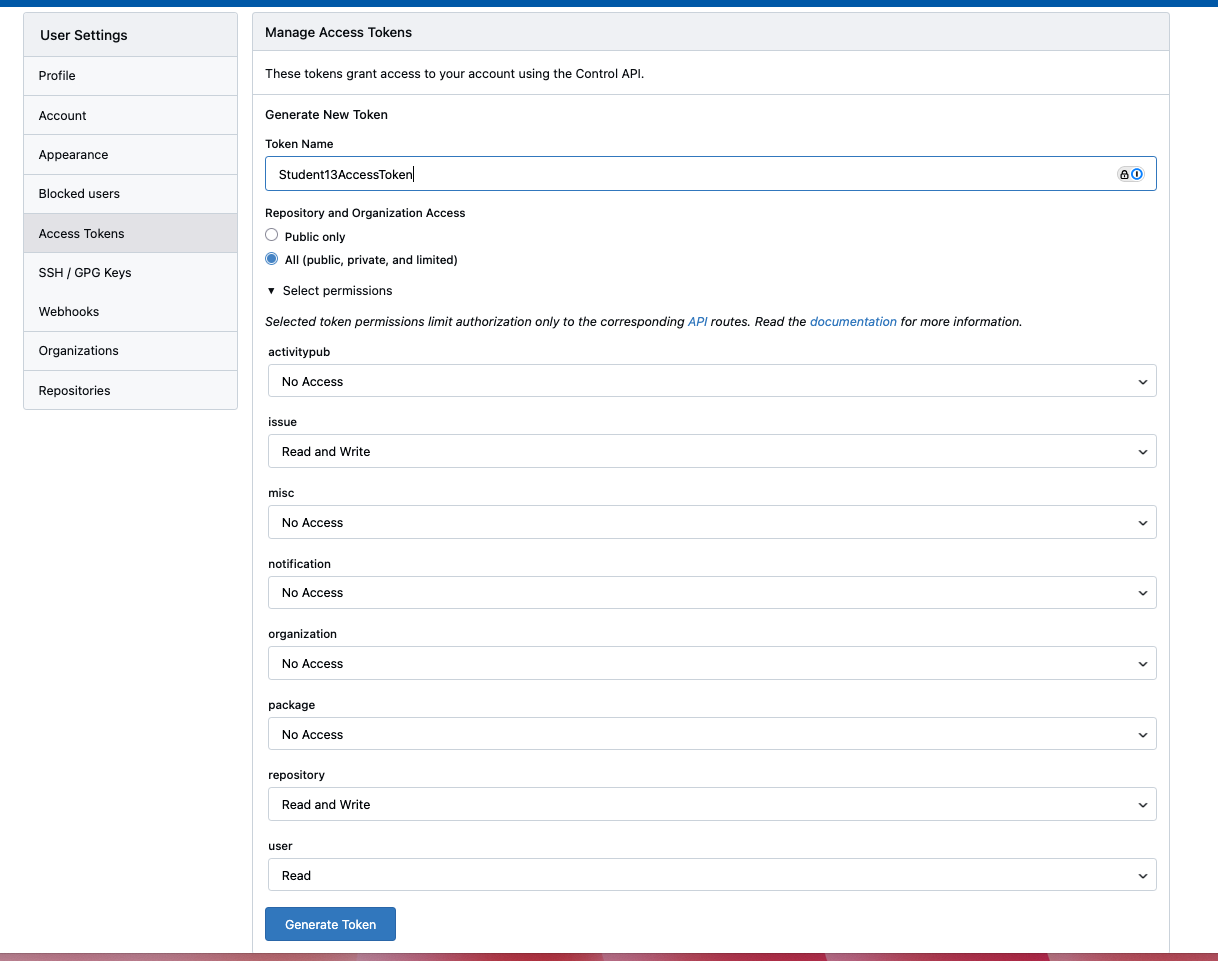
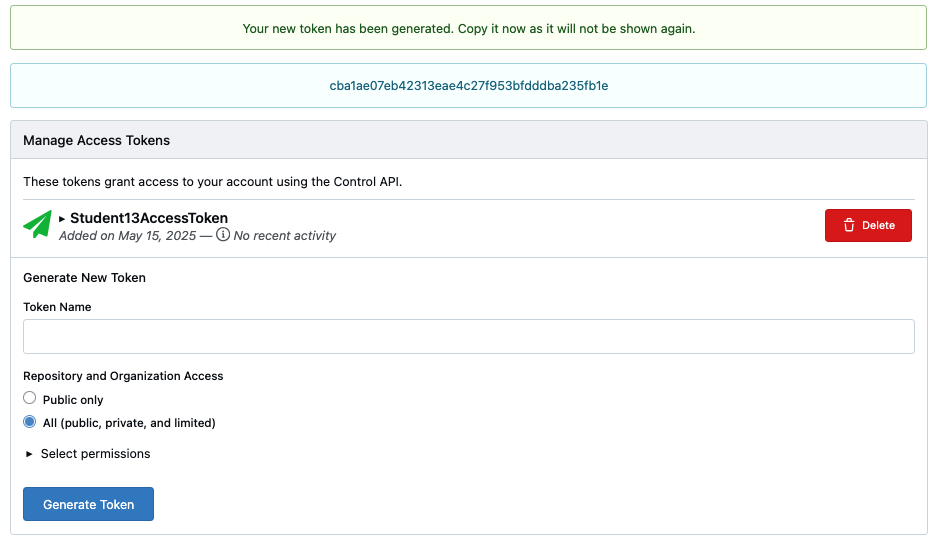
Access Token Step Details Additional Information For external access to the repositories you need to provide an Access Token to create a new token, click on your User Profile and select Settings In the Settings view click on Access Tokens then enter a Token name to identify its purpose Click on Select Permissions to set the access rights, select All to cover all repositories You can set any permission setting as you need it. Please be aware to limit the access though to prevent security issues Example: Set Repository to Read and Write and Set User to Read These settigs are the minimal needed to provide access to work with your repository through external tools Press Generate Token Do not to forget to Copy and Paste the token!
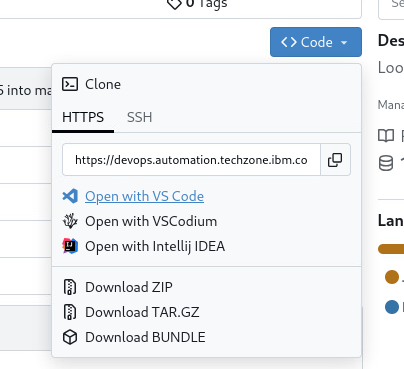
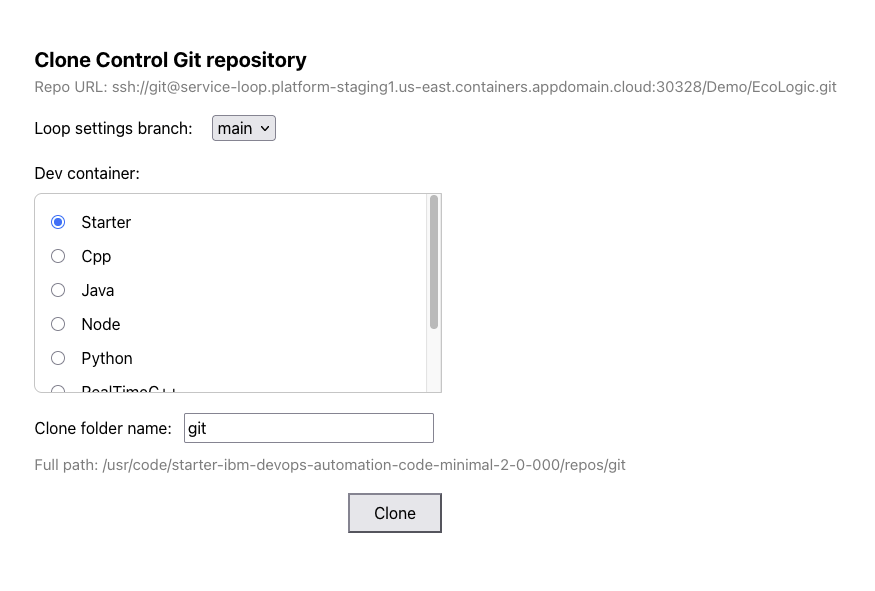
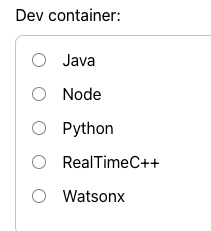
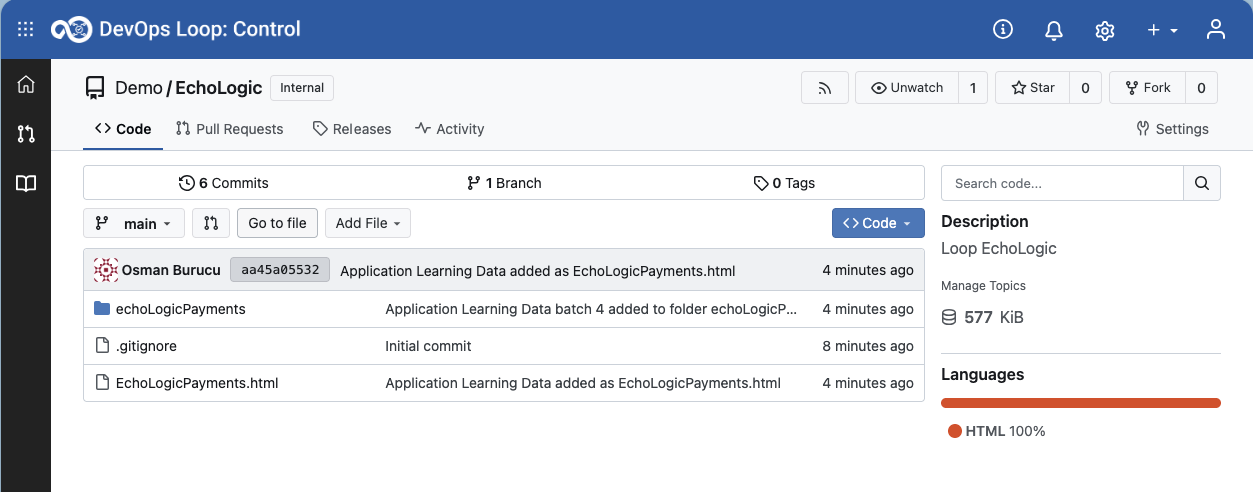
Explore Control Open Repo with Code Step Details Additional Information 1 Open the Echologic repository which has been created with the learning data 2 Click on CODE Button 3 Click on Open with Code 4 A new dialog appears to select the right Dev Container for cloning the repository 4.1 Scroll down to see more entries 4.2 use the default values for branch main and target folder git 4.3 If you want to use Watson Code Assistant then select the WatsonX Dev Container, else use Starter 5 Press the Clone Button to proceed 6 it takes a few seconds till your environment is setup and running, please be patient 7 Code and a git clone success message is shown
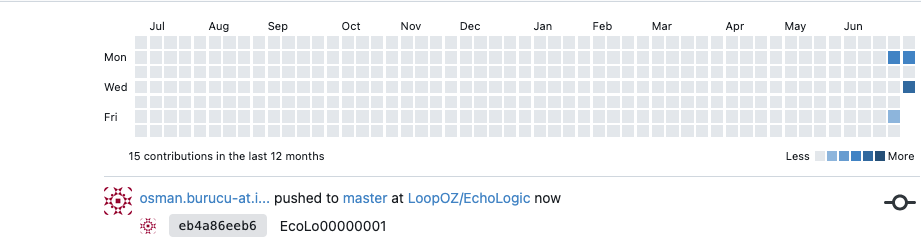
Show Activity Report Step Details Additional Information Show the Update in the activity report of the repository
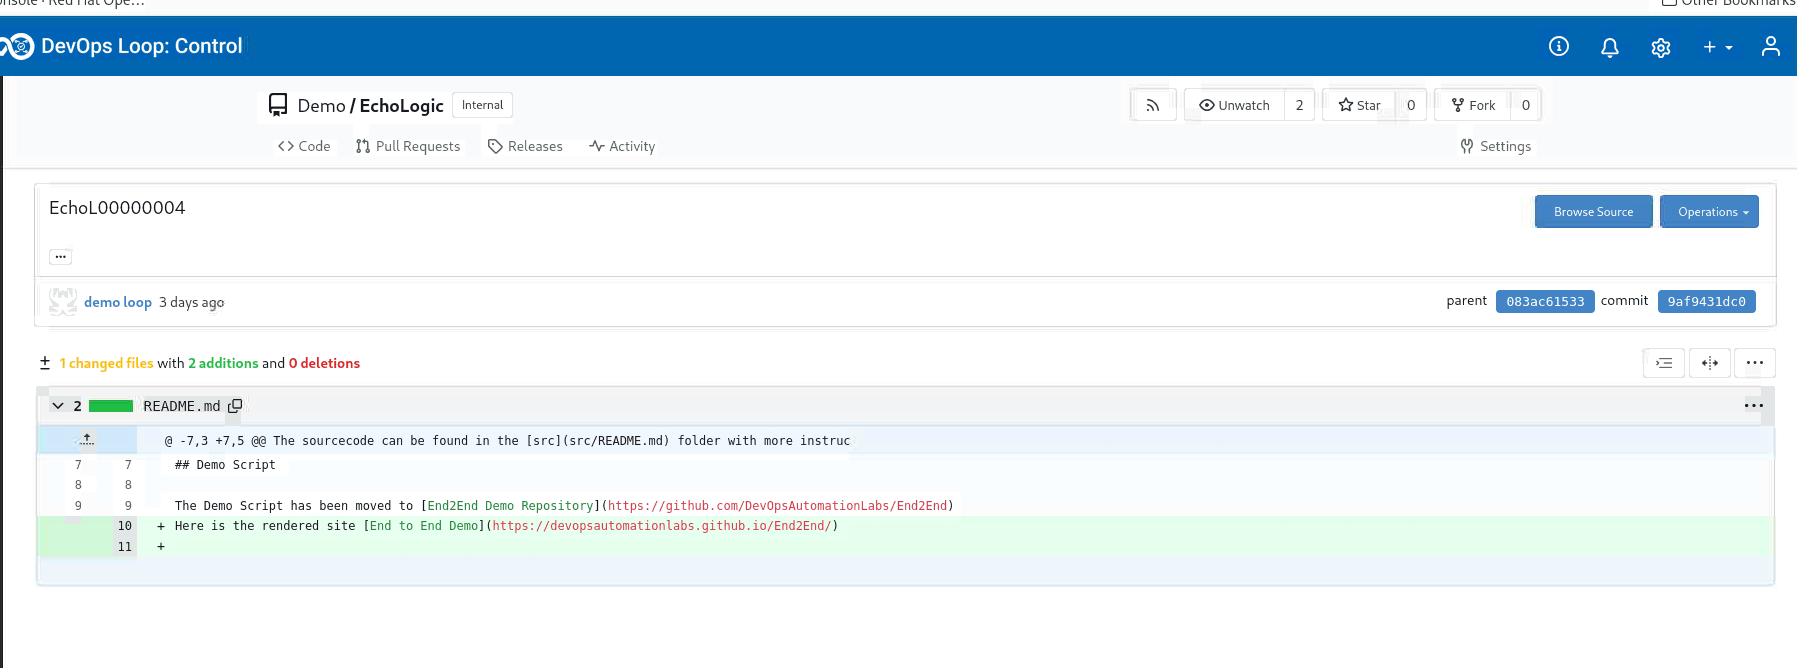
Show Git Commit Details Step Details Additional Information Show the Git Commit Details
 all activities will be shown
 to view all pull requests
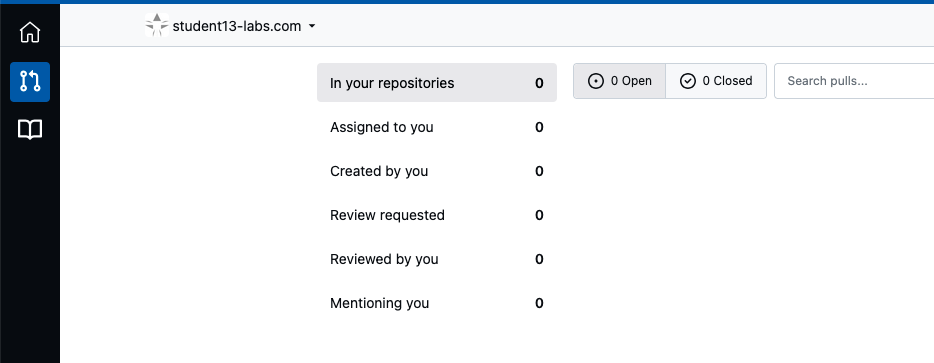
 to see all Repositories you can get access to
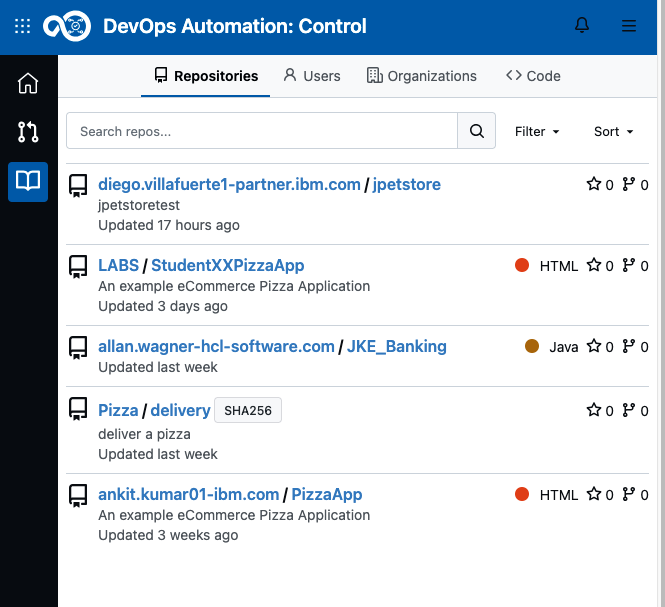
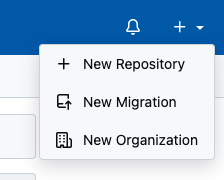


 to get an expanded Menu.