Plan Lab Please have a look at the DevOps Plan documentation
Introduction DevOps Plan is a low‑code, multi-tenant SaaS solution for comprehensive change and issue management, offering customizable workflow automation without requiring deep coding skills. The tool streamlines change tracking, improves issue resolution, and enhances operational efficiency by enabling organizations to tailor workflows and integrate seamlessly with their existing cloud environments.
To learn more about DevOps Plan please have a look at the documentation .
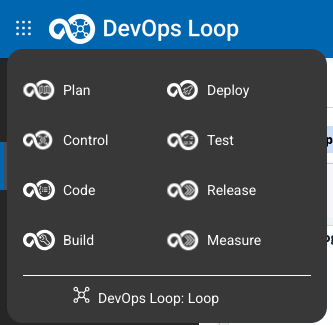
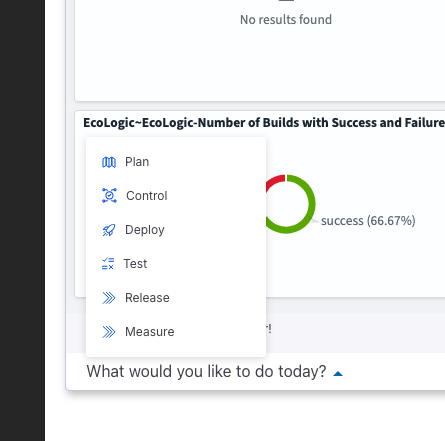
How to switch to Plan from Home Page Step Details Additional Information 1 You can always switch using the central app switcher on the top left of your screen 2 Or You can switch directly to Plan by using the button/link from What would you like to do today section
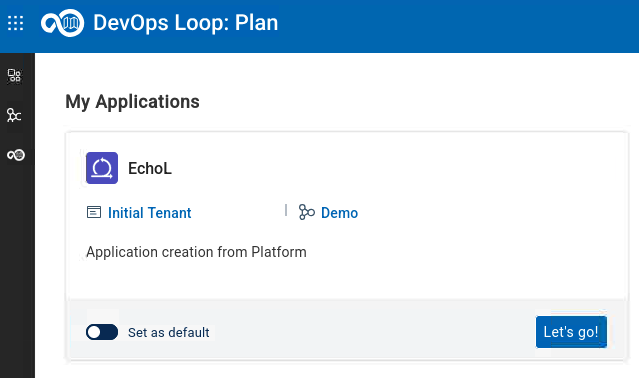
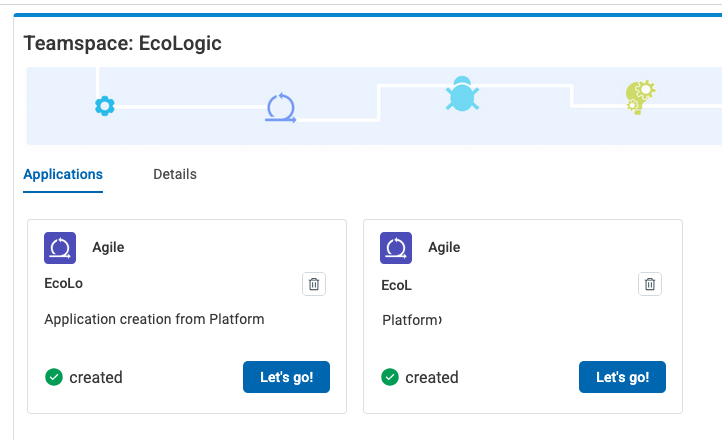
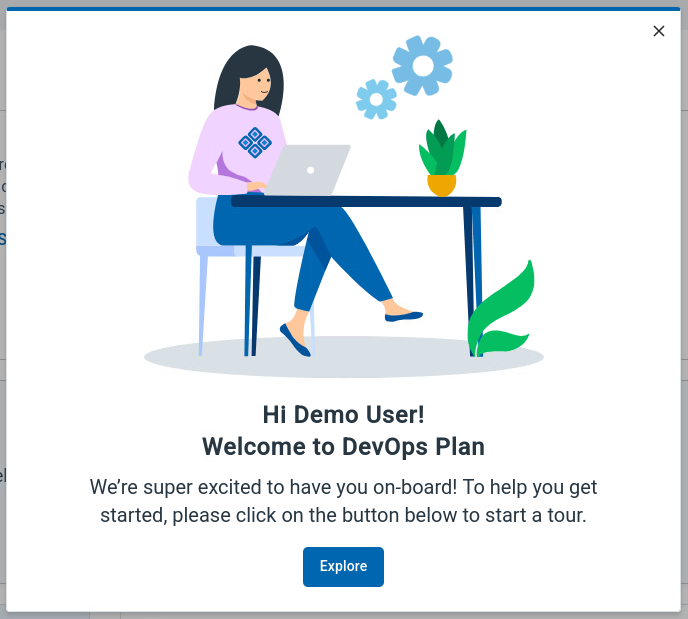
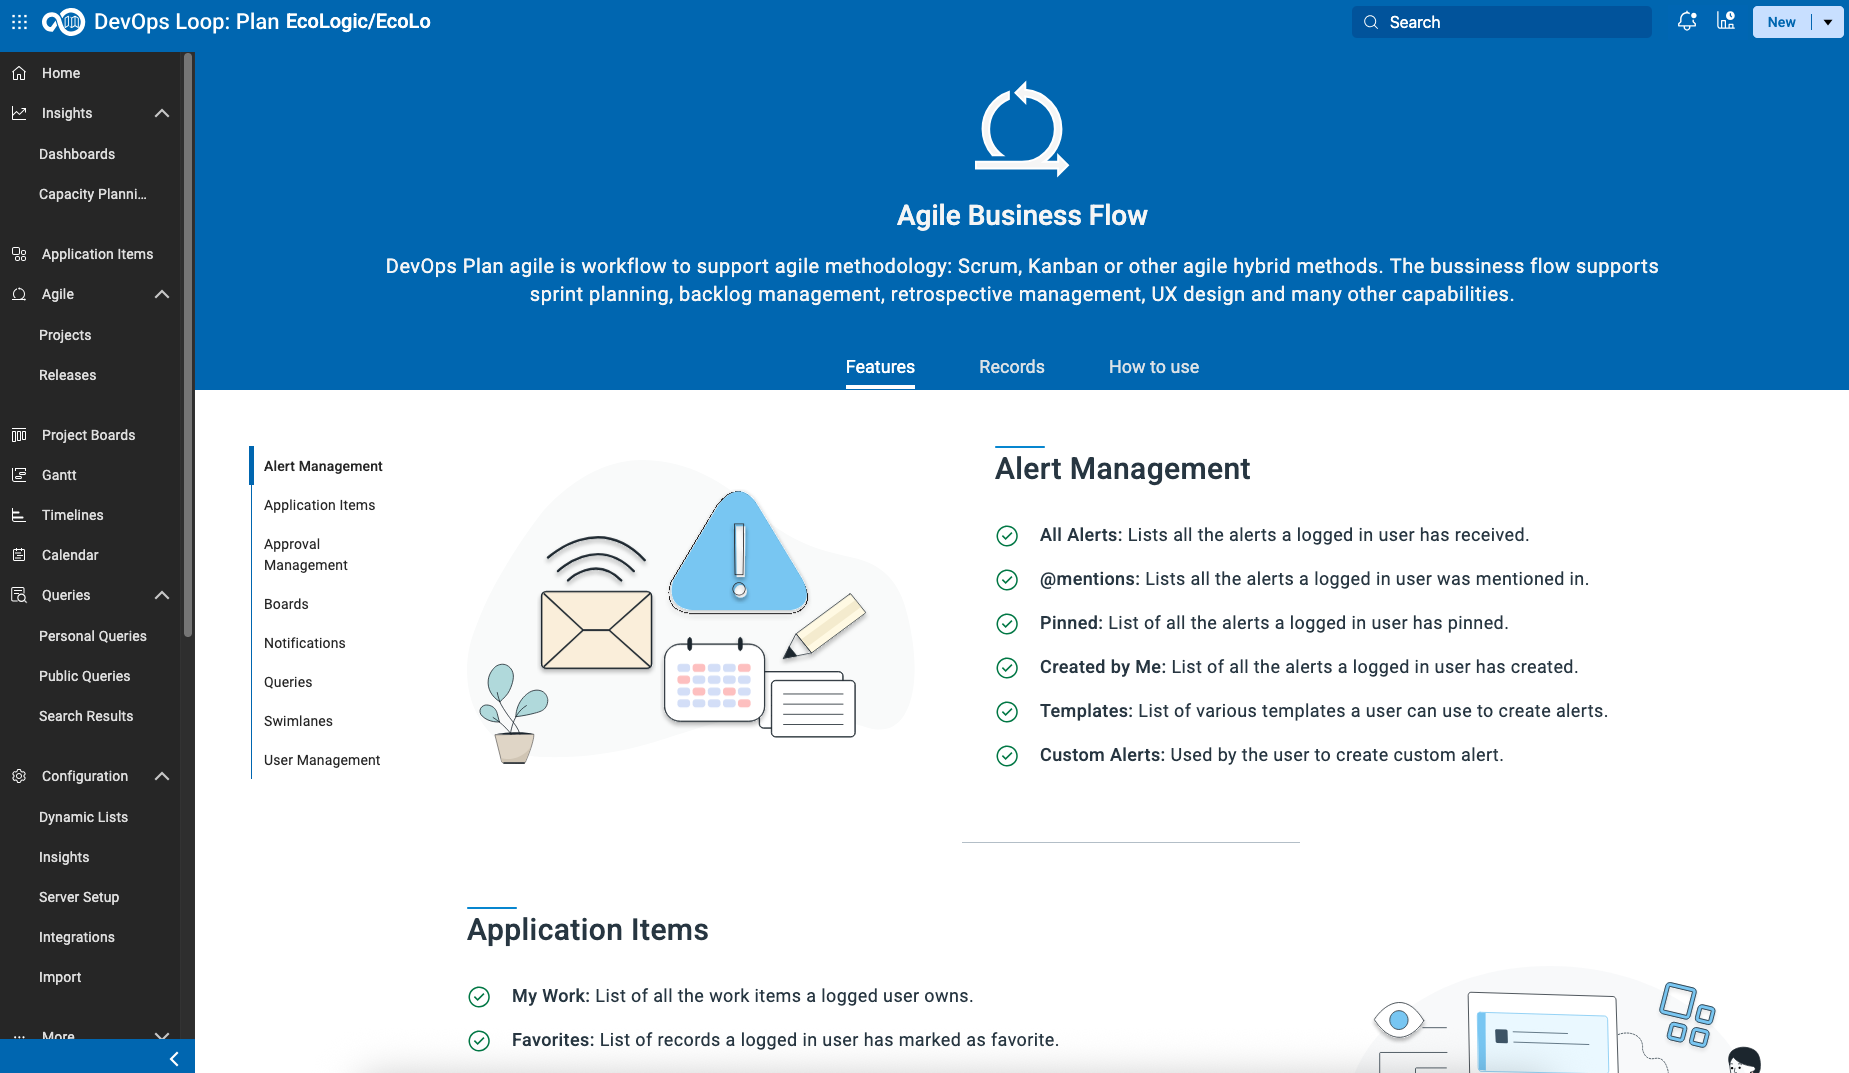
Demo Data or New Application with Sample Data Let's go with Plan Step Details Additional Information 1 Select Plan application to use If you have not set your default Plan application you will be provided with a screen with all applications you have access to. If you have created additional Applications then you will get a list Set the provided app as default and press "Let's go" to proceed. 2 Welcome Page for first time users If you have logged in the first time into Plan you will get a Welcome Screen: By pressing the button "Explore" a new page is shown which provides an Introduction to Plan and the used workflow model for the selected application:
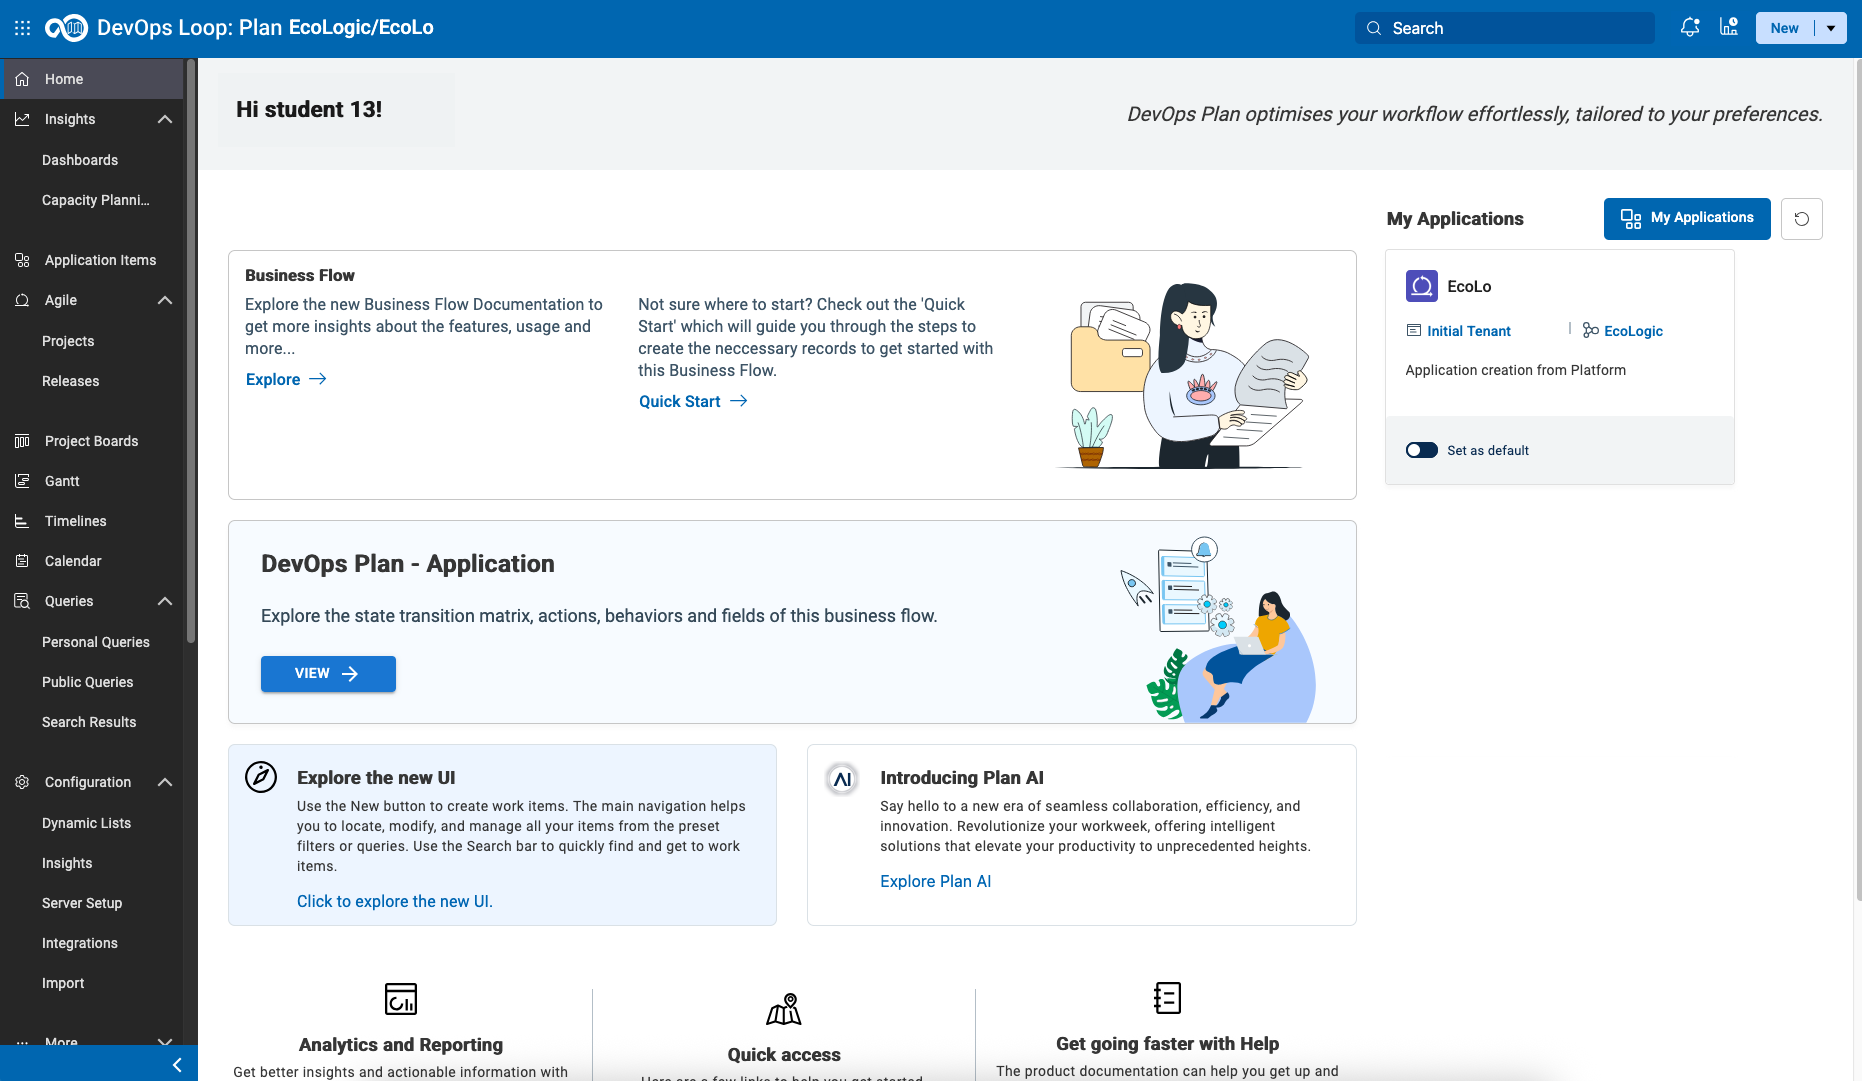
Use Home Button to switch to Plan Home Page Step Details Additional Information 1 Please use the "Home" button on the left sidebar to switch to the Home page for Plan 2 View basic information and also the means to switch between Plan applications (My Applications Button on the right) 3 The explore options on this page will forward you to the Exploration page mentioned above.
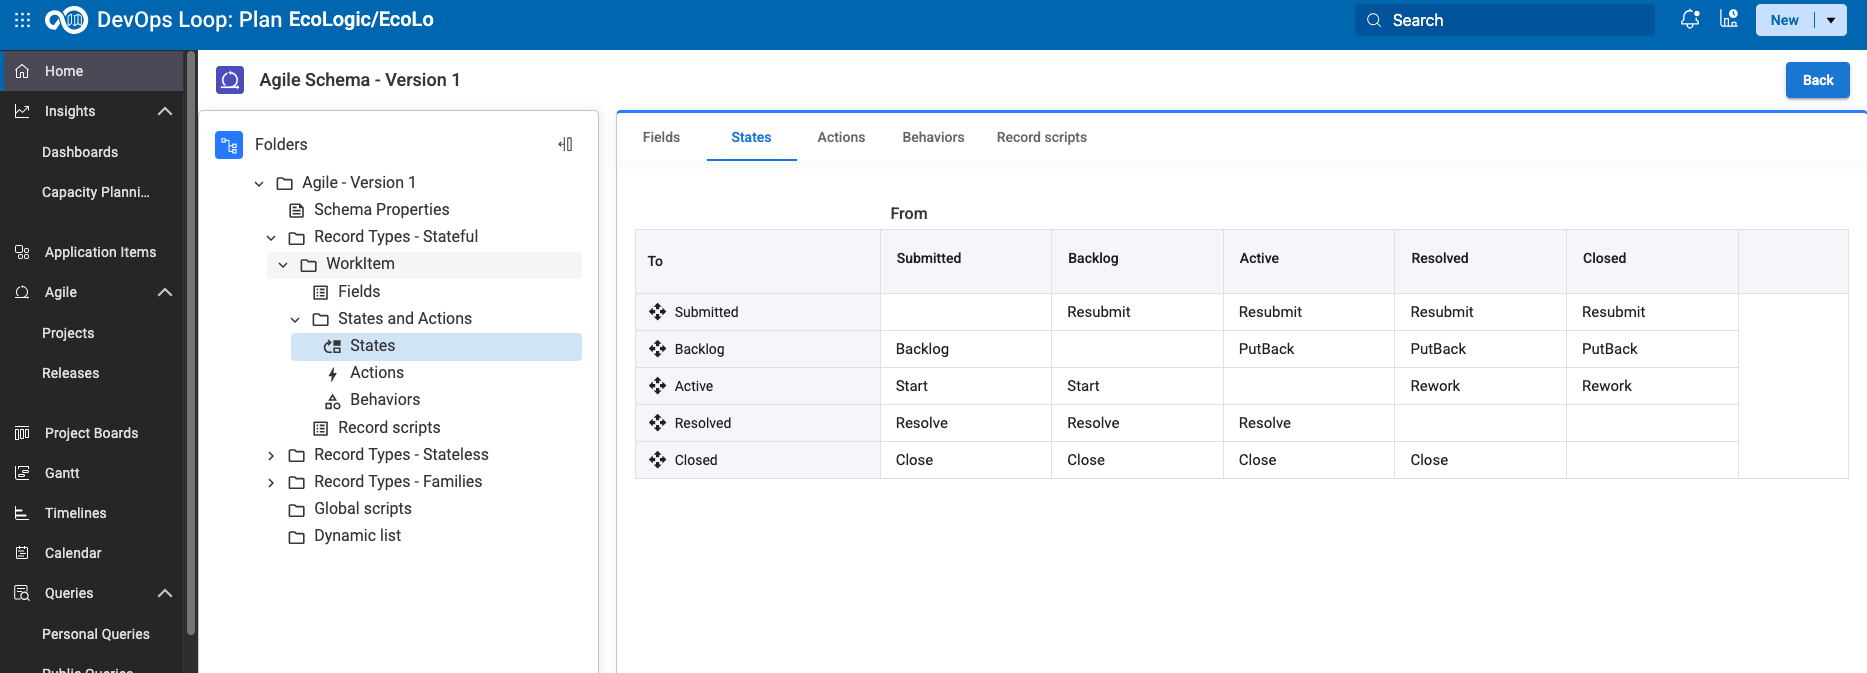
Explore the technical worflow Step Details Additional Information 1 Pressing the button "View" 2 will open a new view to the technical details of the used workflow for the selected application 3 This view provides the used record types, fields, transition matrizes and more.
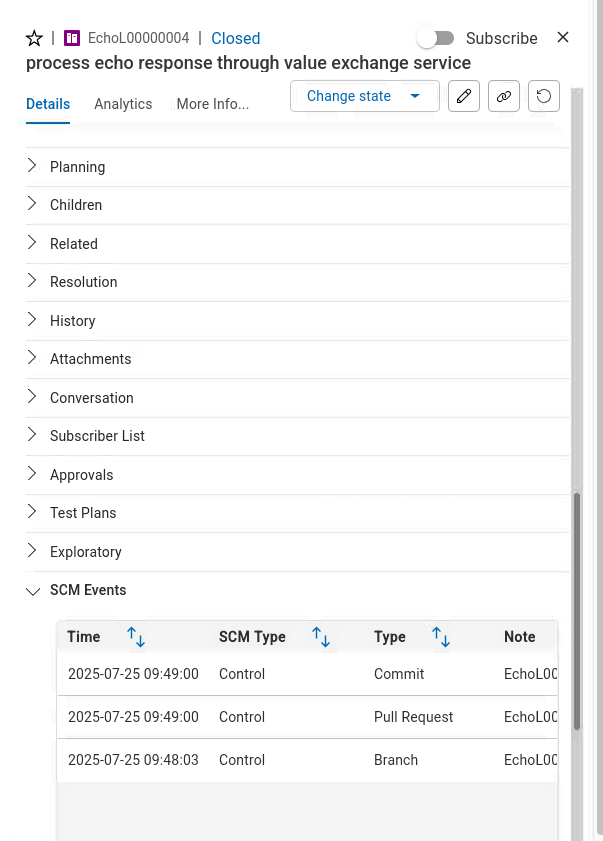
Work with Boards Create and customize a new Project Work with Queries Integrations Control/GIT/SCM Details Additional Information View the Control/GIT/SCM integration