Test Introduction TODO: Update with latest "Learning Loops" data. New Screenshots and slightly different flow
DevOps Test is a web-based continuous testing platform that consolidates test data, environments, test runs, and reports. It supports API , functional, and performance tests.
To learn more about DevOps Test please have a look at the documentation
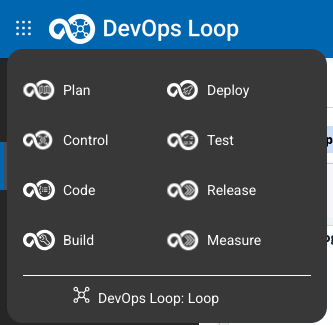
Overview This lab will provide you with a practical hands-on of our testing capabilities. You can click on the main menu and navigate to the DevOps Test.
How to switch to Test from Home Page Step Details Additional Information 1 You can always switch using the central app switcher on the top left of your screen 2 Or You can switch directly to Test by using the button/link from What would you like to do today section
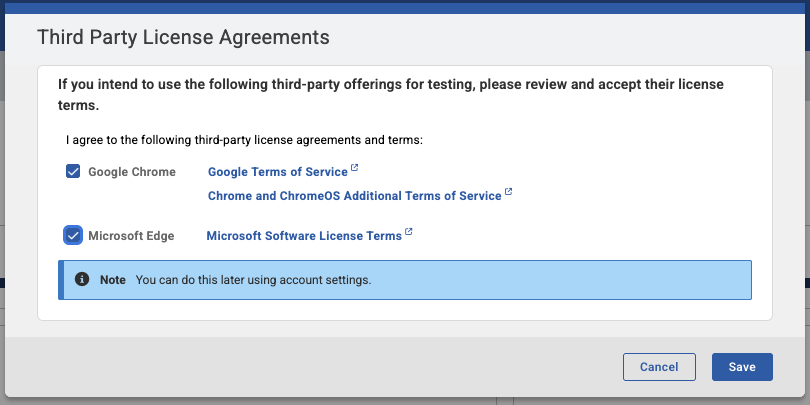
3rd Party Step Details Additional Information The first time you use Test you are asked if you want to accept 3rd Party plugins Either check the plugins to have them arccepte or accept them later. Press Save and a success mesage is shown
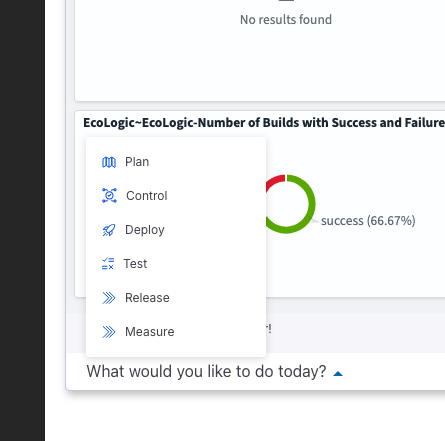
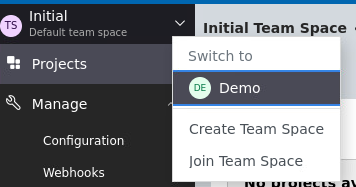
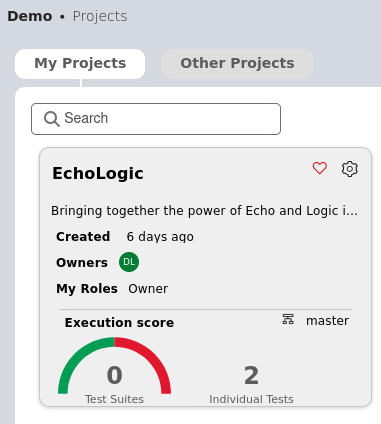
Switch teamspace and Project if needed Details Additional Information Should Test show you a different Teamspace or Project then expected (Demo and EchoLogic), click on Teamspace Icon and Select Demo . A list of Projects is shown:
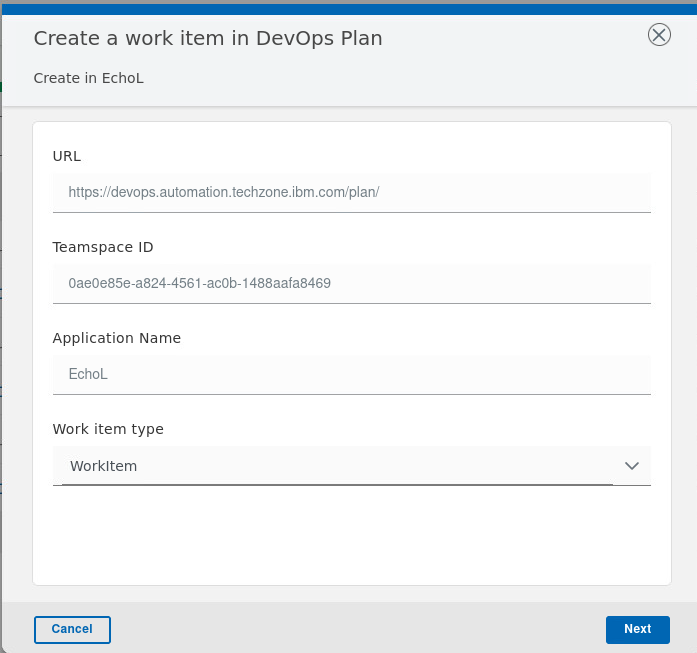
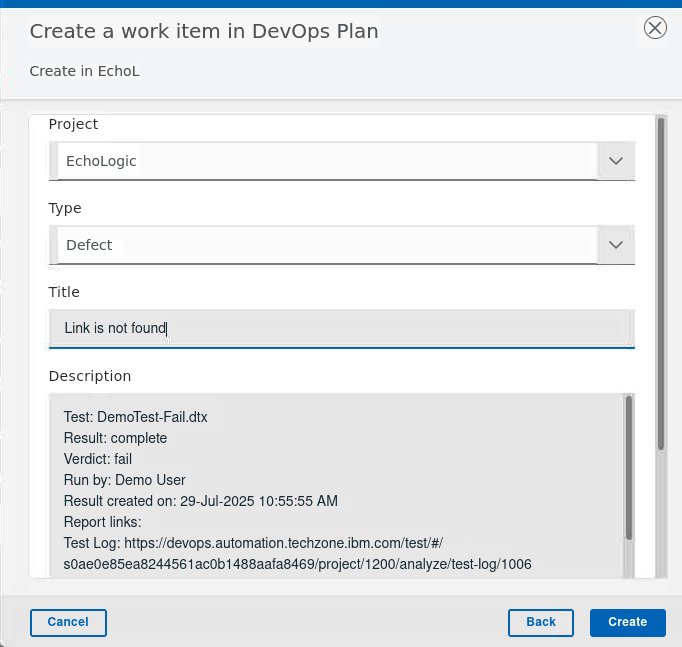
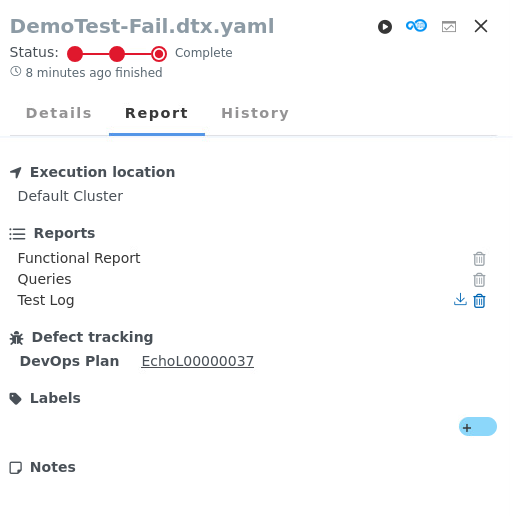
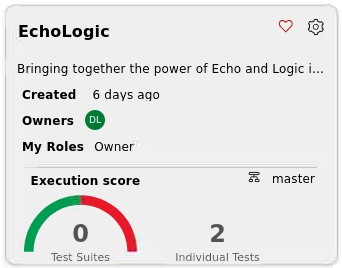
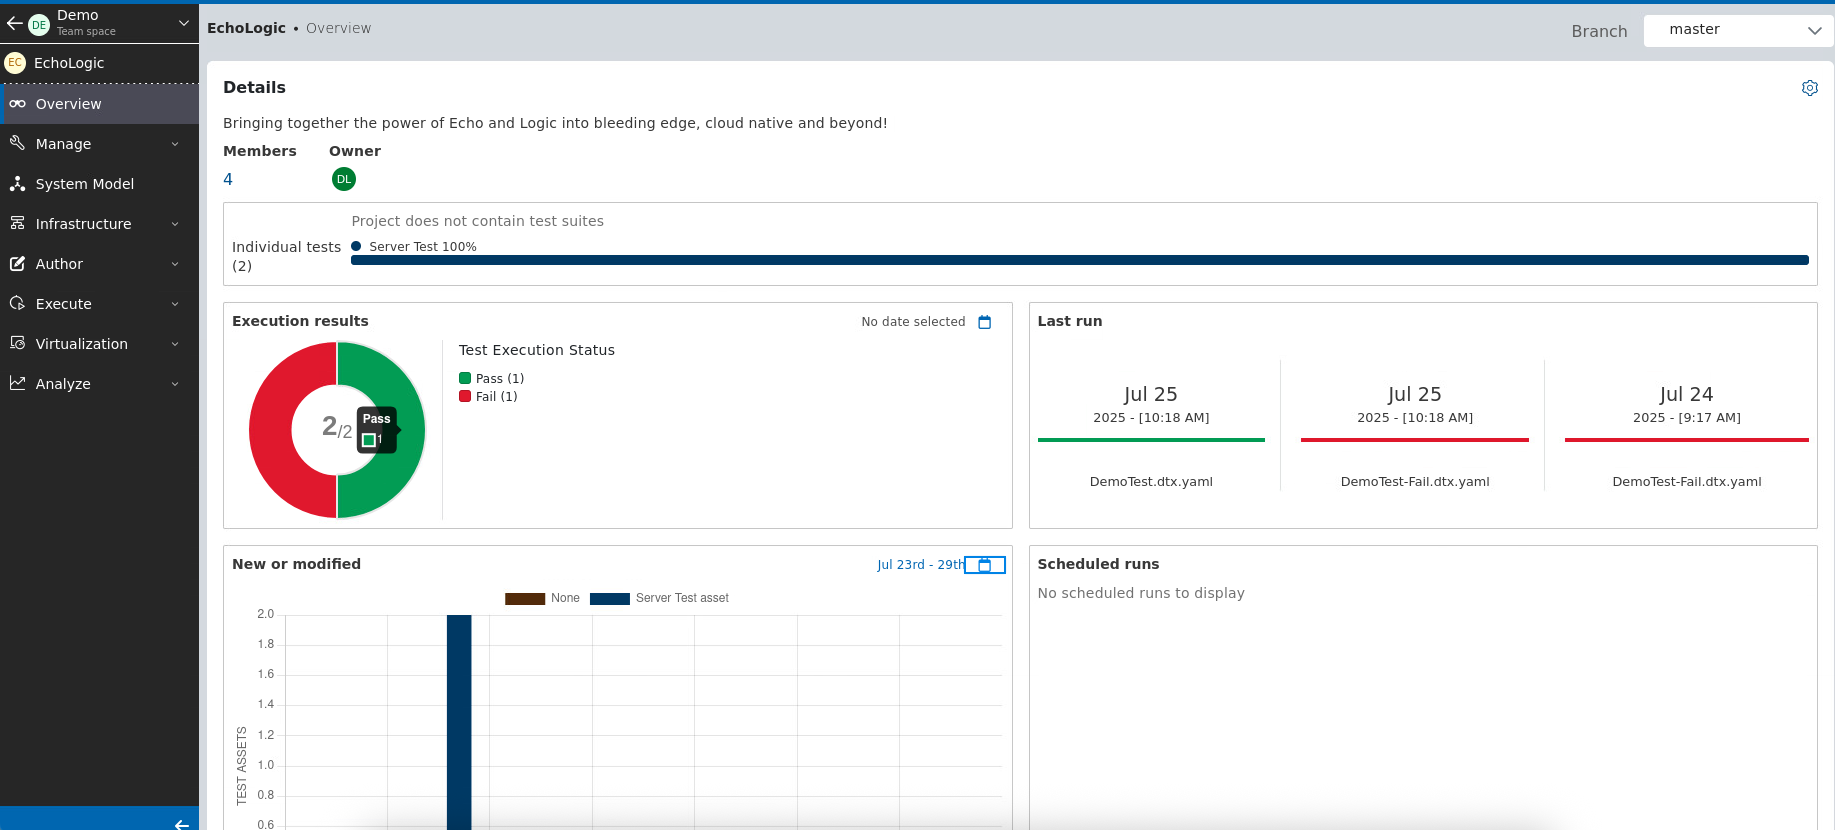
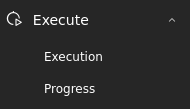
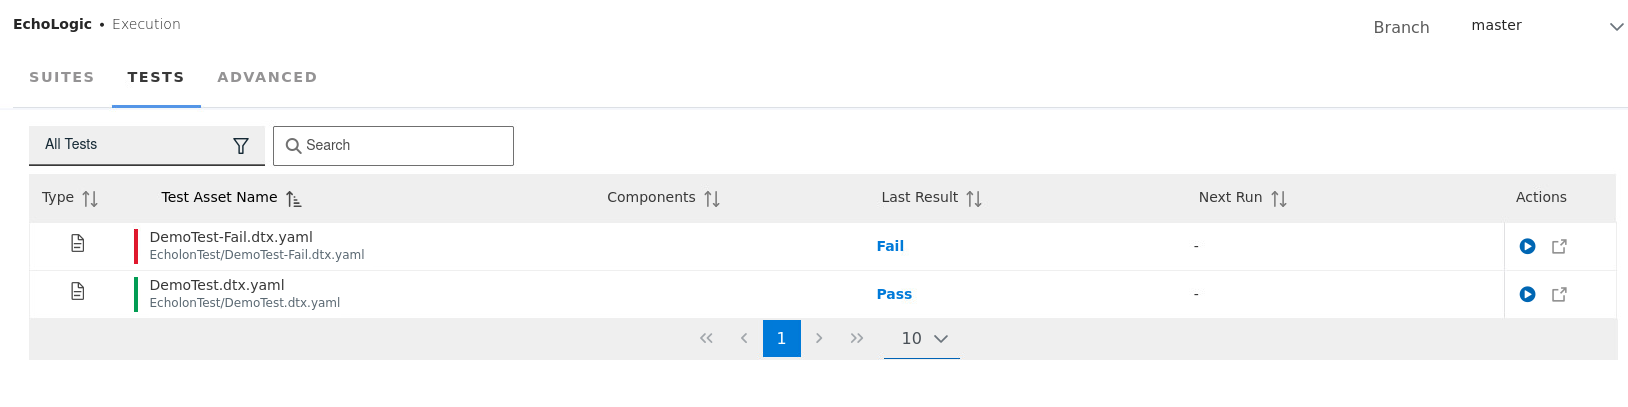
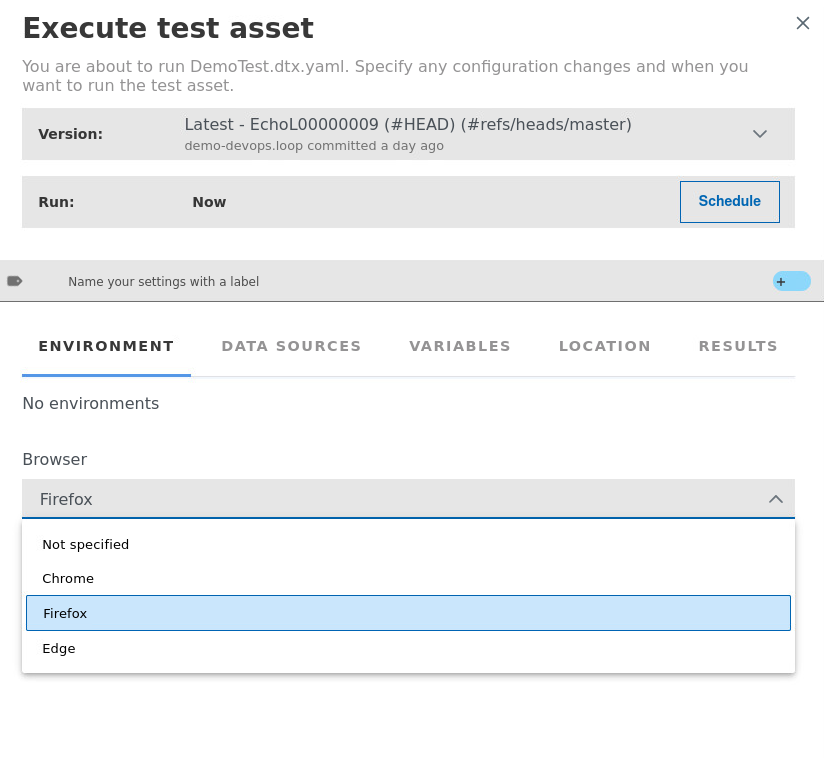
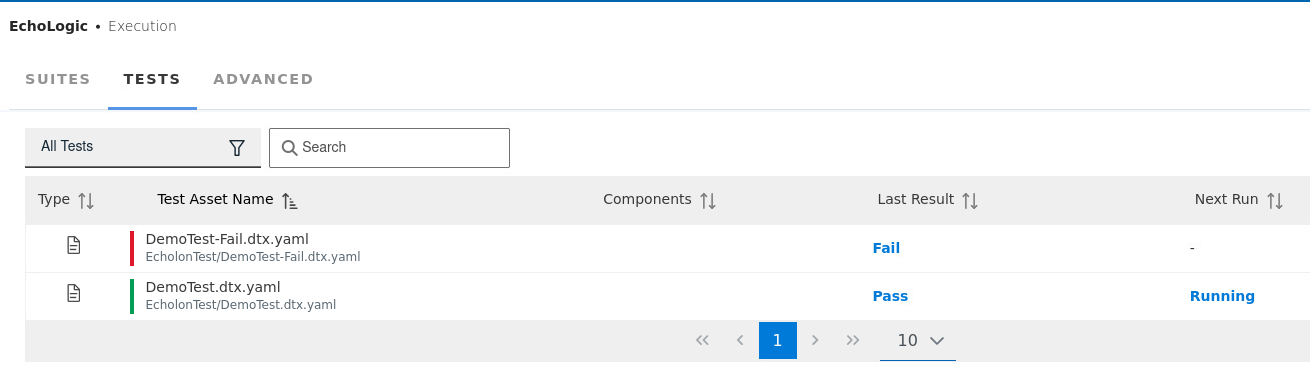
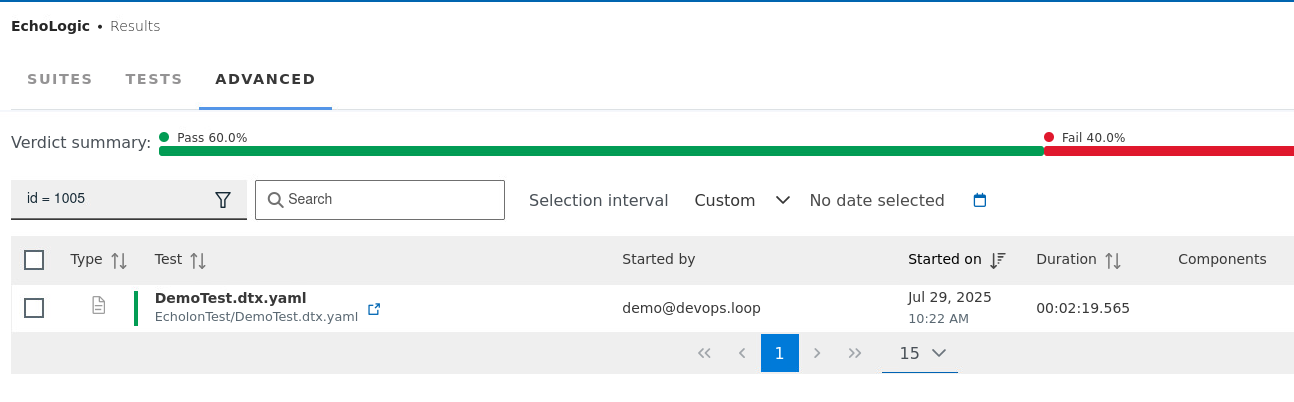
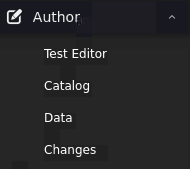
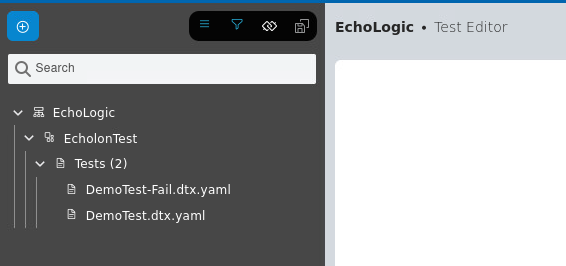
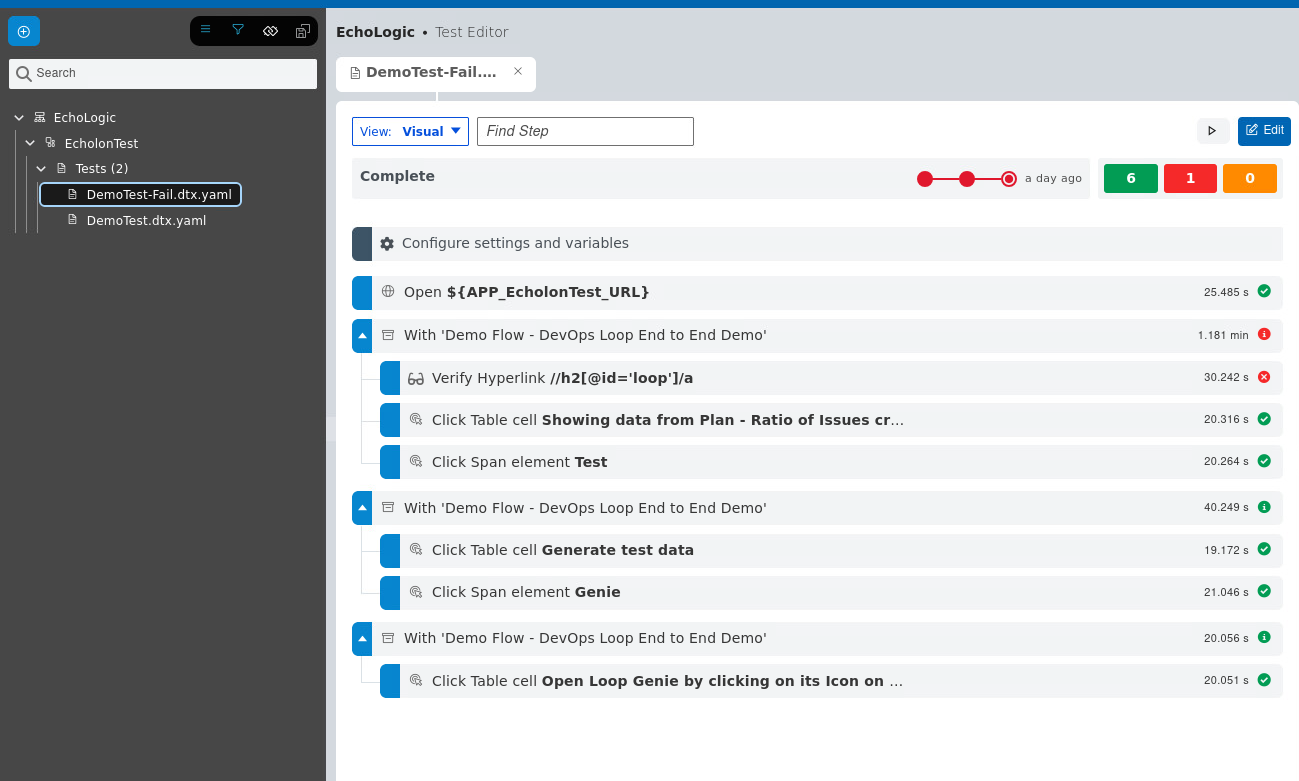
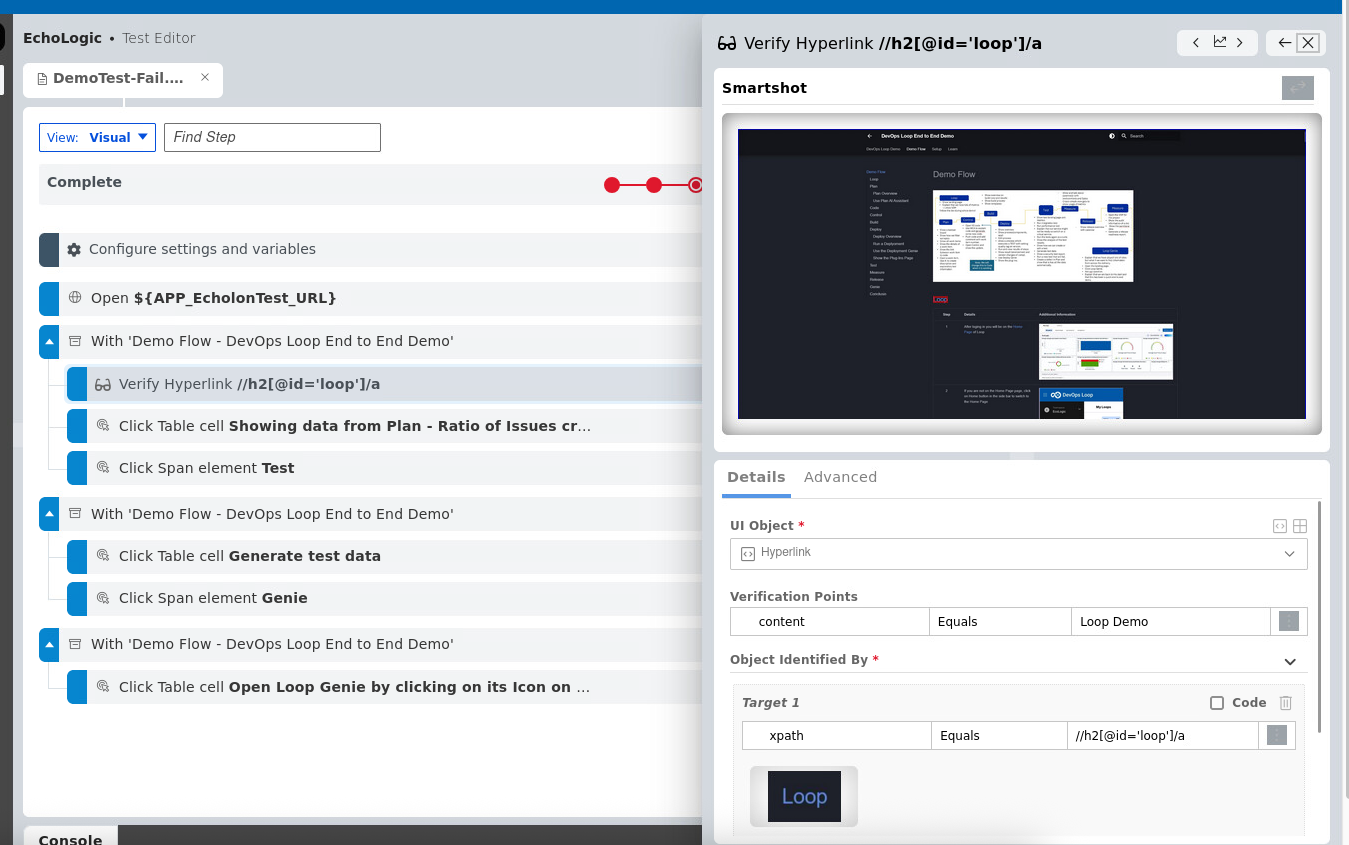
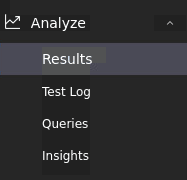
TestScripts and Testruns Step Details Additional Information Explain that you are now playing the role of a tester click on EchoLogic Project to open landing page Show the test landing page and metrics Run a test click on Execute Section in the Sidebar List of Scripts is shown click on Run Button on the right of Script DemoTest Dialog is opened to select a Browser, use the default settings Click on Execute Button to start Test Execution Run will take a few moments Show the analysis of the test results click on Analyze section in Sidebar to get list of Menu click on Results to get Results View Show how we can create or edit a test click on Author section on Test Editor menu entry Test Editor View opens and select the DemoTestFail script Test Script will be shown click on the verification step to view step details Run a new test that will fail click on Execute Section in the Sidebar List of Scripts is shown click on Run Button on the right of Script DemoTestFail Testexecution will take a few moments. Create a defect in Plan and show that is has all the data automatically Switch to Results View using the Analyze Section menu In the Results View select the DemoTestFail run Click on DevOps Plan A WorkItem creation Dialog opens, select Workitem in the Type field Select Project "EchoLogic", Workitem Type "Defect" and enter a Title In the Results View click on the DemoTestFail name to get a Detailed View Explain that everything is traceable
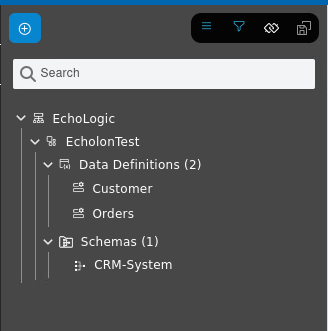
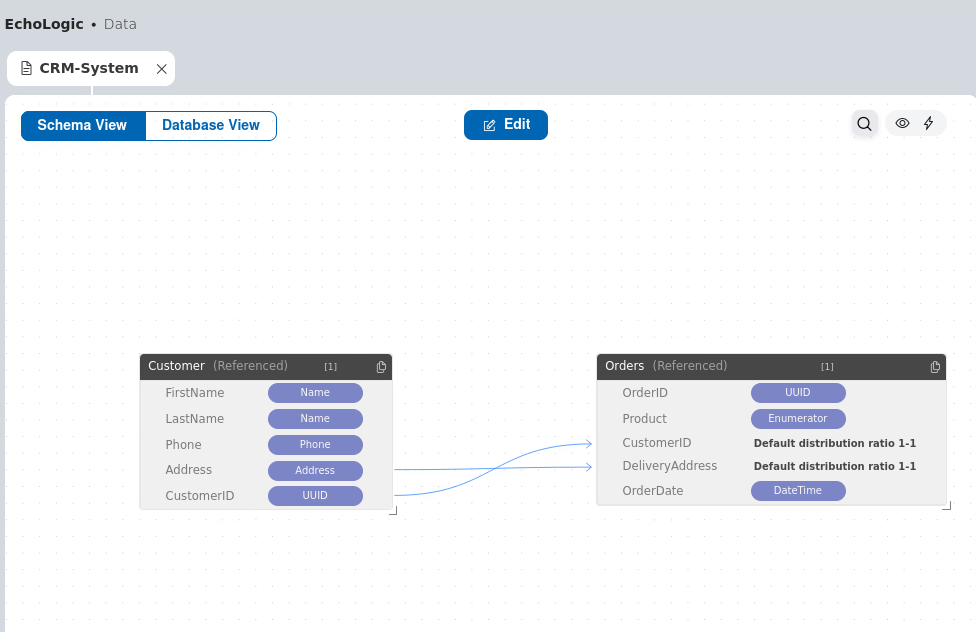
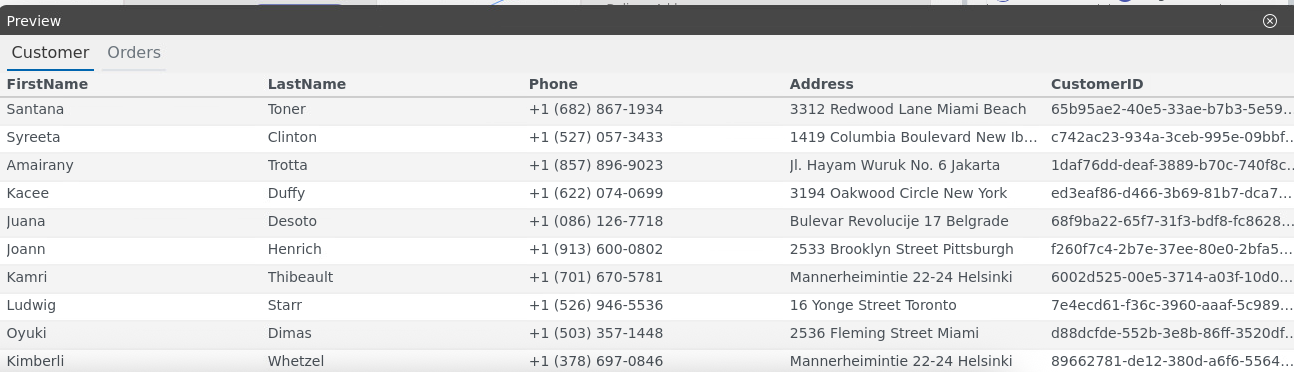
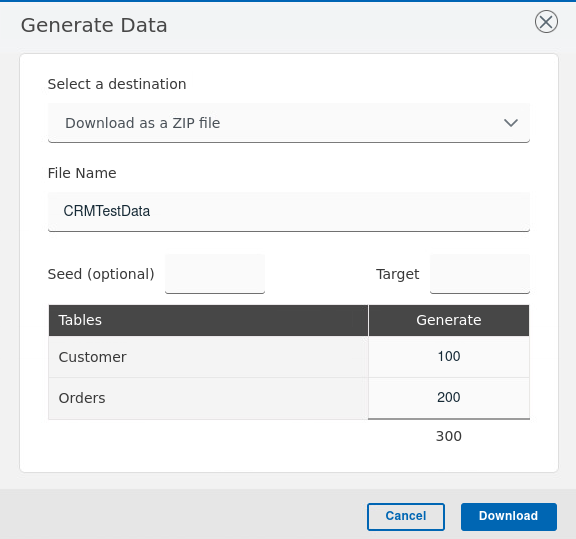
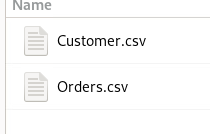
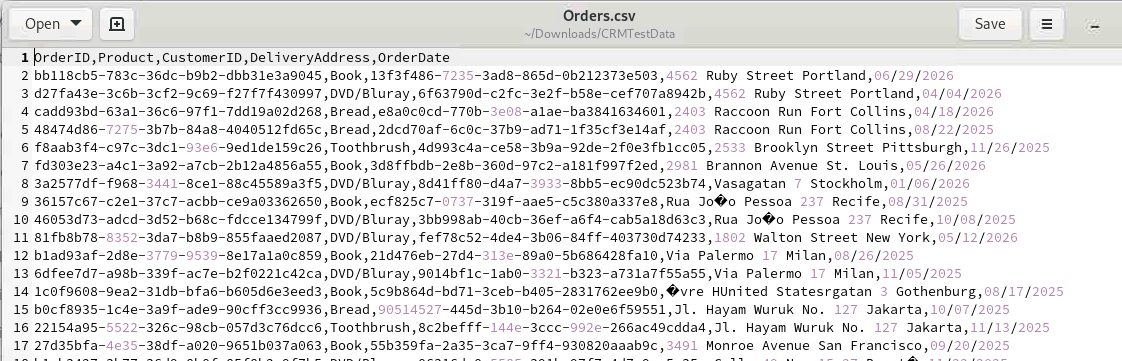
Testdata Step Details Additional Information Open Author section on Test Editor menue entry and click on Data Data Definitions and Schemas are shown click on CRM-System in the Schema folder the CRM-System Data Schema is shown Click on the Preview Icon Click on the Generate Icon Download the generated Data by clicking on Downlad Button Unzip and open the create folder Two files are created Customers and Orders Open one Orders.csv to view gnerated Data
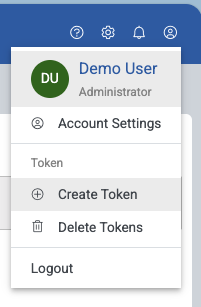
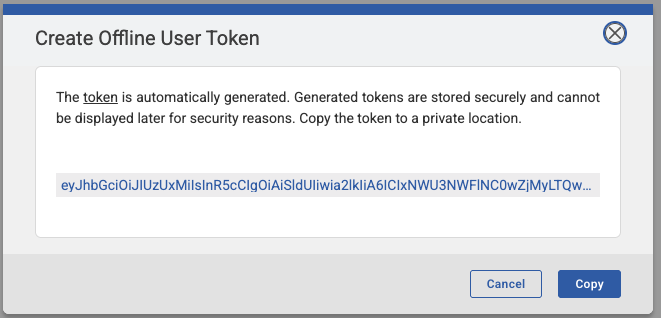
Settings Create Token Step Details Additional Information click on the Profile Link on the top right of your screen to get a menue Click on Create Token in the menue for a new PAT A new PAT will be created automatically and shown. COPY and PASTE into a secure storage for furter usage click on Close to close the dialog


 Icon on the right side of the row