Setup
NOTE: With the introduction of "Learning Data" in Loops this section is no more needed.
NOTE: Keeping it for learning purposes only: Manual Setup of Demo Environment on top of pre-provided DevOps Loop Environment.
Start Here
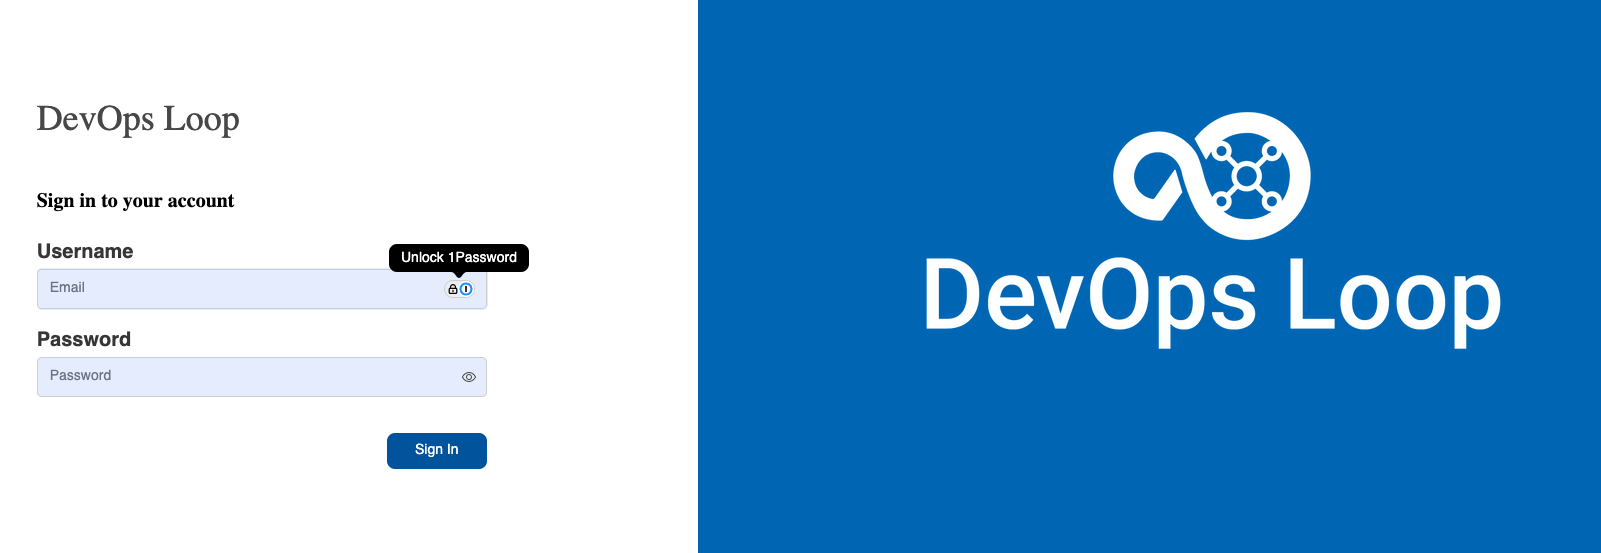
How to log in
The Home Page
| Step | Details | Additional Information |
| 1 | After you have been logged in you will be directed to your homepage | |
| 2 | If no Teamspace or Loop has been created follow:
[Creation of a Teamspace and Loops instructions][CreateTSandLoop] | 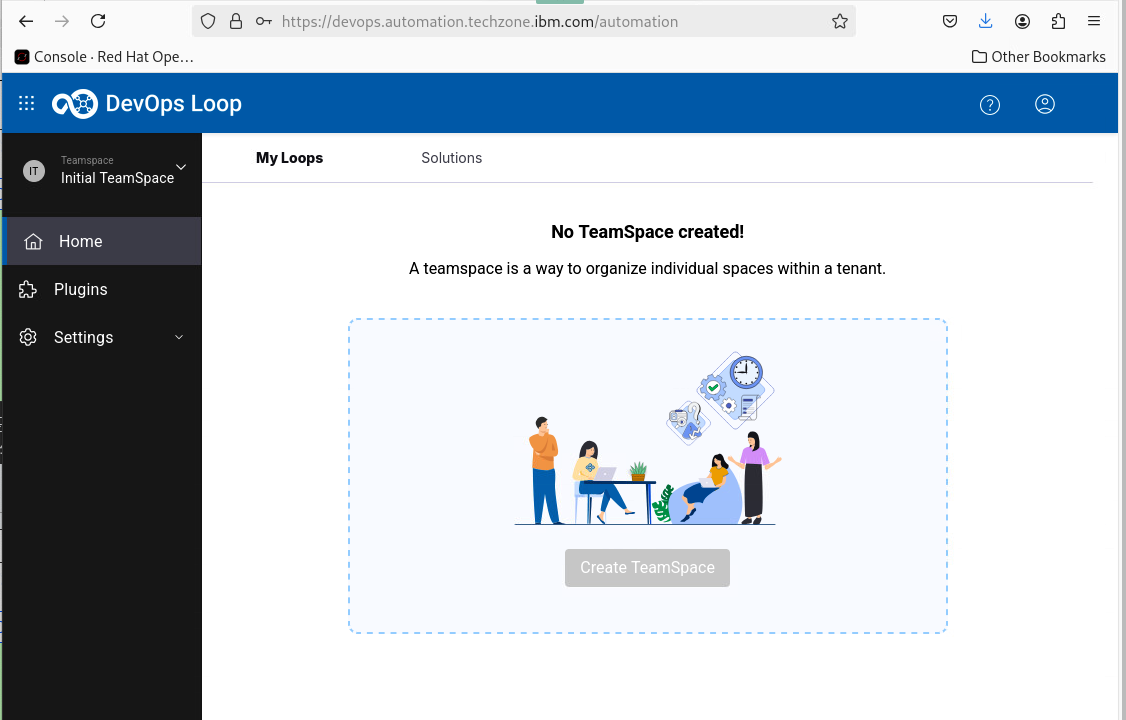 |
| 3 | if a Teamspace and Loop exists it will provide you an overview about metrics from your Loops | 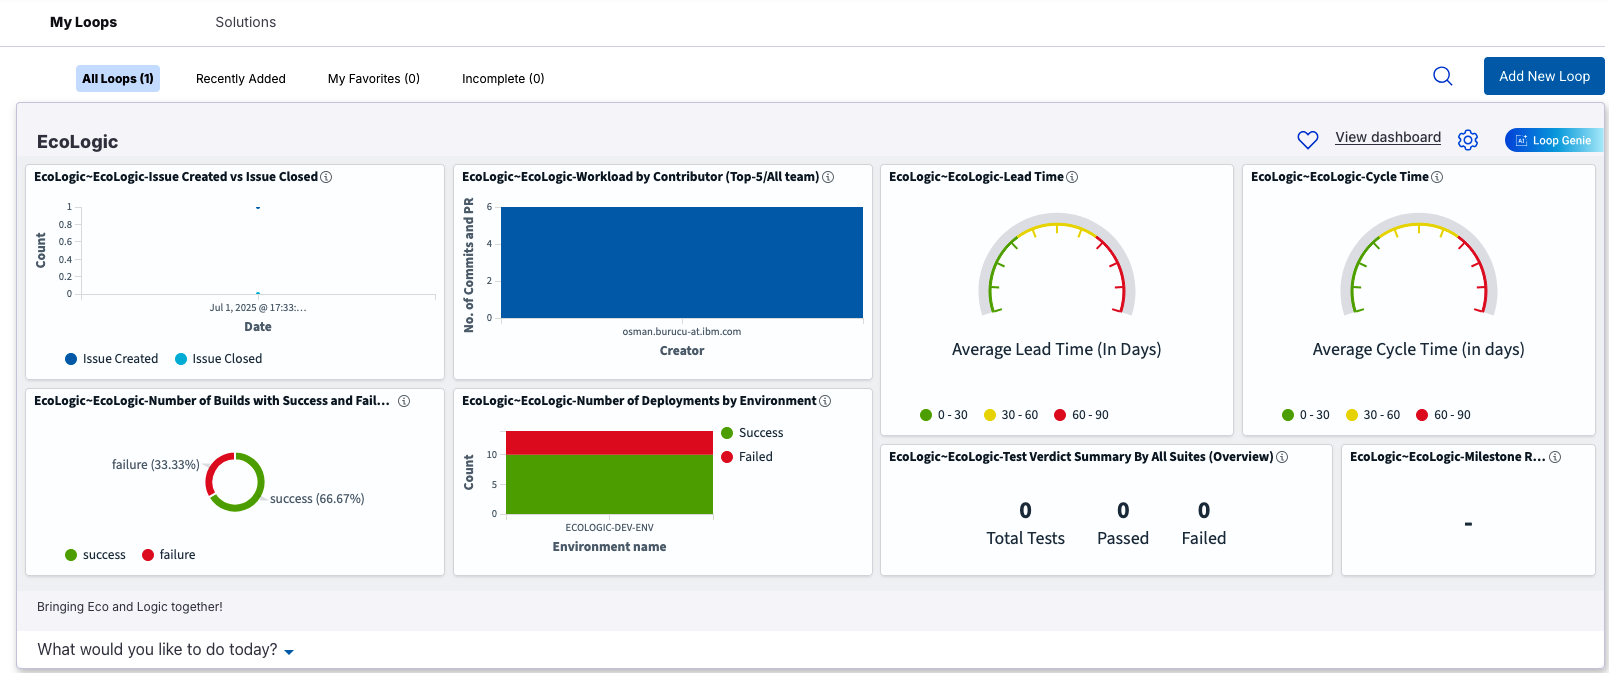 |
| 4 | To switch between Teamspaces follow this guide: [Switching between Teamspaces][SwitchTeamSpaces] | |
Setup a Teamspace and Loop
Setup a Teamspace
| Step | Details | Additional Information |
| 1 | Click on the Teamspace icon  | 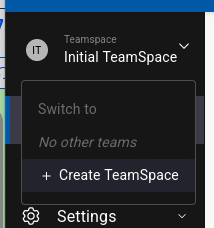 |
| 1.1 to view or create a Teamspace | |
| 2 | Click on Create teamspace |  |
| 3 | Enter a name and a Description | |
| 2.1 Example Name: 'Demo'
Example Description: 'Teamspace for Demos' | 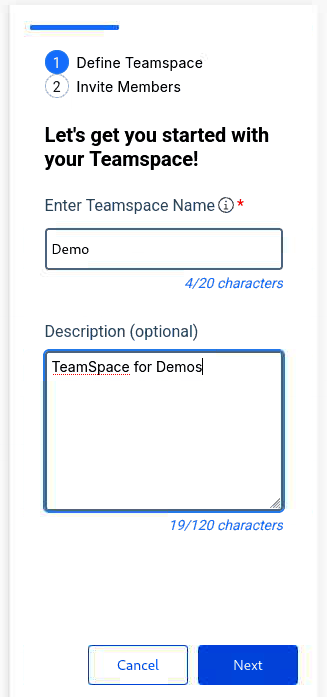 |
| 4 | press Next Button to proceed |  |
| 5 | You can search and add Teammembers to a Teamspace | 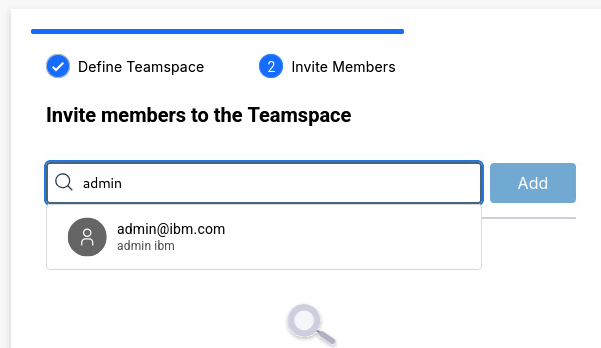 |
| 6 | Teammember is added to a list. Proceed to add more members if needed. | 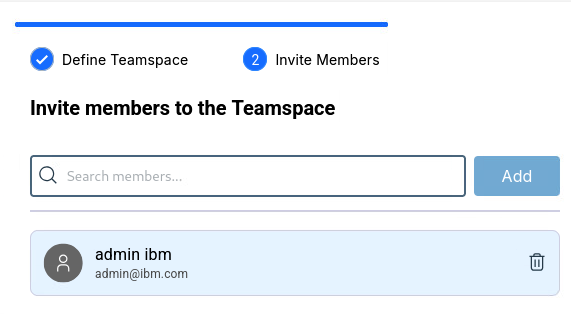 |
| 7 | Press Create to proceed |  |
| 8 | Teamspace creation will take a few moments | 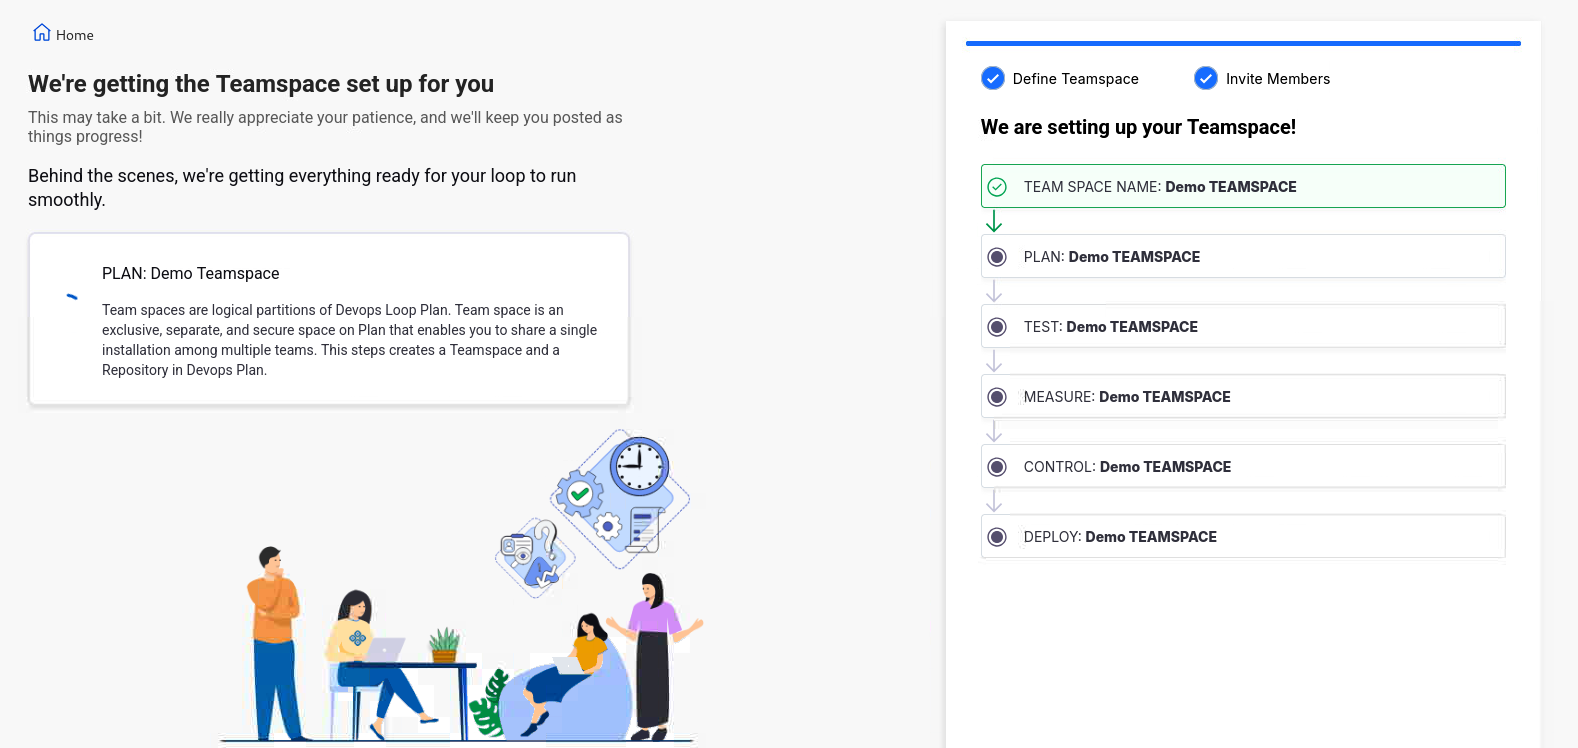 |
| 9 | Teamspace created. Click on Go to Teamspace for next steps | 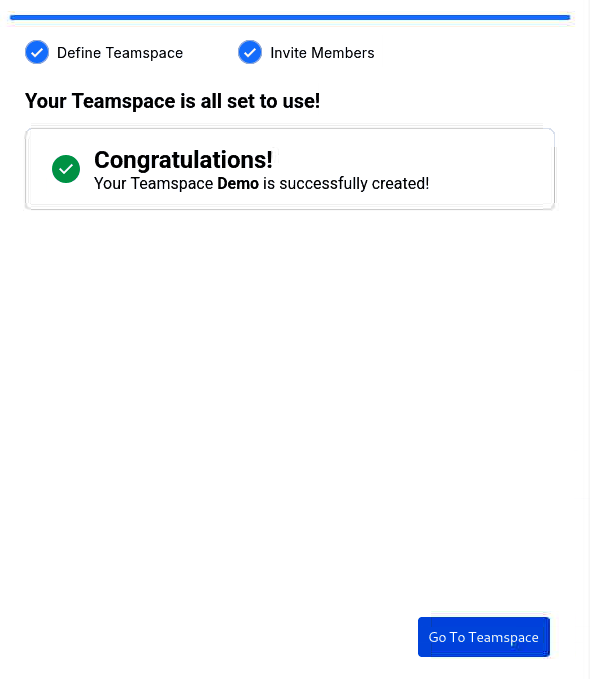 |
| 10 | New Teamspace is shown | 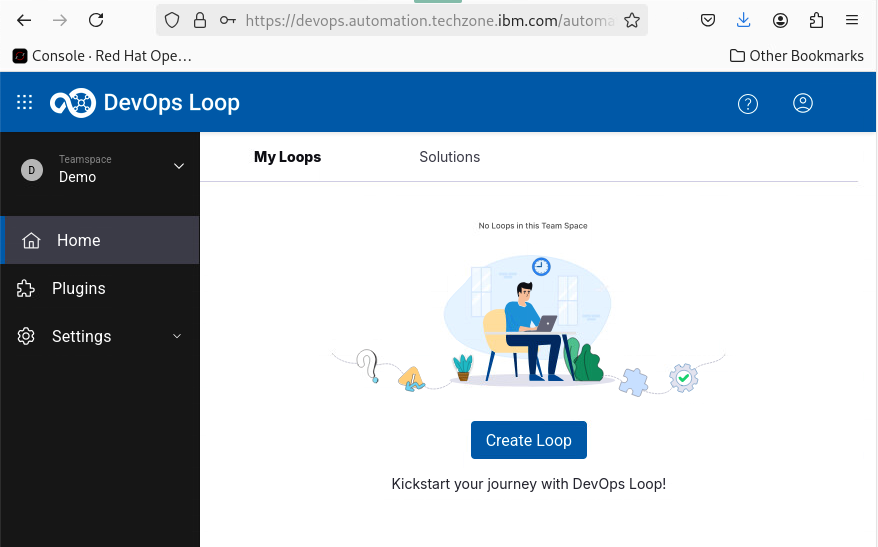 |
| 11 | Please proceed with Setting up a Loop | |
Setup a Loop
| Step | Details | Additional Information |
| 1 | Press the Create Loop Button |  |
| 2 | In the Loop creation Dialog enter a name and a description | 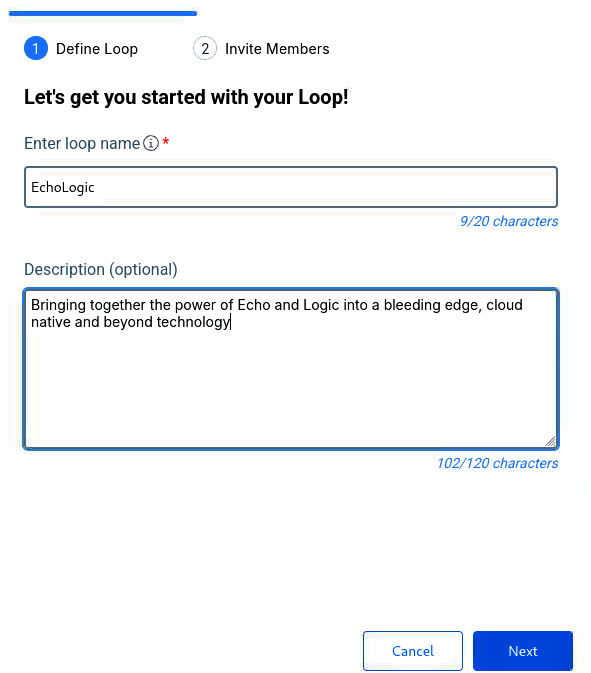 |
| 2.1 Name: | "EchoLogic" |
| 2.2 Description: | "Bringing together the power of Echo and Logic into bleeding edge, cloud native and beyond!" |
| 3 | press the Next Button to proceed | |
| 4 | You can search and add a Teammember to the Loop |  |
| 4.1 enter "a" in search dialog and if a mail address is shown, select it and click on Add |  |
| 4.2 a new Member is added | 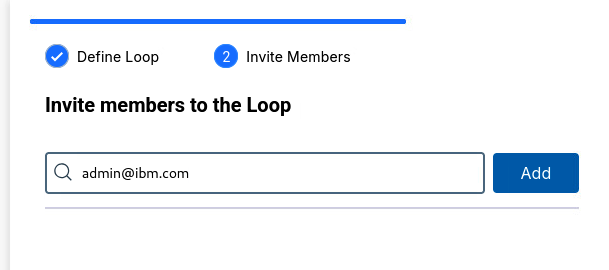 |
| 5 | Press the Create Button to start Loop creation | |
| 6 | Loop creation can take a few moments, as soon as it finishes a Success screen will be shown | 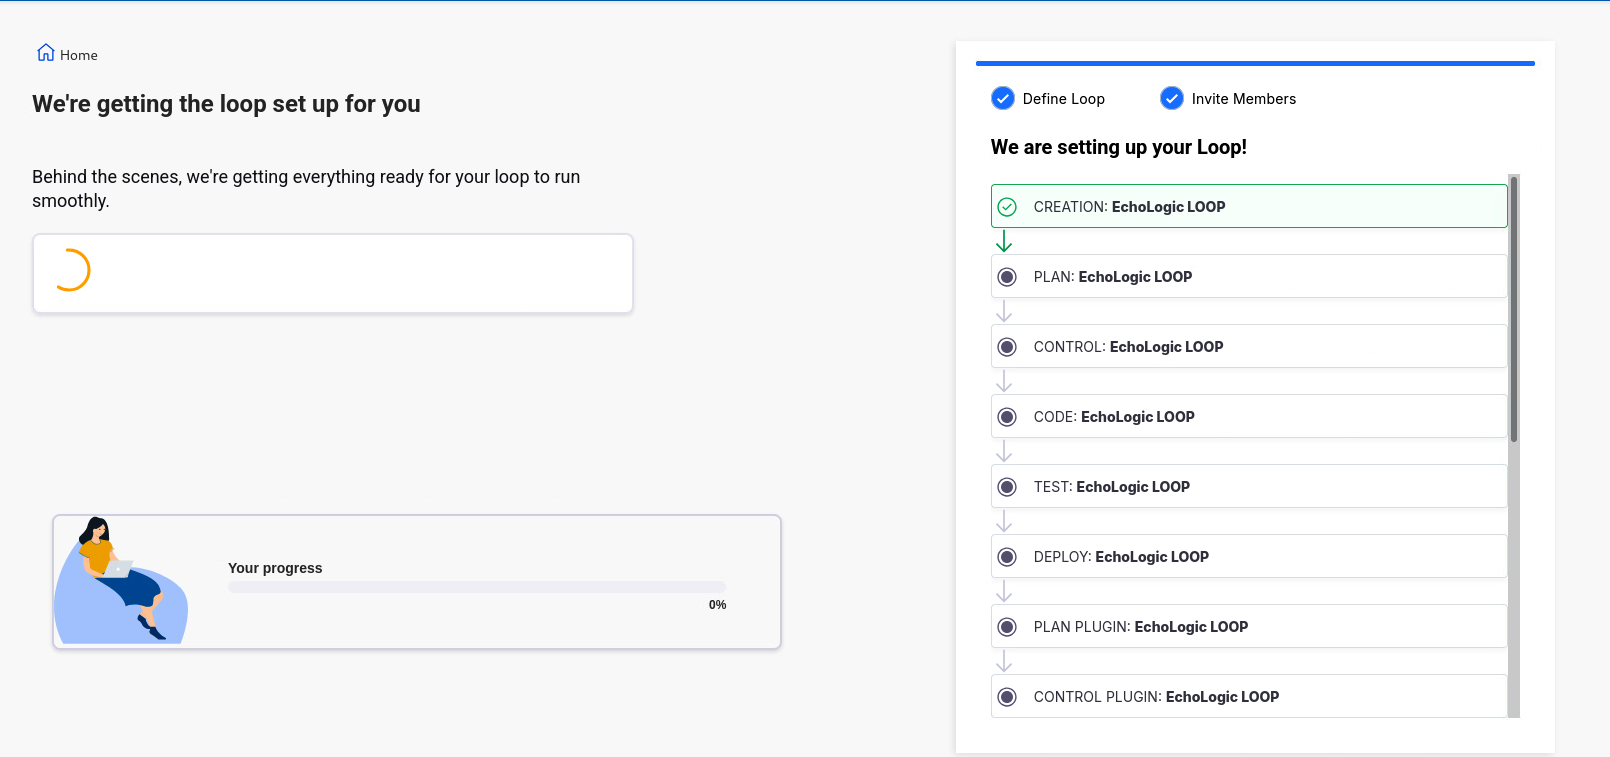 |
| 7 | Creation is successfull | 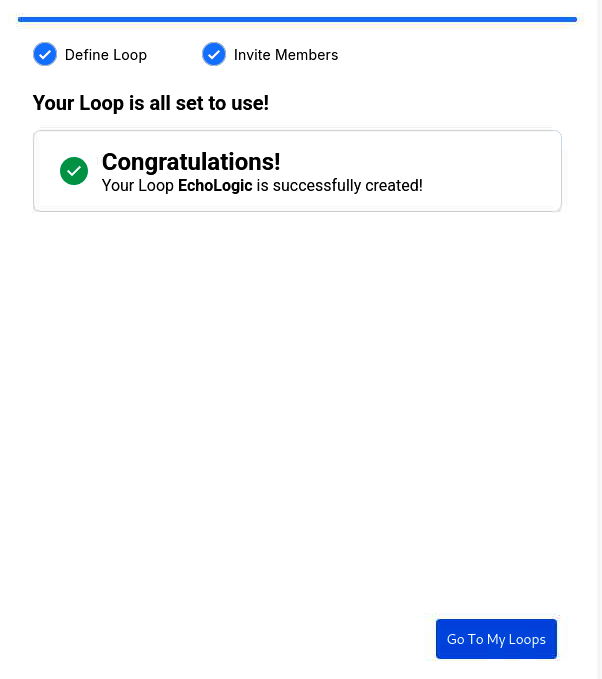 |
| 8 | Press now Go to my Loops Button to proceed |  |
| 9 | As your Loop has no data please proceed with Setting up Demo Data | 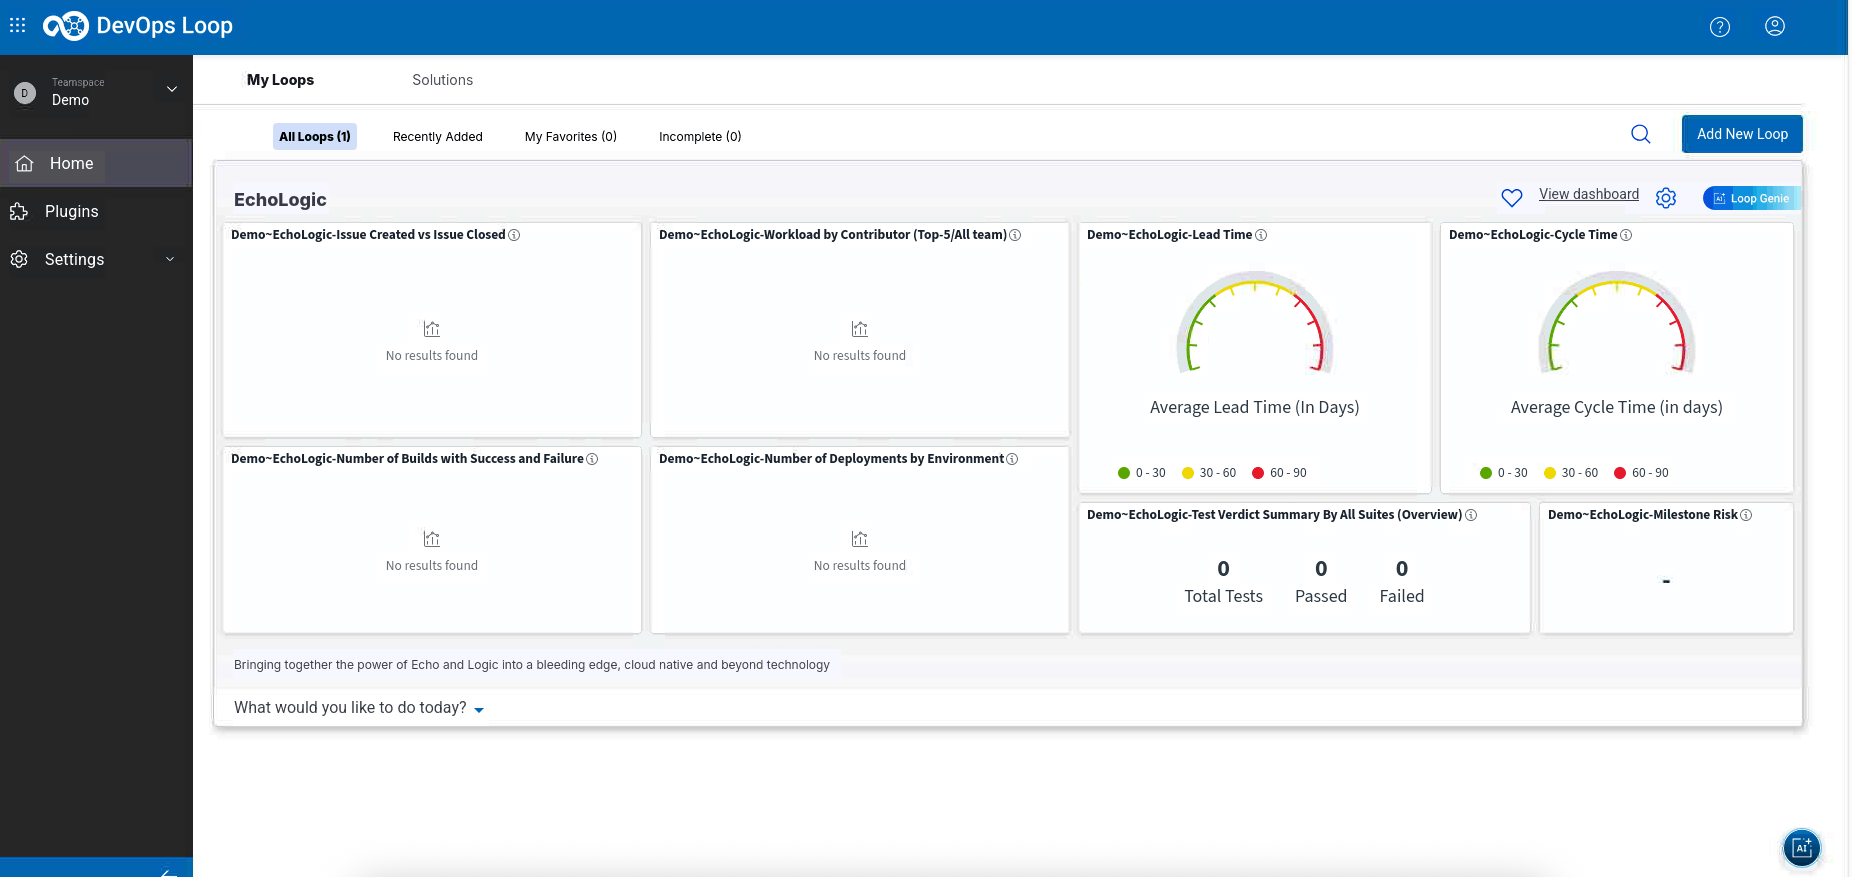 |
Setup AI Integrations
Please follow this instructions
Setup Demo Data
NOTE: All Files which are referenced here are available in the following GitHub Repository: https://github.com/DevOpsAutomationLabs/EchoLogic_DemoApp
Folowing options how you can use the data from the repo:
Download latest https://github.com/DevOpsAutomationLabs/EchoLogic_DemoApp/releases/latest source code zip file Unzip on your local drive Access the files from the provided links in the setup steps Clone to your local disc
Download EchoLogic DemoApp files
| Step | Details | Additional Information |
| 1 | Click URL to Latest Version | |
| 2 | The latest version will be shown | 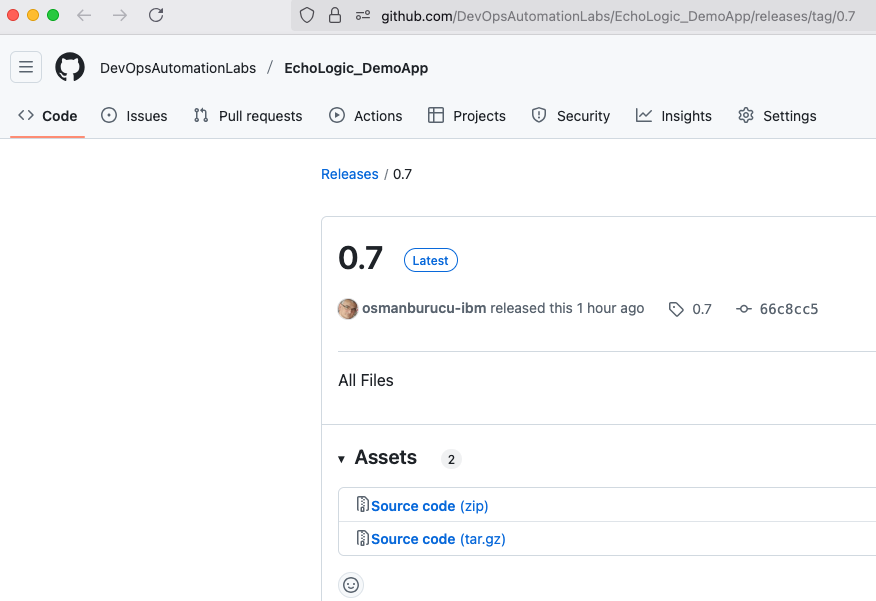 |
| 3 | In the Assets section |  |
| 4 | Click on Source Code Zip | 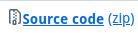 |
| 5 | Save into Downloads Folder | 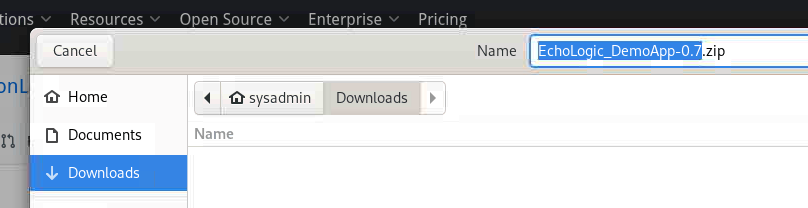 |
| 6 | Click on Downloads Icon of Browser |  |
| 7 | Click on File to automatically unzip and show in Filemanager | 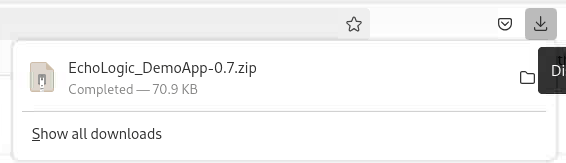 |
| 8 | The ZIP file should have been unzipped into a new folder | 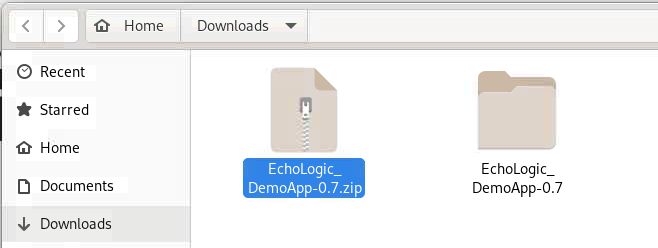 |
Importing Demo Data into Plan
| Step | Details | Additional Information |
| 1 | Switch to Plan | |
| 1.1 by either pressing "Let's go to Plan" button on its tile | 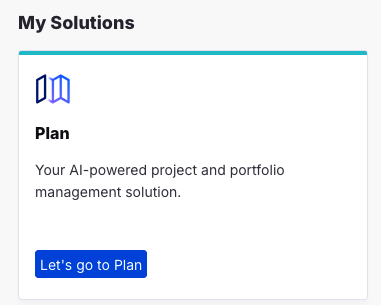 |
| 1.2 by using the central app switcher on the top left of your screen | 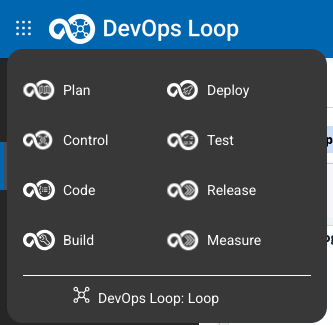 |
| 1.3 by using the button/link from What would you like to do today section | 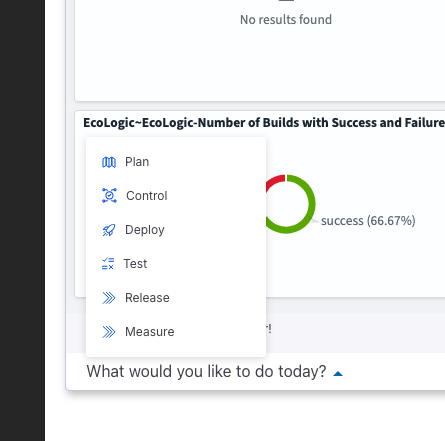 |
| 2 | Click on Let's Go on the "EchoL" application | 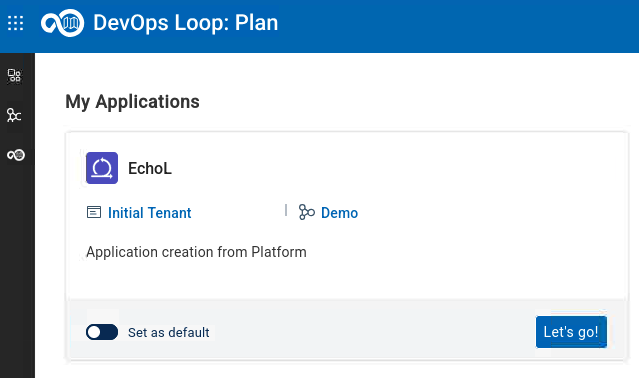 |
| 2.1 if you get a Welcome Screen click to close to proceed with data import | 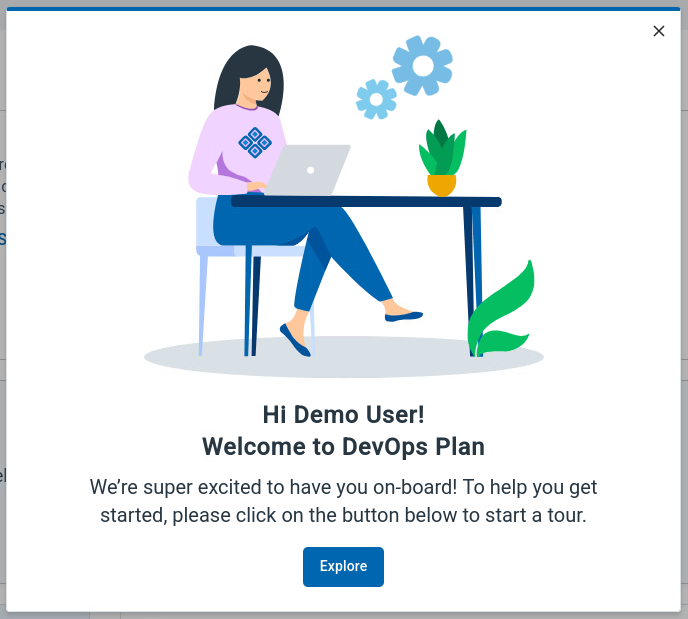 |
| 3 | click in the Sidebar | |
| 3.1 on Configuration |  |
| 3.2 Use the Import Feature of plan to load sample data | 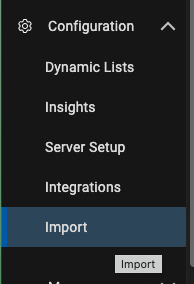 |
| 4 | In the Dialog for importing record data | 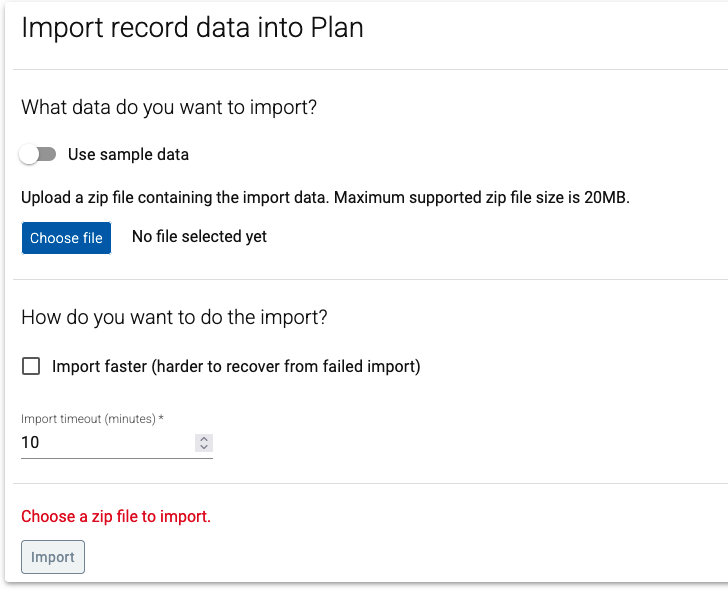 |
| 4.1 click the Choose File Button |  |
| 4.2 go into Downloads/EchoLogic_DemoApp-NN/files/plan folder | 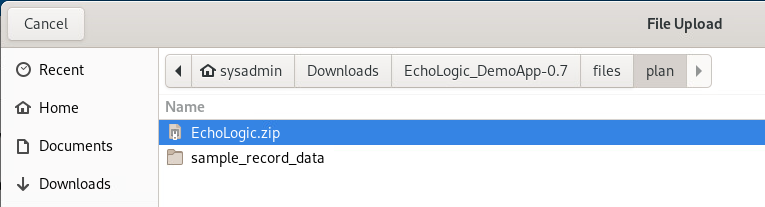 |
| 4.3 select the sample data file EchoLogic.zip to be imported | 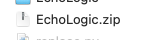 |
| 4.4 Now we have the file selected | 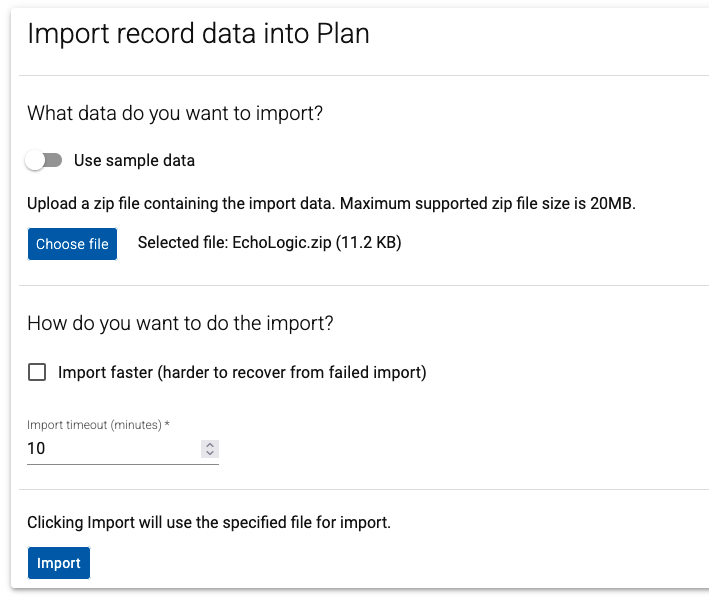 |
| 4.5 Press the Import Button to start |  |
| 6 | The Import process starts. | 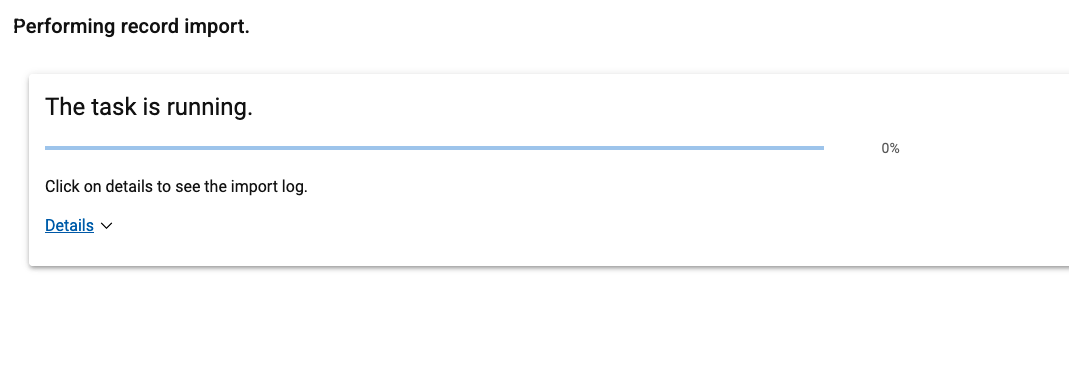 |
| 6.1 By clicking on Details the process output can be viewed | 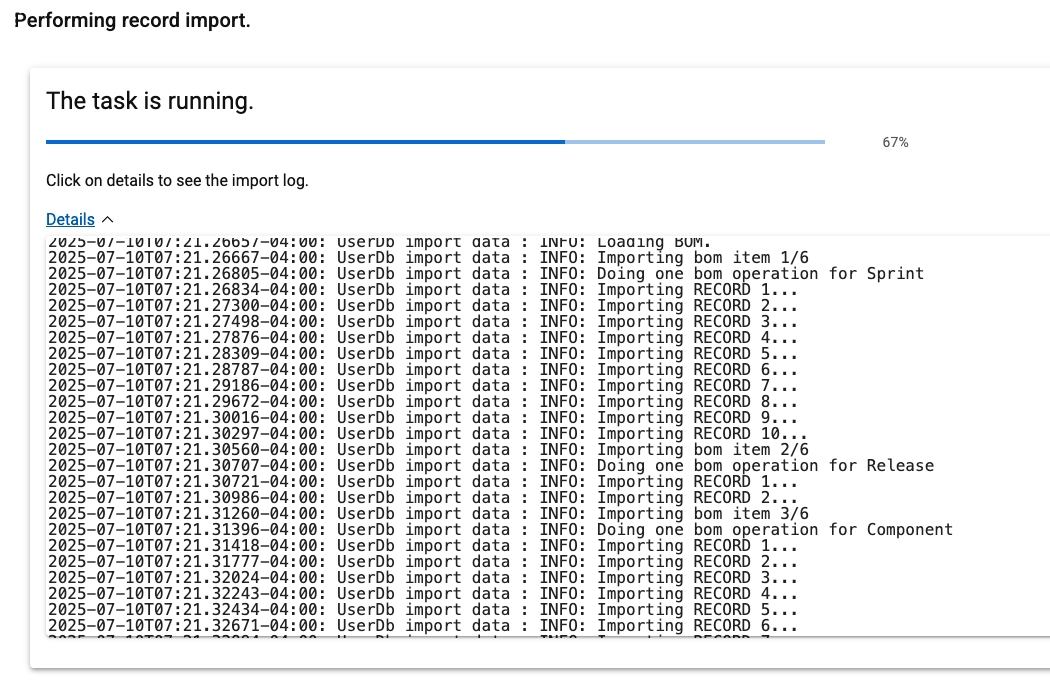 |
| 6.2 Import has finished | 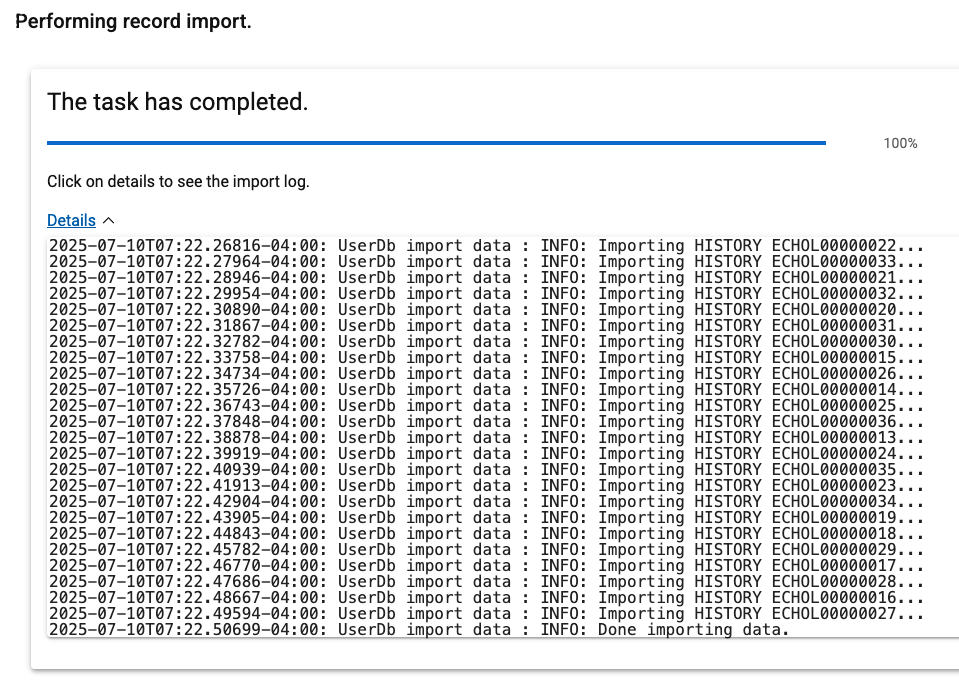 |
| 6.3 Press the close button (bottom right on the screen) |  |
| 7 | verify that data has been loaded | |
| 7.1 Click on Project Board icon on the Sidebar |  |
| |  |
| 7.2 Your board should look similar to this screenshot | 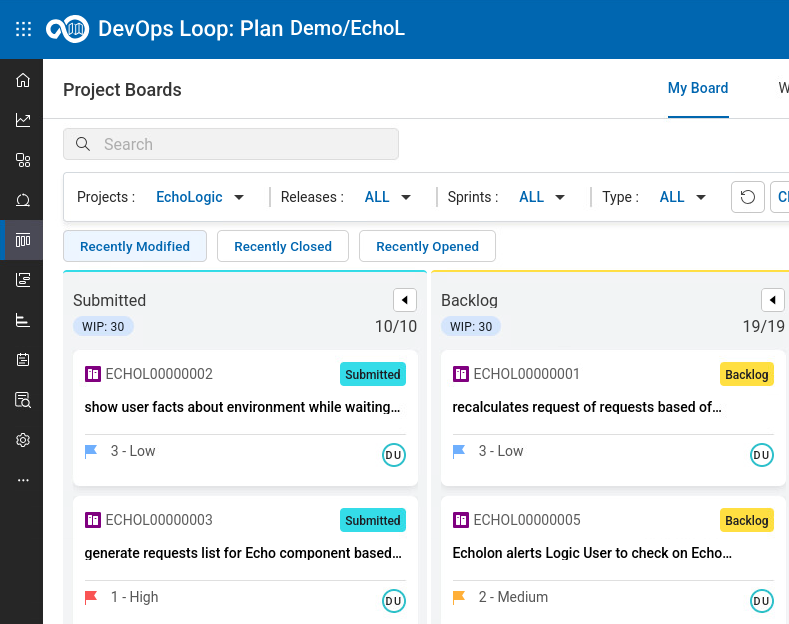 |
Importing Demo Data into Control
| Step | Details | Additional Information |
| 1 | Switch to Control | |
| 1.1 by either pressing "Let's go to Control" button on its tile | 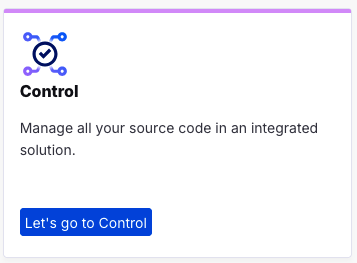 |
| 1.2 by using the central app switcher on the top left of your screen | |
| 1.3 by using the button/link from What would you like to do today section | |
Setup a Personal Access Token
| Step | Details | Additional Information |
| 1 | Click on the top right on Profile and Settings | 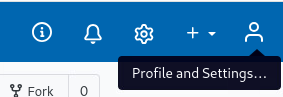 |
| 1.1 Provide a name for the token. Example demostokenos | |
| 1.2 Select Settings | 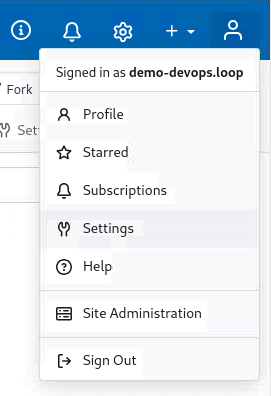 |
| 2 | Click on Access Tokens in the menu | 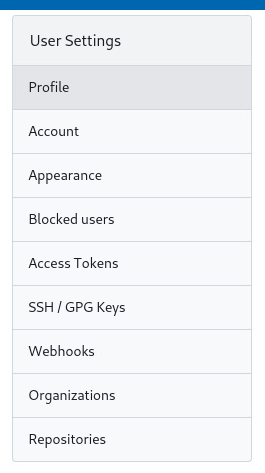 |
| 2.1 click on the Select Permissions section to open settings | 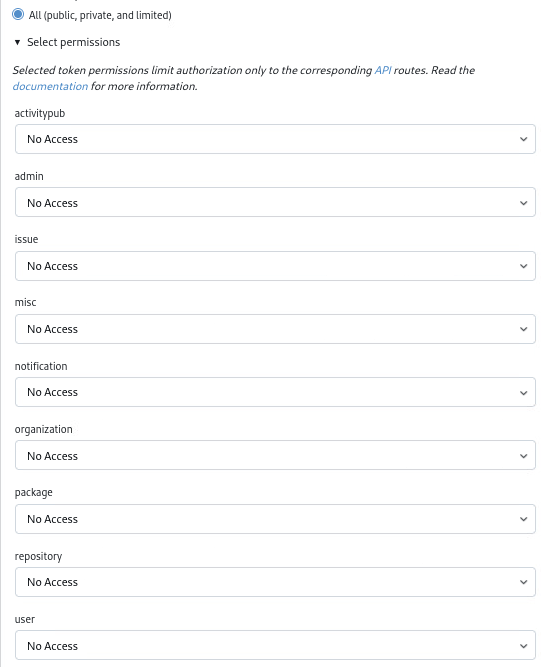 |
| 2.2 Set "issue" to "Read/Write" | |
| 2.3 Set "repository" to "Read/Write" | |
| 2.4 Set "user" to "Read" | |
| 2.5 Click on Generate Token Button | 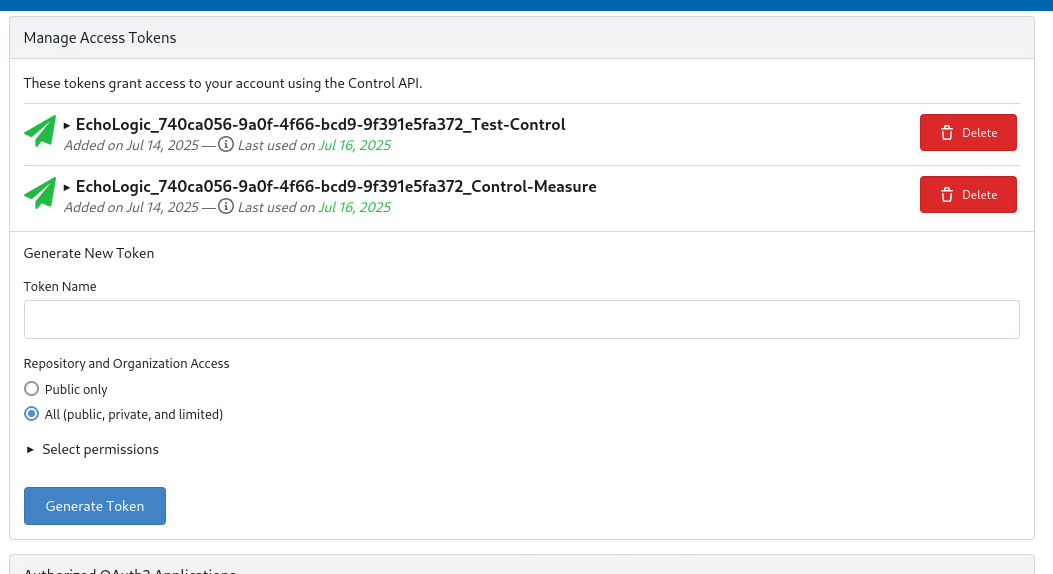 |
| 3 | The new Token is created and shown | 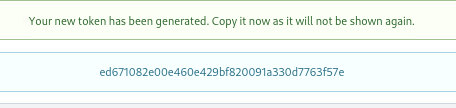 |
| NOTE: | |
| 3.1 Copy and Paste the token into a text file for reference! | 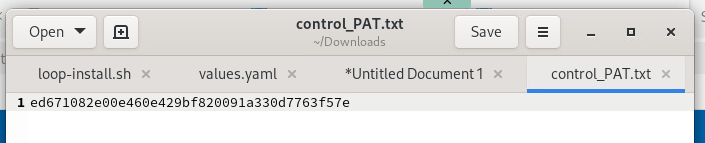 |
Clone Target Repository
| Step | Details | Additional Information |
| 1 | Open a Terminal to clone the target and source repositories |  |
| 2 | cd into the Documents folder cd Documents |  |
| 3 | Clone the target repository |  |
| 3.1 Git Clone command | git clone https://devops.automation.techzone.ibm.com/control/Demo/EchoLogic.git" |
| 3.2 Provide Username: demo-devops.loop | 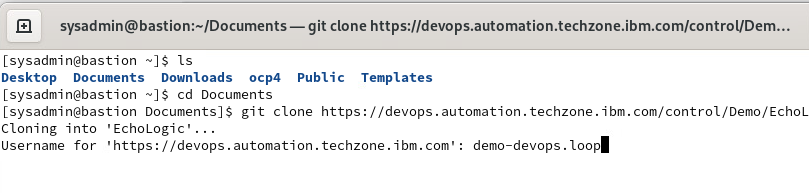 |
| 3.3 Provide access token (copy from textfile) | 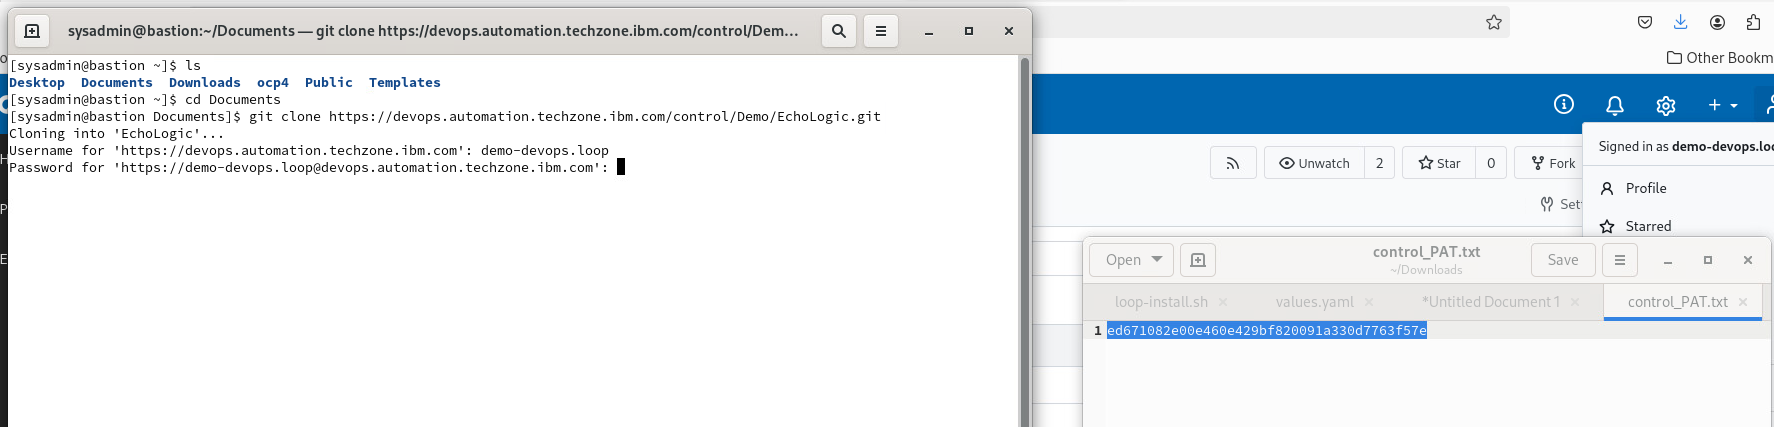 |
| 4 | The target repository is cloned | 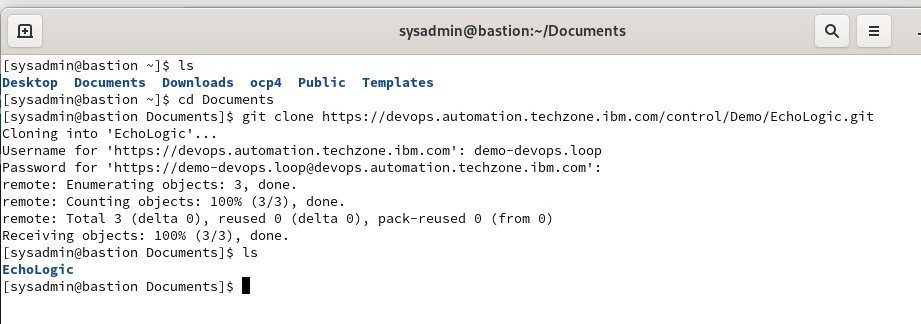 |
| 4.1 check the folder with ls EchoLogic |  |
| 5 | If needed Getting back to Documents | cd&cd Documents |
| 6 | | |
| 7 | Copy some folders and files from Source Repo to Target Repo |  |
| 7.1 Copy docs folder | cp -r EchoLogic_DemoApp/docs EchoLogic/ |
| 7.2 Copy files folder | cp -r EchoLogic_DemoApp/files EchoLogic/ |
| 7.3 Copy src folder | cp -r EchoLogic_DemoApp/src EchoLogic/ |
| 7.4 Copy the Readme file | cp -r EchoLogic_DemoApp/README.md EchoLogic/ |
| 8 | Check target repo folder ls EchoLogic |  |
| 9 | Push changes | 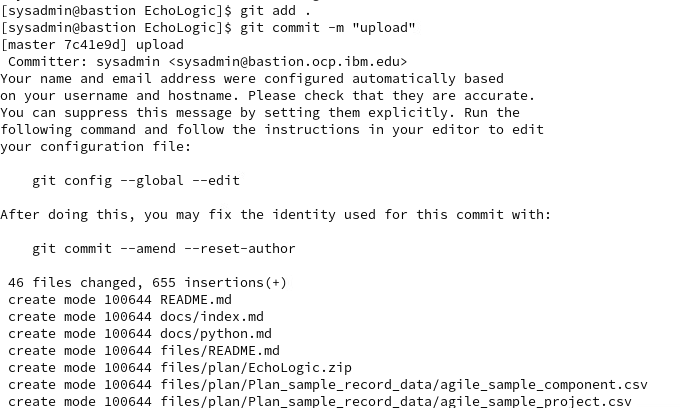 |
| 9.1 Add changes | git add . |
| 9.2 Commit Message | git commit -m "upload" |
| 9.3 Push changes | git push |
| 9.4 Provide username and token (same as with clone) | |
| 9.4.1 demo-devops.loop | |
| 9.4.2 Provide access token (copy from textfile) | |
| 9.5 push finishes | 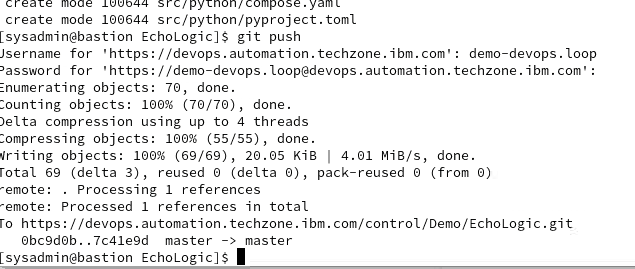 |
| 10 | Switch back to Control and view Repo | 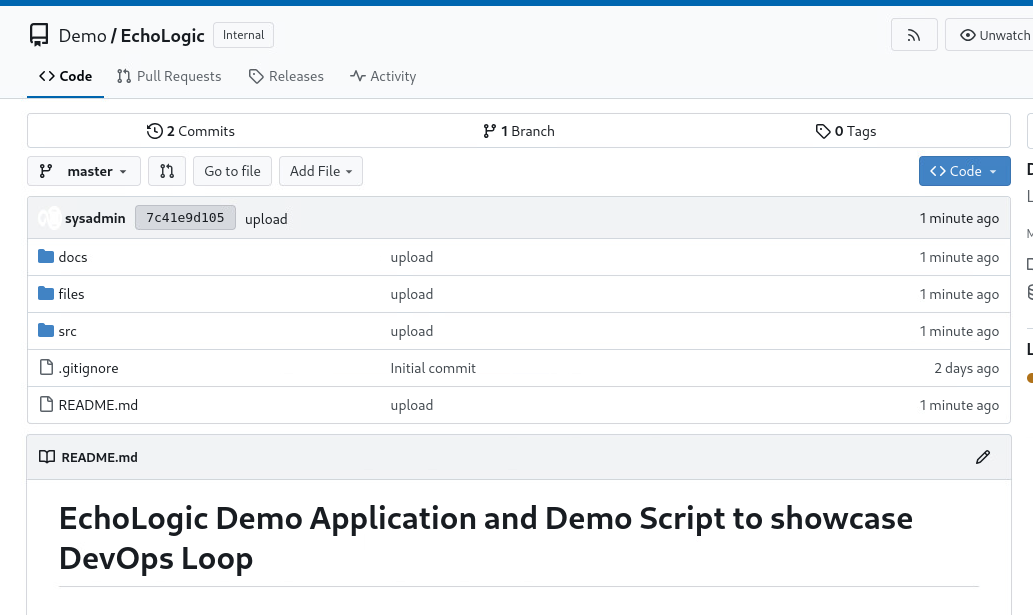 |
Setup Demo Data in Deploy
| Step | Details | Additional Information |
| 1 | Switch to Deploy | |
| 1.1 by either pressing "Let's go to Deploy" button on its tile |  |
| 1.2 by using the central app switcher on the top left of your screen | |
| 1.3 by using the button/link from What would you like to do today section | |
Setup an Agent Pool
| Step | Details | Additional Information |
| 1 | Switch to Resources View by clicking on the Sidebar |  |
| |  |
| 2 | Switch to AgentPools View |  |
| 3 | In this view |  |
| 4 | click on |  |
| 5 | In the Create Agent Pool Dialog | 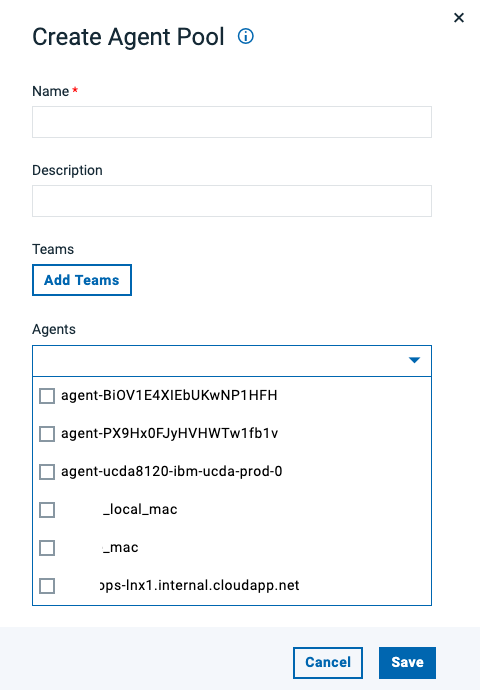 |
| 5.1 Enter "demo" in the name field | |
| 5.2 Select all agents | 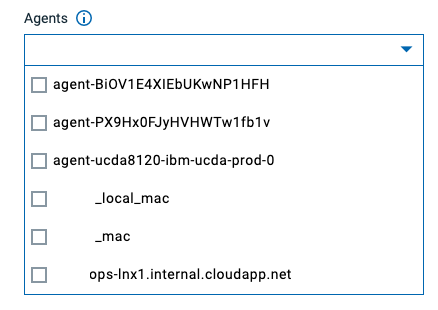 |
| 4.3 Click on Save Button |  |
| 6 | New Agent Pool is listed in the View | 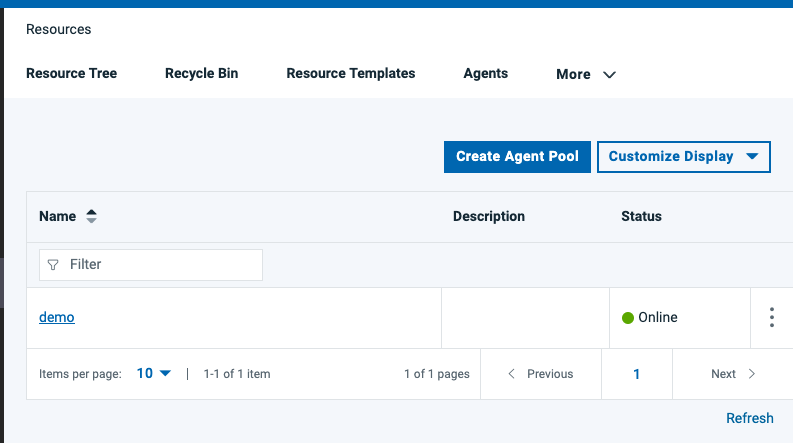 |
Importing Components
NOTE: Download the component JSON files which are used in this section
Echo Component
Logic Component
| Step | Details | Additional Information |
| 1 | In the sidebar select the Components Icon |  |
| |  |
| 2 | Components View | 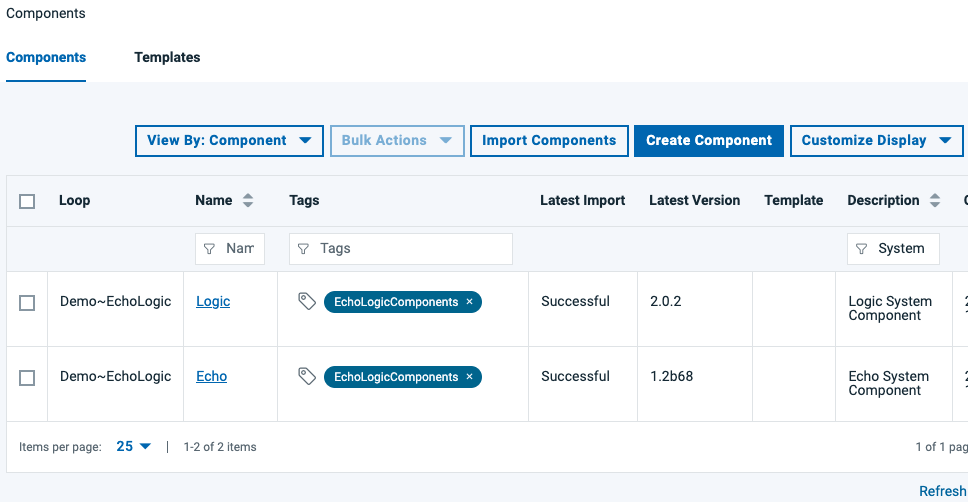 |
| 3 | click on Import Component Button |  |
| 4 | Import Dialog opens | 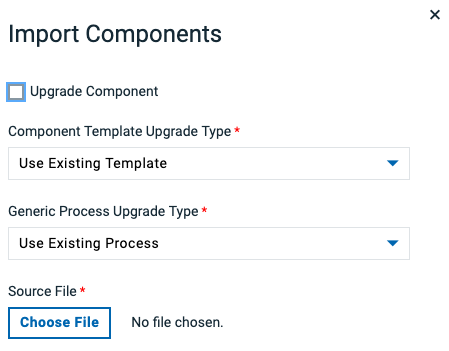 |
| 5 | click on Chose File Button |  |
| 6 | Switch to folder with files and select one | 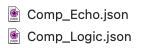 |
| 6.1 - Echo Component | |
| 6.2 - Logic Component | |
| 7 | File is selected | 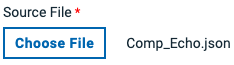 |
| 8 | click the Submit Button |  |
| 9 | Result is component imported |  |
| 10 | Repeat Import for second component | |
Setup Resource Tree
| Step | Details | Additional Information |
| 1 | Switch to Resource Tree View |  |
| 2 | In this view | 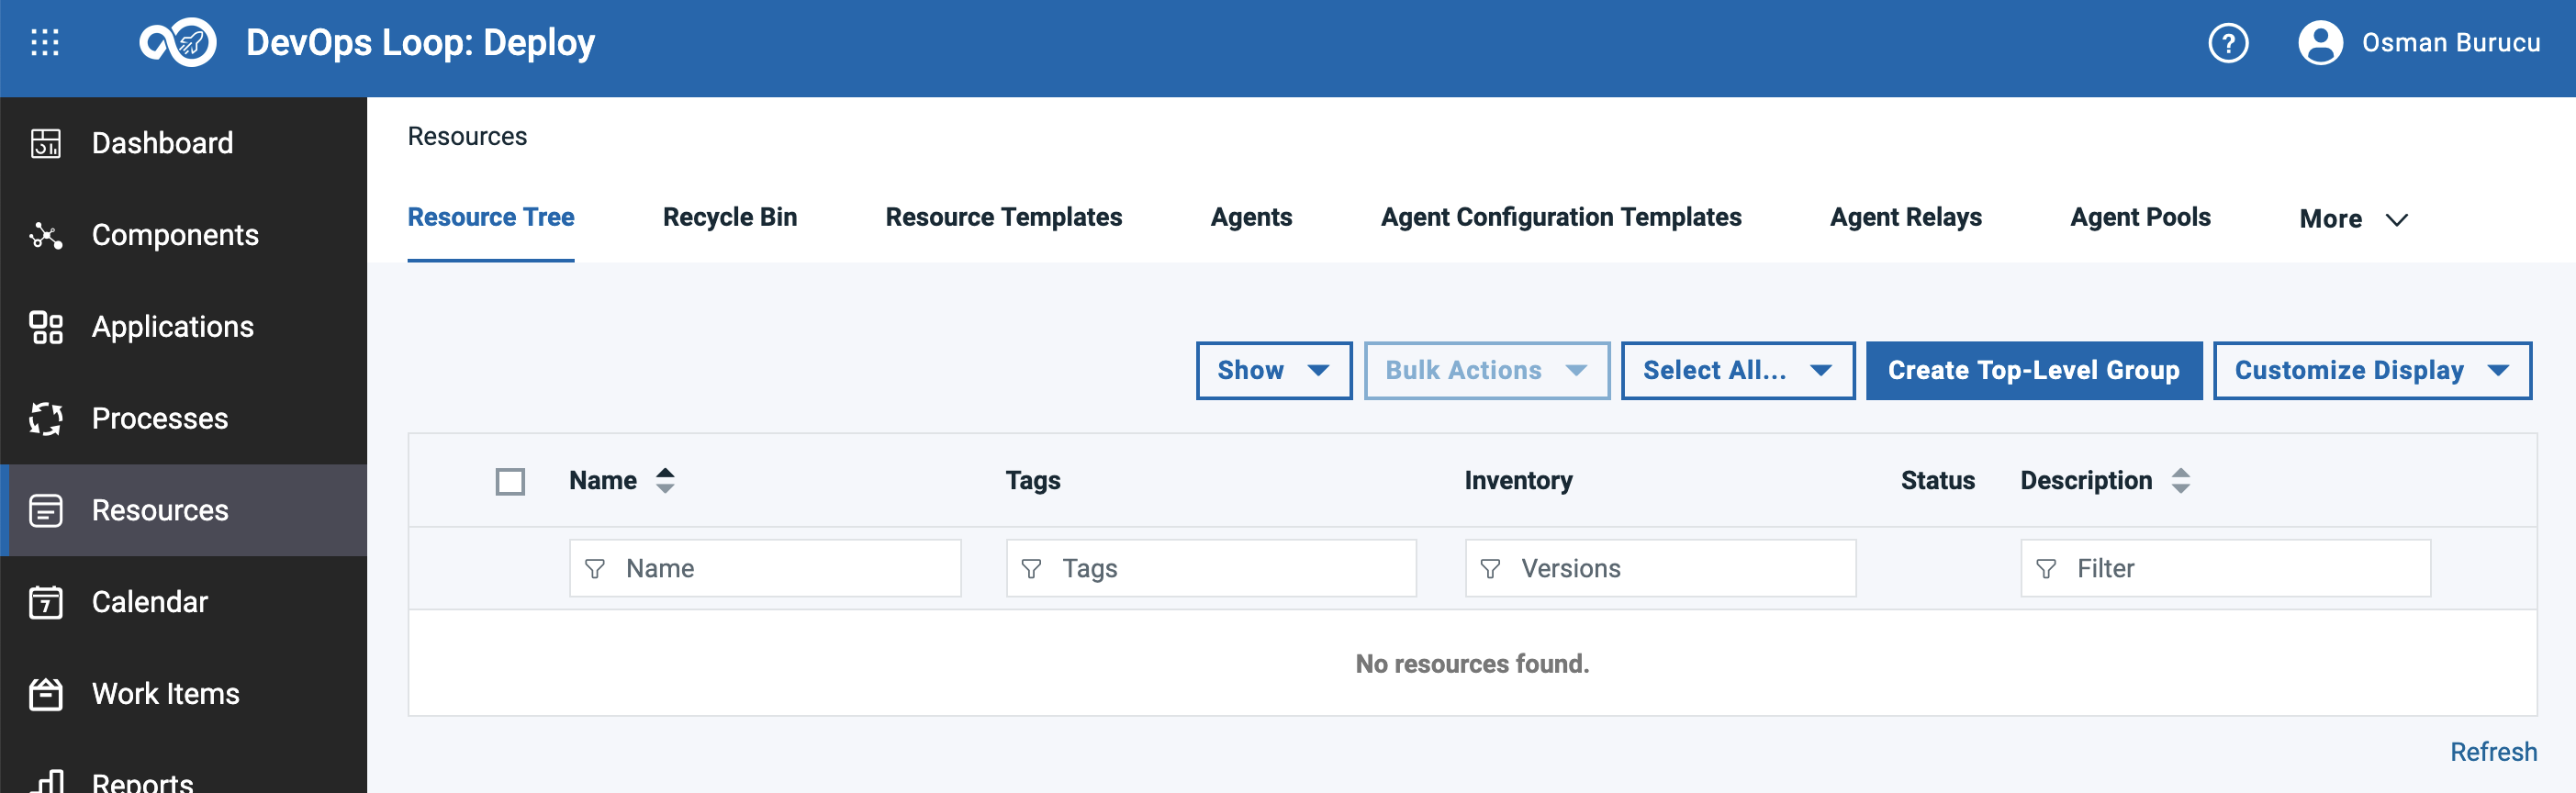 |
| 3 | Create a Top-Level Group | |
| 3.1click on Create Top-Level Group button |  |
| 3.2 The Create Resource Dialog appears | 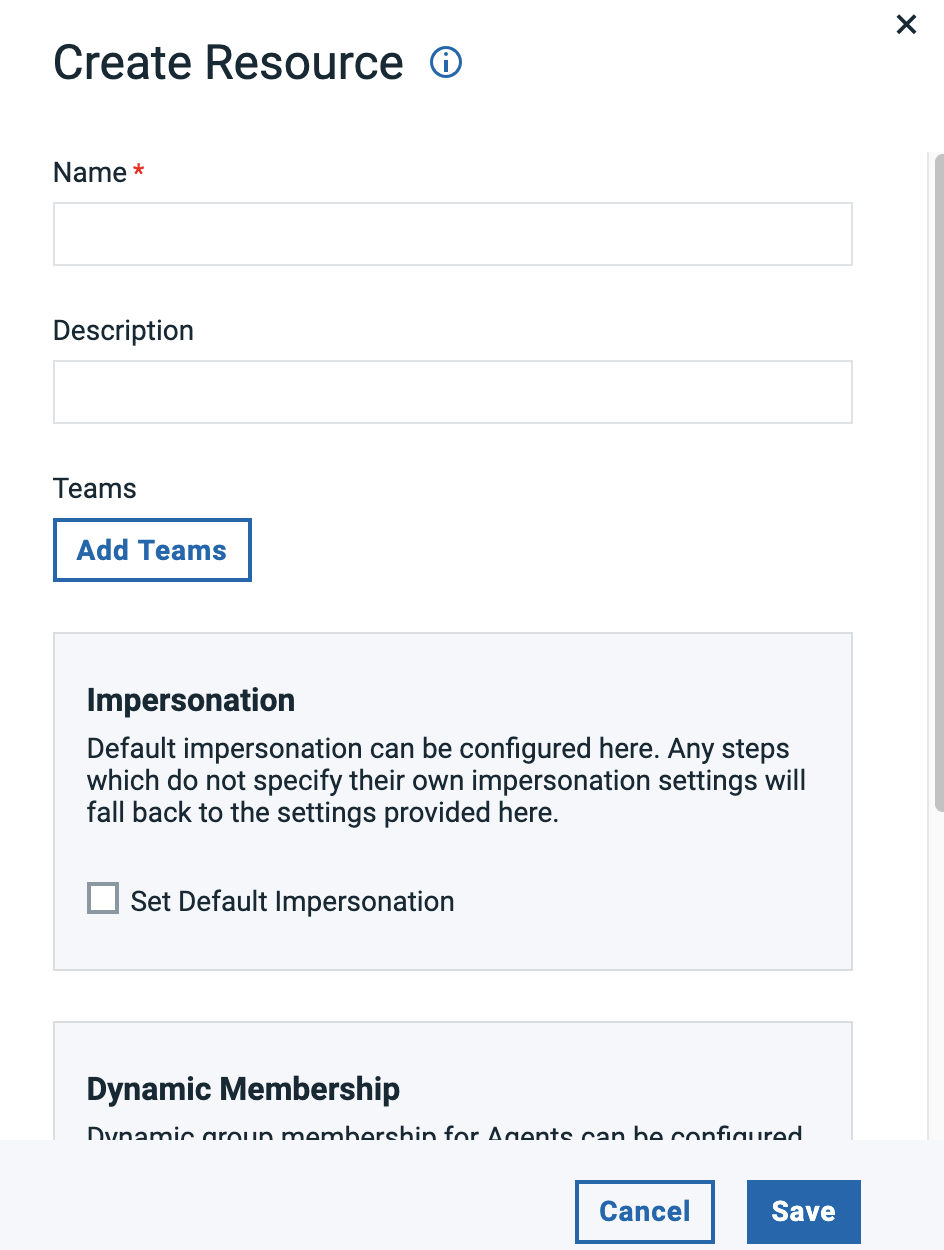 |
| 3.3 Enter "EchoLogic" in the name field | 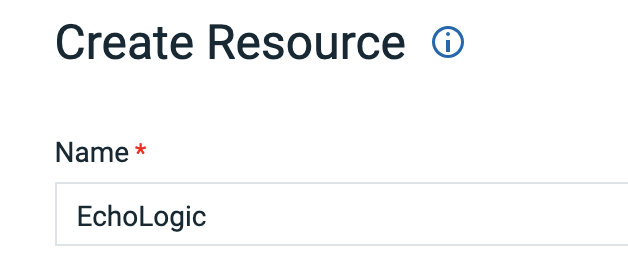 |
| 3.4 click on Save Button | |
| 3.5 Top Level Group created |  |
| 4 | Add Sub Groups for Environments | |
| 4.1 To add sub Groups to Top Level click on the 3 dots |  |
| 4.2 Menu is shown | 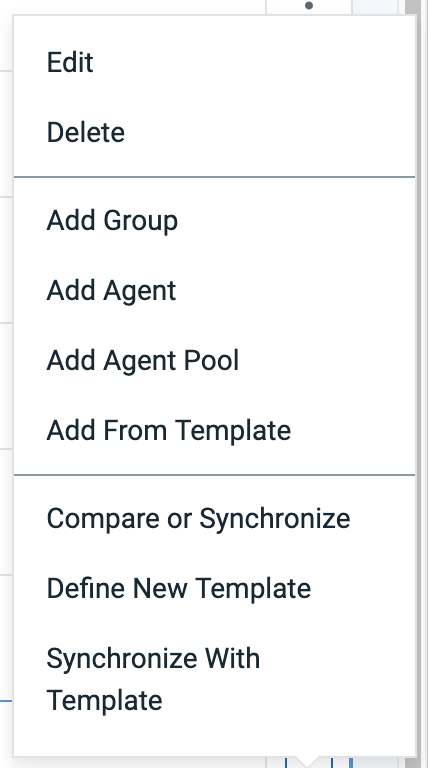 |
| 4.3 Select Add Group from this menue |  |
| 4.4 Enter Sub Group name "DEV" | 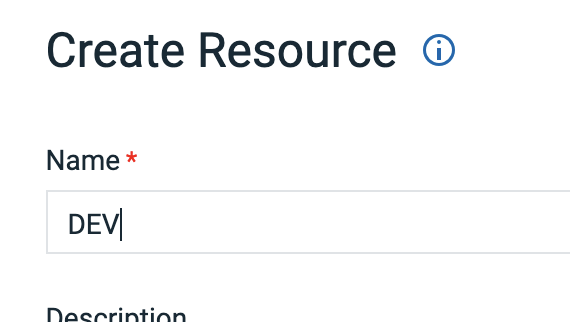 |
| 4.5 Click on Save Button | |
| 4.6 repeat this section to add additional Groups for "QA" and "PROD" | 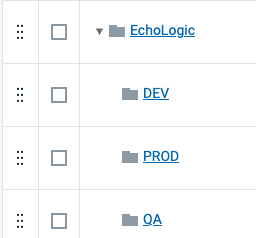 |
| 5 | Add an Agent Pool to Environment Sub Groups | |
| 5.1 To add Agent Pool to Sub Group click on the 3 dots of the sub group | |
| 5.2 Menu is shown | |
| 5.3 Select Add Agent Pool |  |
| 5.4 Select "demo" from list of Agent Pools and enter "demo" as name | 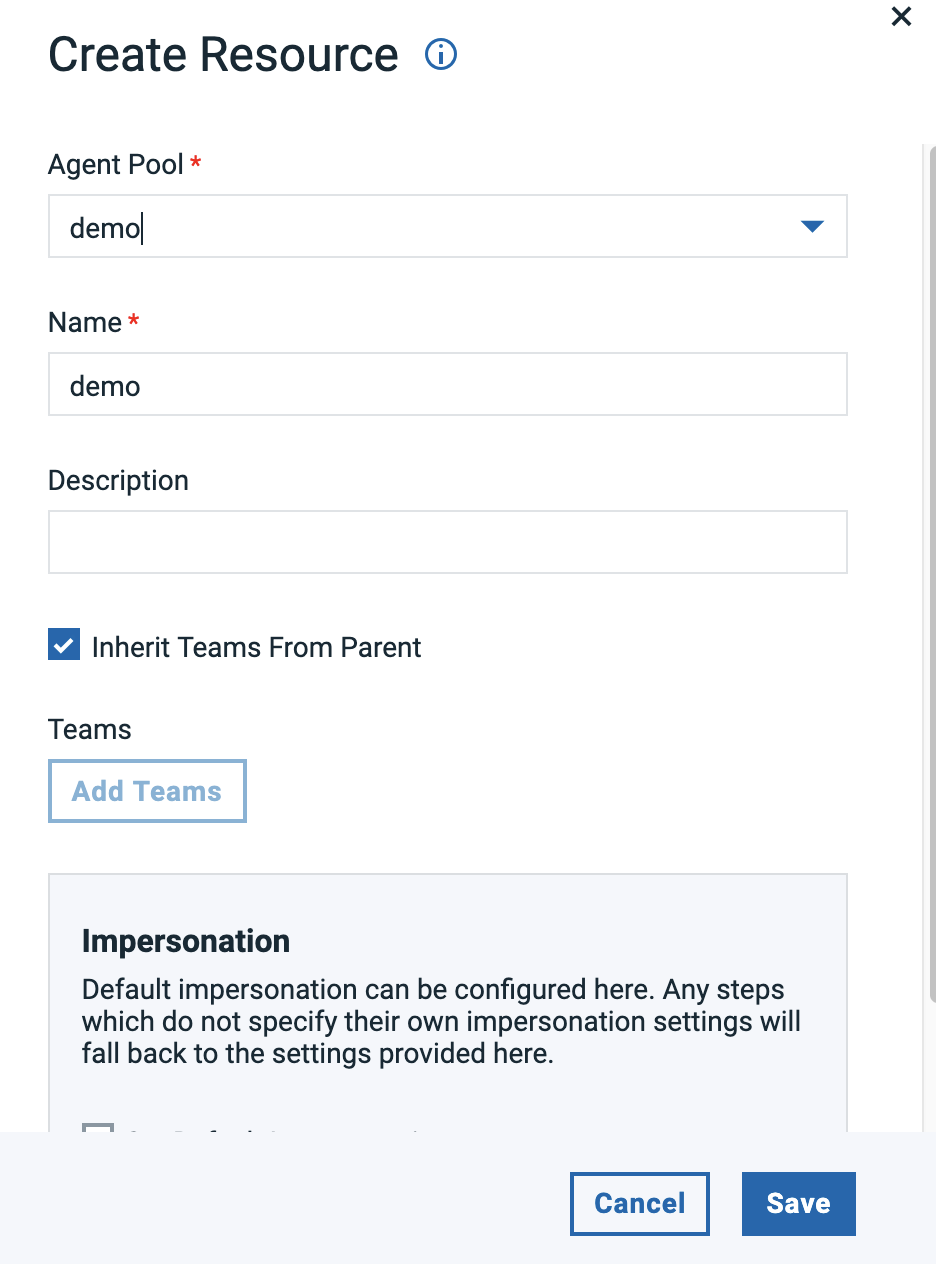 |
| 5.5 Click on Save Button | |
| 5.6 repeat this section to add an Agent pool to Groups "QA" and "PROD" | |
| 6 | Add a Component Tag | |
| 6.1 To add a Component Tag to the Agent Pools click on the 3 dots on the right side of it | |
| 6.2 Menu is shown | 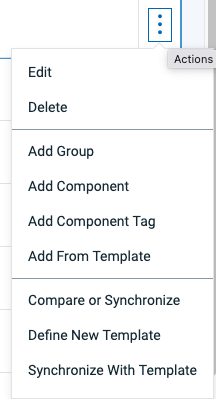 |
| 6.3 Select Add Component Tag |  |
| 6.4 Select "EchoLogicComponents" from List of Tags and use same as Name | 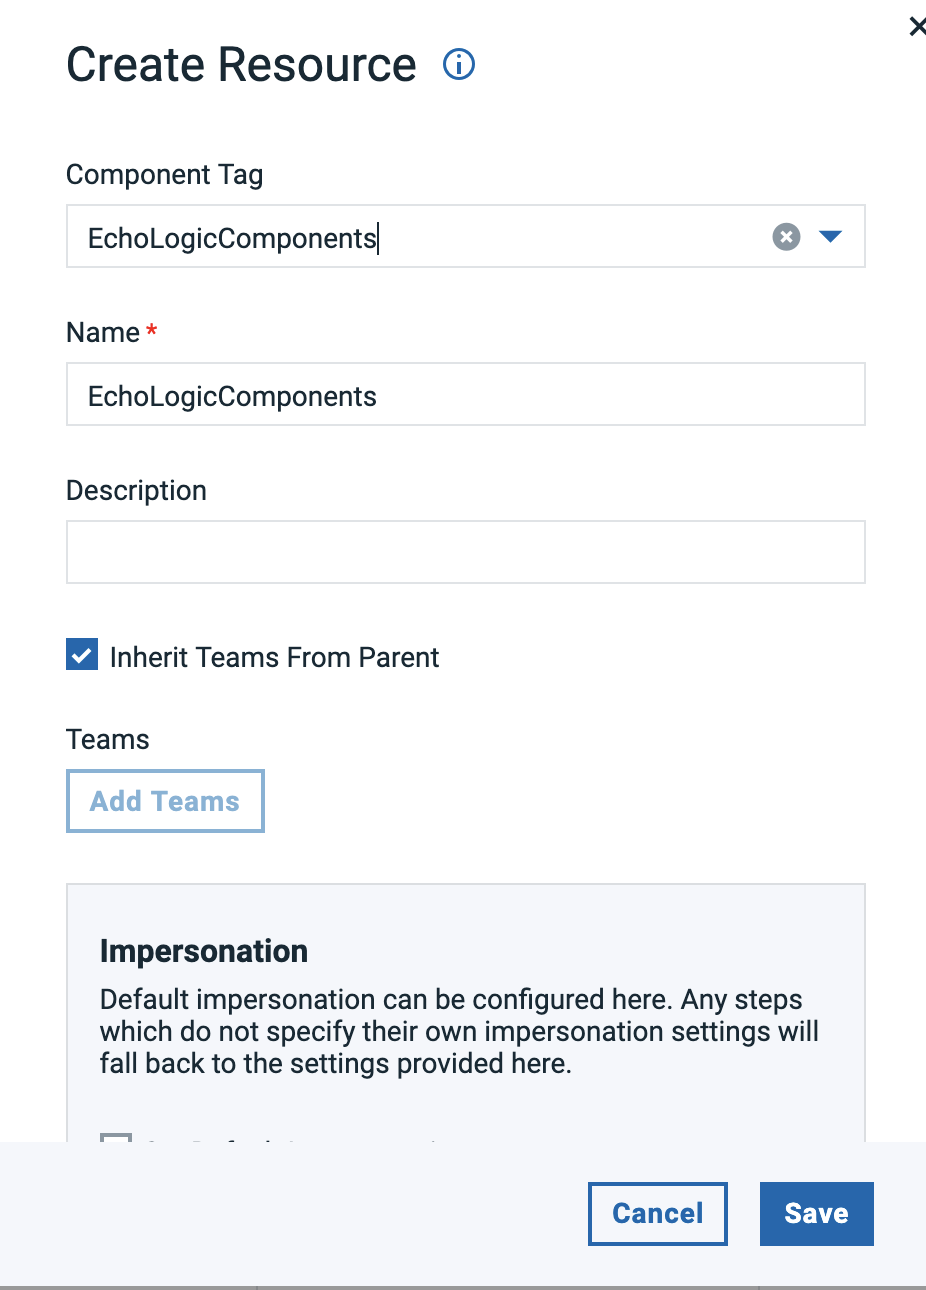 |
| 6.5 Click on Save Button | |
| 6.6 repeat this section to add a Component Tag to other 2 Sub Groups/Environments | |
| 7 | Final Resource Tree View | 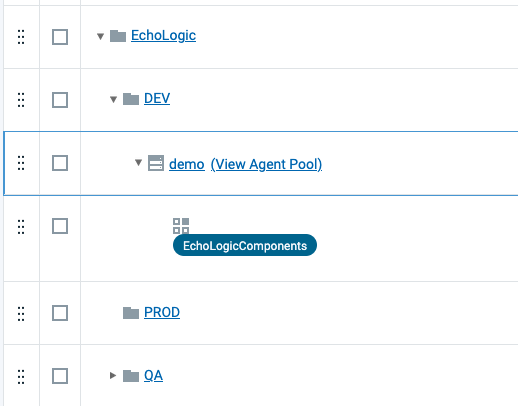 |
| Step | Details | Additional Information |
| 1 | Switch to Applications View by clicking on the Sidebar | |
| |  |
| |  |
| View for all Applications | 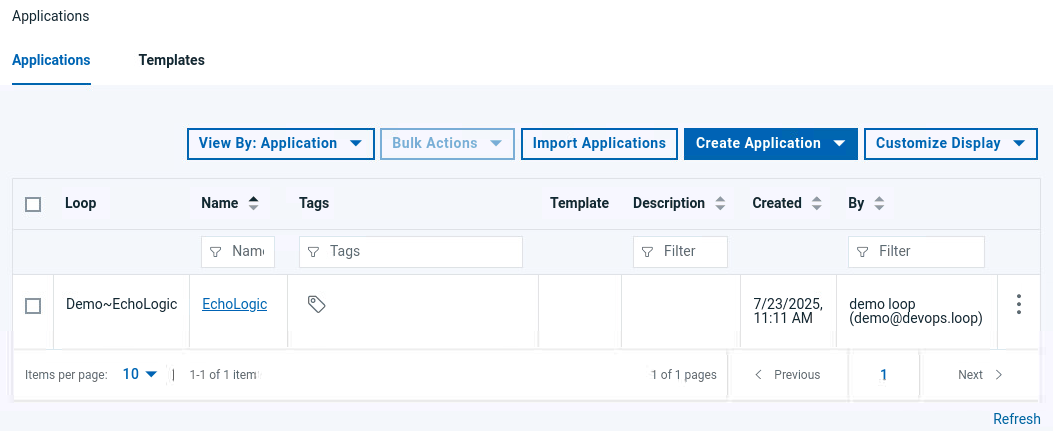 |
If no Application exists either import or create application
Import Application
NOTE: Download App_EchoLogic_NoComponents.json to your local file system.
| Step | Details | Additional Information |
| If no Applications are available |  |
| click on the Import Applications Button |  |
| If necessary change the settings in the Dialog | 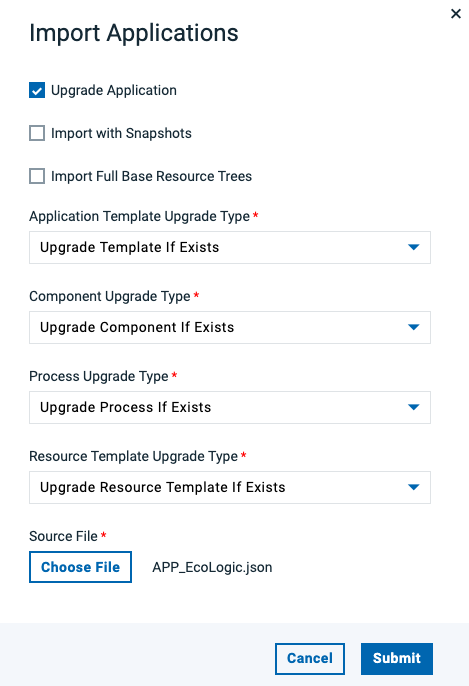 |
| Click on the Choose File Button to select App Import file |  |
| Select file App_EchoLogic_NoComponents.json in your file explorer |  |
| click on Submit Button to start Import | |
| Application is shown | 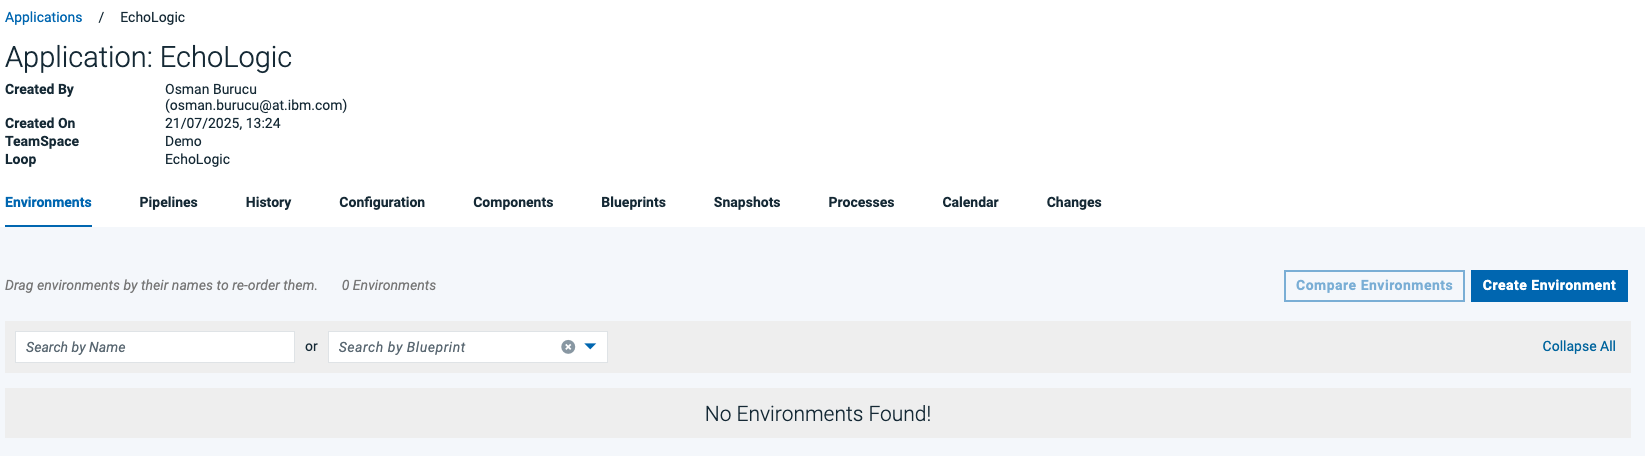 |
Create New Application
| Step | Details | Additional Information |
| If no Applications are available | |
| Click on the Create Application Button |  |
| Select New Application from Menu | 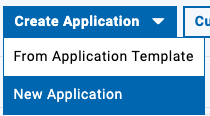 |
| The Create Application Dialog is shown | 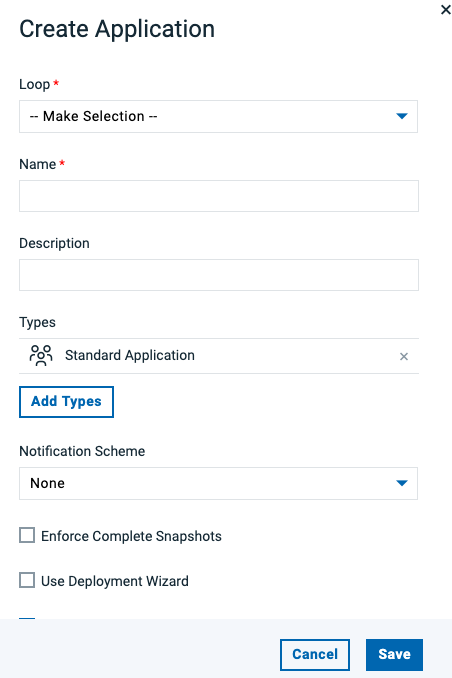 |
| Select "Demo" | 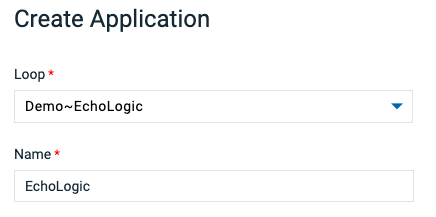 |
| click on the Save Button to create new App | |
| Application is shown | |
Add Components to Application
NOTE:If no components are associated to the new Application, add the imported components.
follow imported components step if not done yet
| Step | Details | Additional Information |
| Click on Components Tab |  |
| Components View is shown |  |
| Click on Add Components Button |  |
| In the Dialog select "Echo" and "Logic" | 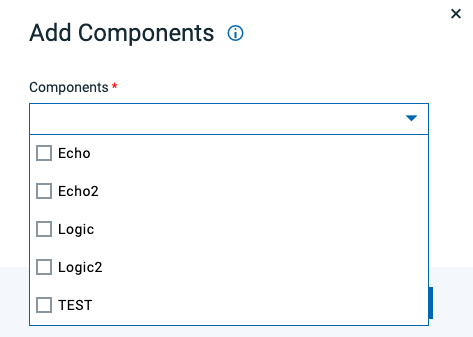 |
| Click on Save Button | |
| Components View with added Components | 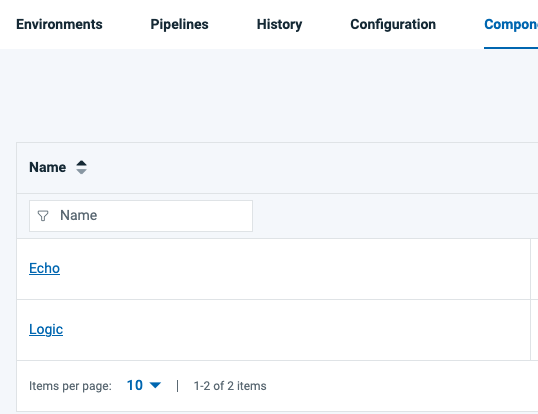 |
Add Environments to Application
NOTE:If no environments are available in the new Application, add them following this steps:
| Step | Details | Additional Information |
| Click on the Create Environment Button |  |
| In the Dialog enter "DEV" as Name | 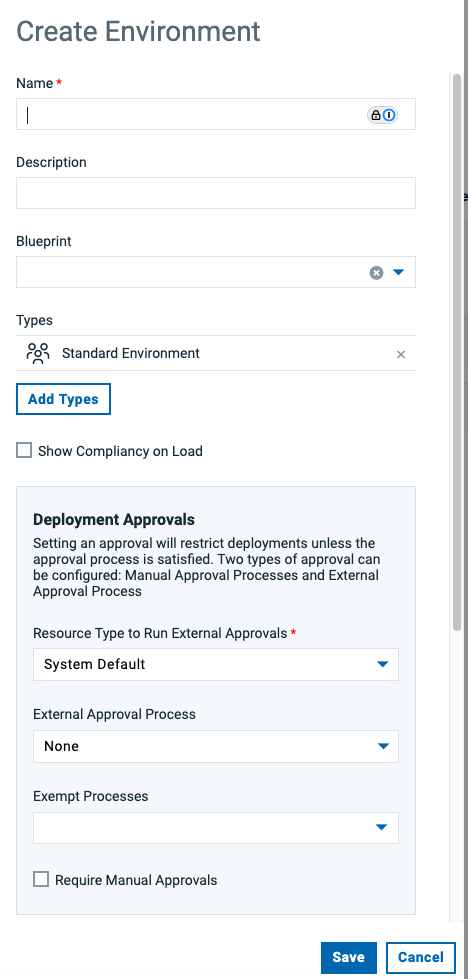 |
| Scroll down and click on Color | 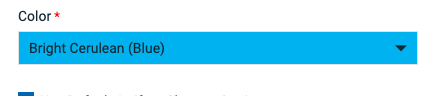 |
| to select the color for your environment | 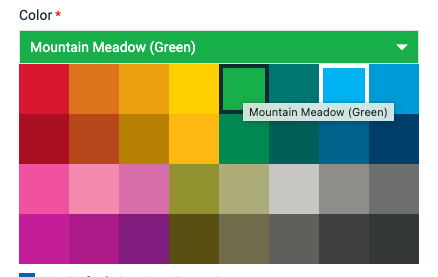 |
| click on the Save Button to create new Environment | |
| Repleat this section and add "QA" and "PROD" environments | |
| List of all Environments | 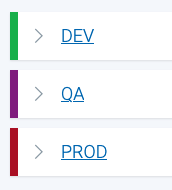 |
Assign Resources to Environments
NOTE:If environments do not have a base resource associated follow this steps to add them:
| Step | Details | Additional Information |
| In the Environments List click on the "DEV" entry |  |
| The Environment View is shown | 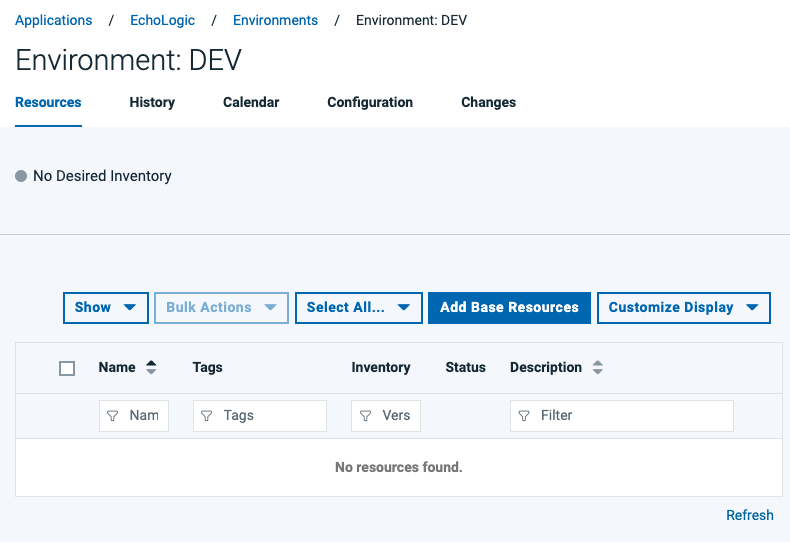 |
| click on the Add Base Resources button |  |
| In the Dialog select the Resource with same name as Environment | 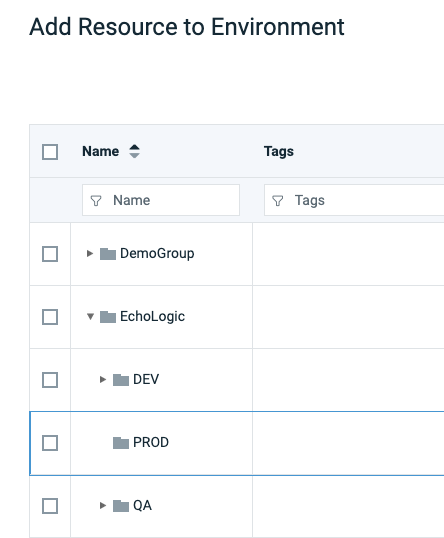 |
| |  |
| Click on Save Button | |
| Repeat this section for "QA" and "PROD" Environments | |
Import Processes
NOTE:If application has no applications processes, follow these steps to import them:
| Step | Details | Additional Information |
| 1 | From the list of Applications | |
| 2 | Click on the "EchoLogic" Application | |
| 3 | First View is the Environments view | |
| click on "Processes" Tab |  |
| List of all Application Processes will be shown. | 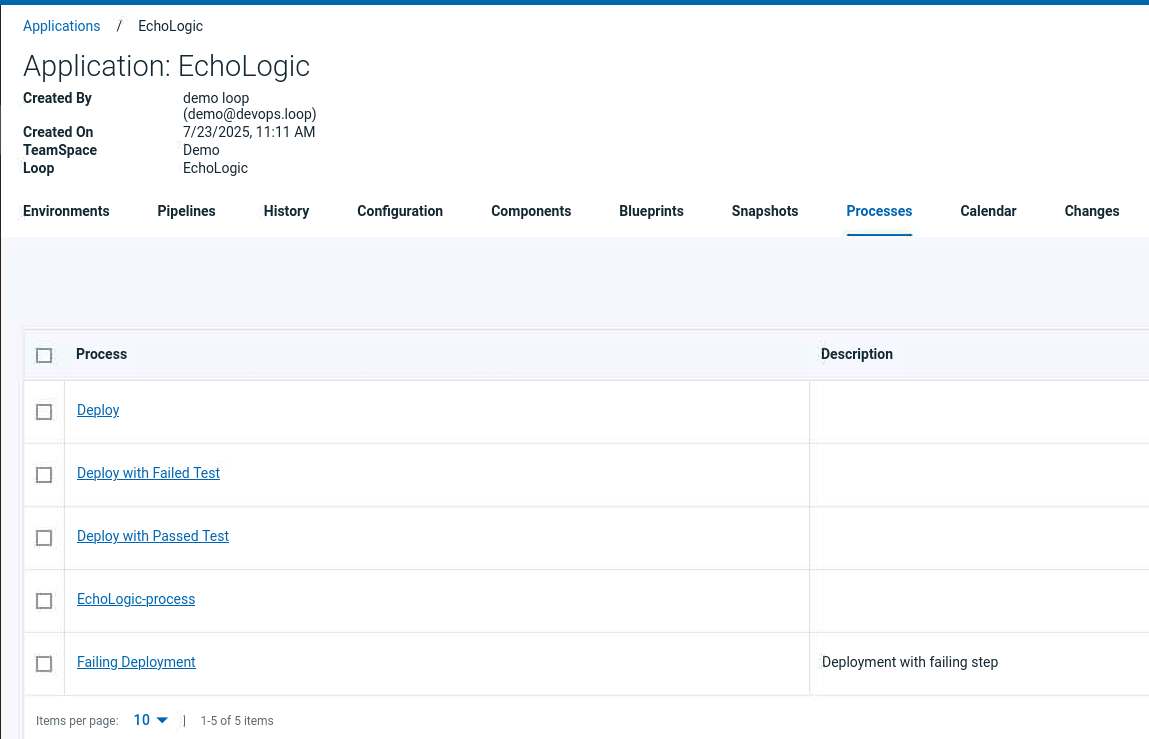 |
| Click on Import Process Button | 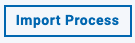 |
| The Import Process Dialog opens | 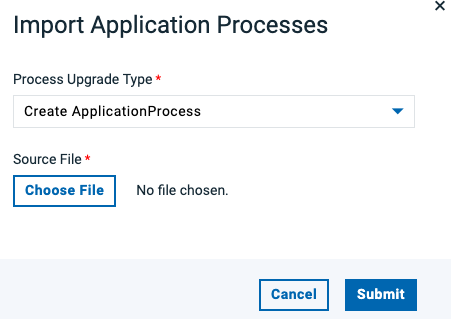 |
| click on Choose File Button |  |
| From the artifact list select App_Processes.yml | 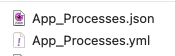 |
| File is selected | 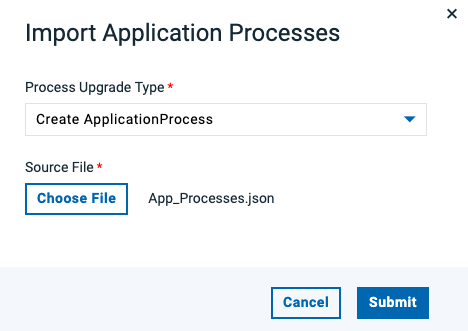 |
| click on Submit Button to start import | |
| Imported Application Process are shown | 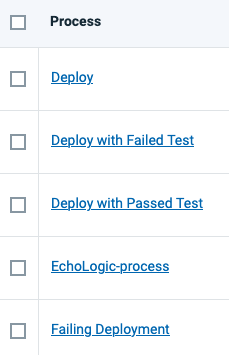 |
Importing Data into Test
| Step | Details | Additional Information |
| | |
| | |
| | |
| | |
| | |
Importing Data into Build
| Step | Details | Additional Information |
| | |
| | |
| | |
| | |
| | |
| | |
| | |
| | |
| | |
| | |
| | |
| | |
| | |
| | |
| | |
| | |